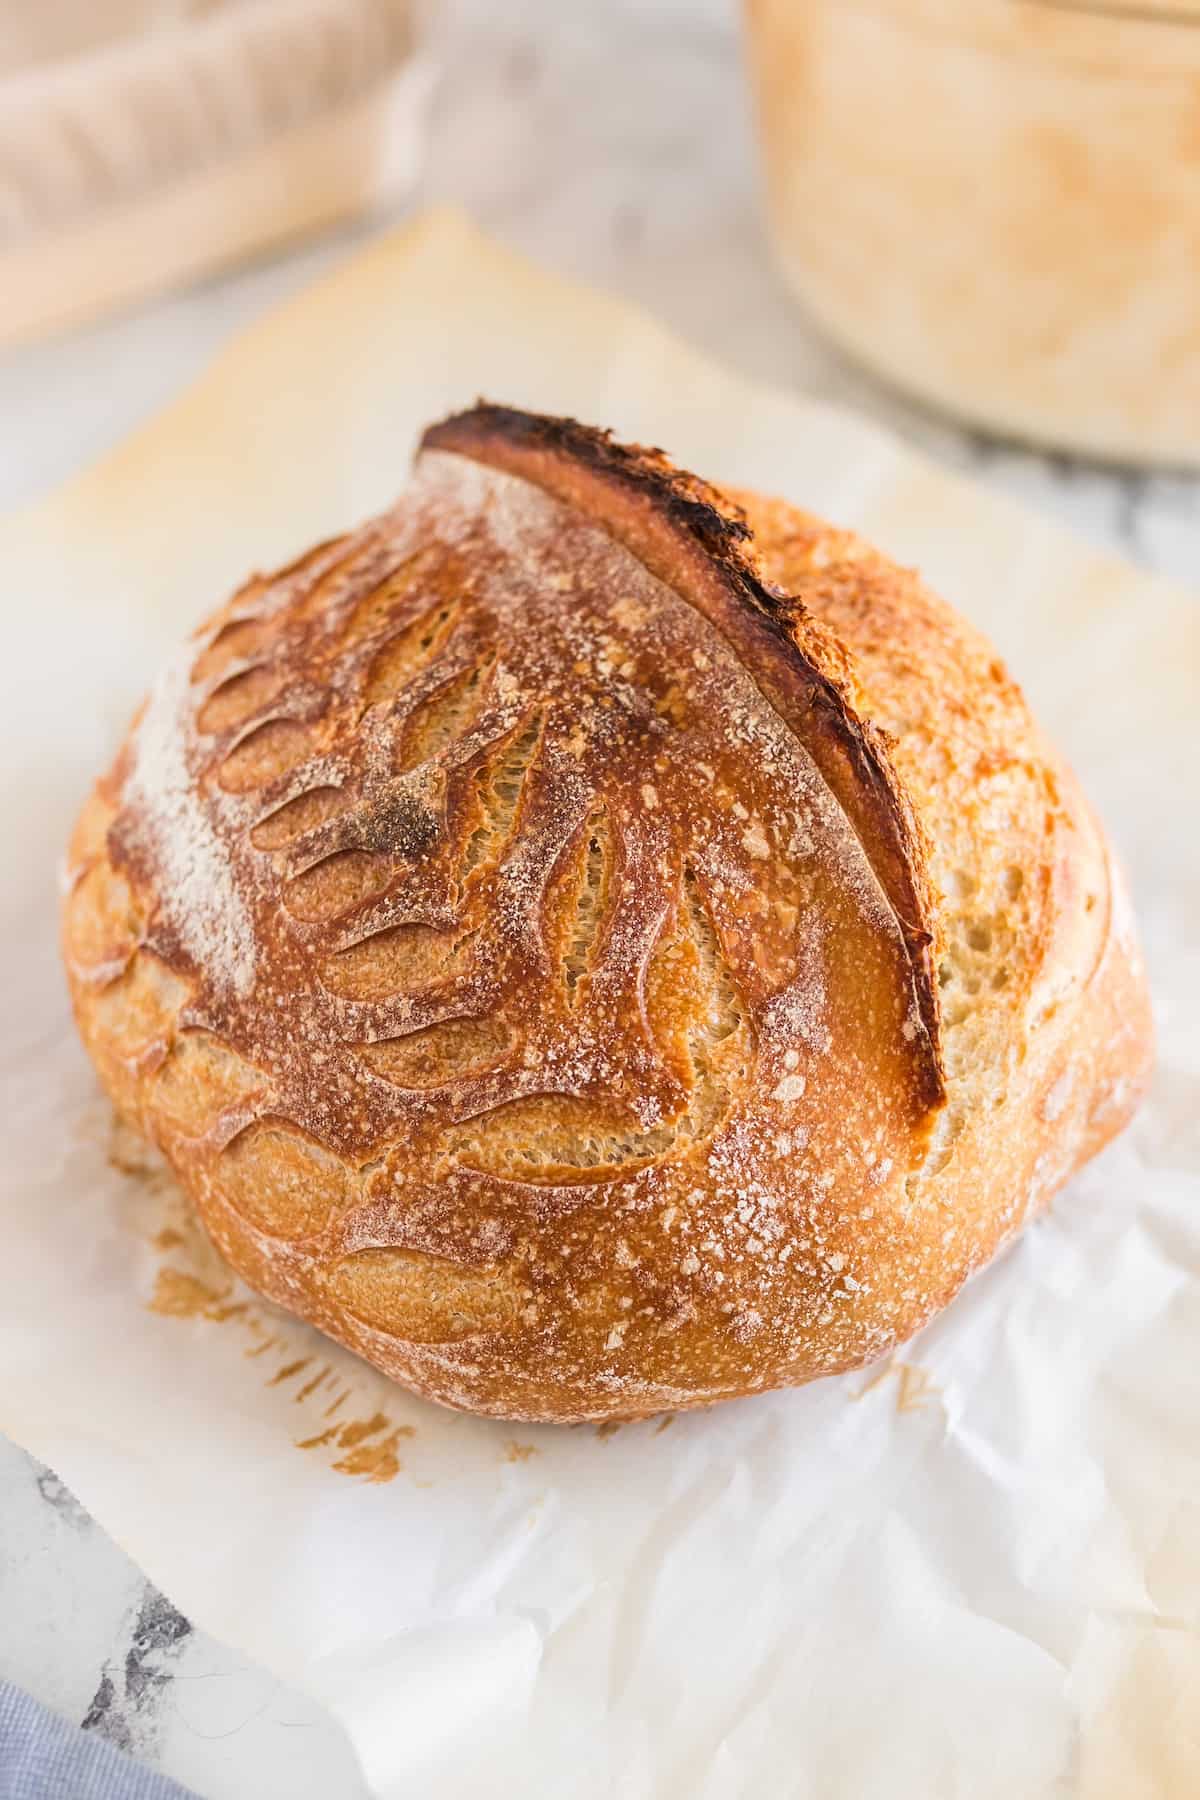
Gluten-Free Sourdough Bread
This gluten-free sourdough bread is an overnight, artisan-style loaf made with a simple gluten-free 1:1 flour blend and a naturally fermented gluten-free sourdough starter.
Ingredients
- 500 grams gluten-free flour, 1:1 blend with xanthan gum
- 380 grams room temperature water
- 200 grams unfed gluten-free sourdough starter
- 12 grams finely ground sea salt
Instructions
Mix the dough:
- In a large bowl or the bowl of a stand mixer, add the gluten-free flour, salt, unfed sourdough starter, and room-temperature water. Mix until fully combined and no dry flour remains. The dough will be thick, sticky, and closer to a batter than traditional bread dough. Scrape down the sides of the bowl, lightly smooth the surface of the dough, and cover.
Bulk fermentation (first rise):
- Let the dough rise at room temperature in a draft-free spot for 6 to 9 hours, depending on the temperature of your kitchen. The dough is ready when it looks puffy and slightly domed, has small bubbles visible beneath the surface, and has increased in size by about 50 to 75 percent. Do not allow the dough to double, as gluten-free dough can collapse if over-proofed. If the dough begins to sink in the center, move on to the next step immediately.
Shape the dough:
- Lightly flour your hands and gently turn the dough out onto a floured surface. Shape the dough into a round by carefully tucking the edges underneath. The dough should feel light and airy while still holding its shape. Transfer the dough seam-side up into a well-floured banneton basket or a bowl lined with a floured kitchen towel. Cover tightly.
Cold proof (second rise):
- Place the covered dough in the refrigerator and let it cold proof for 12 to 16 hours. This slow, cold rise helps control fermentation, improve structure, and develop flavor. Do not skip this step, as it is essential for consistent gluten-free sourdough results.
Prepare for baking:
- Place a Dutch oven with the lid on into the oven and preheat to 500°F for at least 30 minutes so it is fully heated before baking. Remove the dough from the refrigerator and turn it out onto a piece of lightly floured parchment paper so it is seam-side down. Generously dust the surface with flour, then use a sharp knife or bread lame to score the dough about three-quarters to one inch deep.
Bake:
- Carefully remove the hot Dutch oven from the oven. Using the parchment paper, lift the dough and place it into the Dutch oven. Cover with the lid, return it to the oven, and immediately reduce the oven temperature to 450°F. Bake covered for 40 minutes.Remove the lid, reduce the oven temperature to 425°F, and continue baking for 30 to 35 minutes, until the crust is deeply golden and the loaf sounds hollow when tapped on the bottom. Remove the bread from the Dutch oven and transfer it to a wire rack. Let the bread cool completely for at least 2 hours before slicing. Cutting too early can result in a gummy texture.
Nutrition
Notes
- Flour Blend: Use a gluten-free 1:1 flour blend that already contains xanthan gum. This recipe was tested with blends like Bob’s Red Mill 1:1 and King Arthur Measure for Measure. If your blend does not include xanthan gum, add psyllium husk as directed to ensure proper structure.
- Starter State: This recipe uses unfed gluten-free sourdough starter to slow fermentation and improve consistency. The starter should be bubbly, have reached its peak, and just begun to fall before using. Freshly fed starter can cause the dough to rise too quickly and collapse.
- Water Temperature: Always use room-temperature water. Warm water accelerates fermentation and increases the risk of over-proofing, especially in gluten-free dough.
- Bulk Fermentation Target: Gluten-free sourdough should rise by about 50 to 75 percent during the first rise. Allowing the dough to double can lead to collapse and a dense or gummy texture.
- No Stretch and Folds: Stretching and folding are not necessary for gluten-free sourdough. Thorough mixing at the beginning provides better and more consistent results.
- Cold Proof: Refrigerating the dough for 12 to 16 hours is essential. This step slows fermentation, improves structure, and enhances flavor while preventing over-proofing.
DID YOU MAKE THIS RECIPE?
Please leave a comment and star rating on this post!