
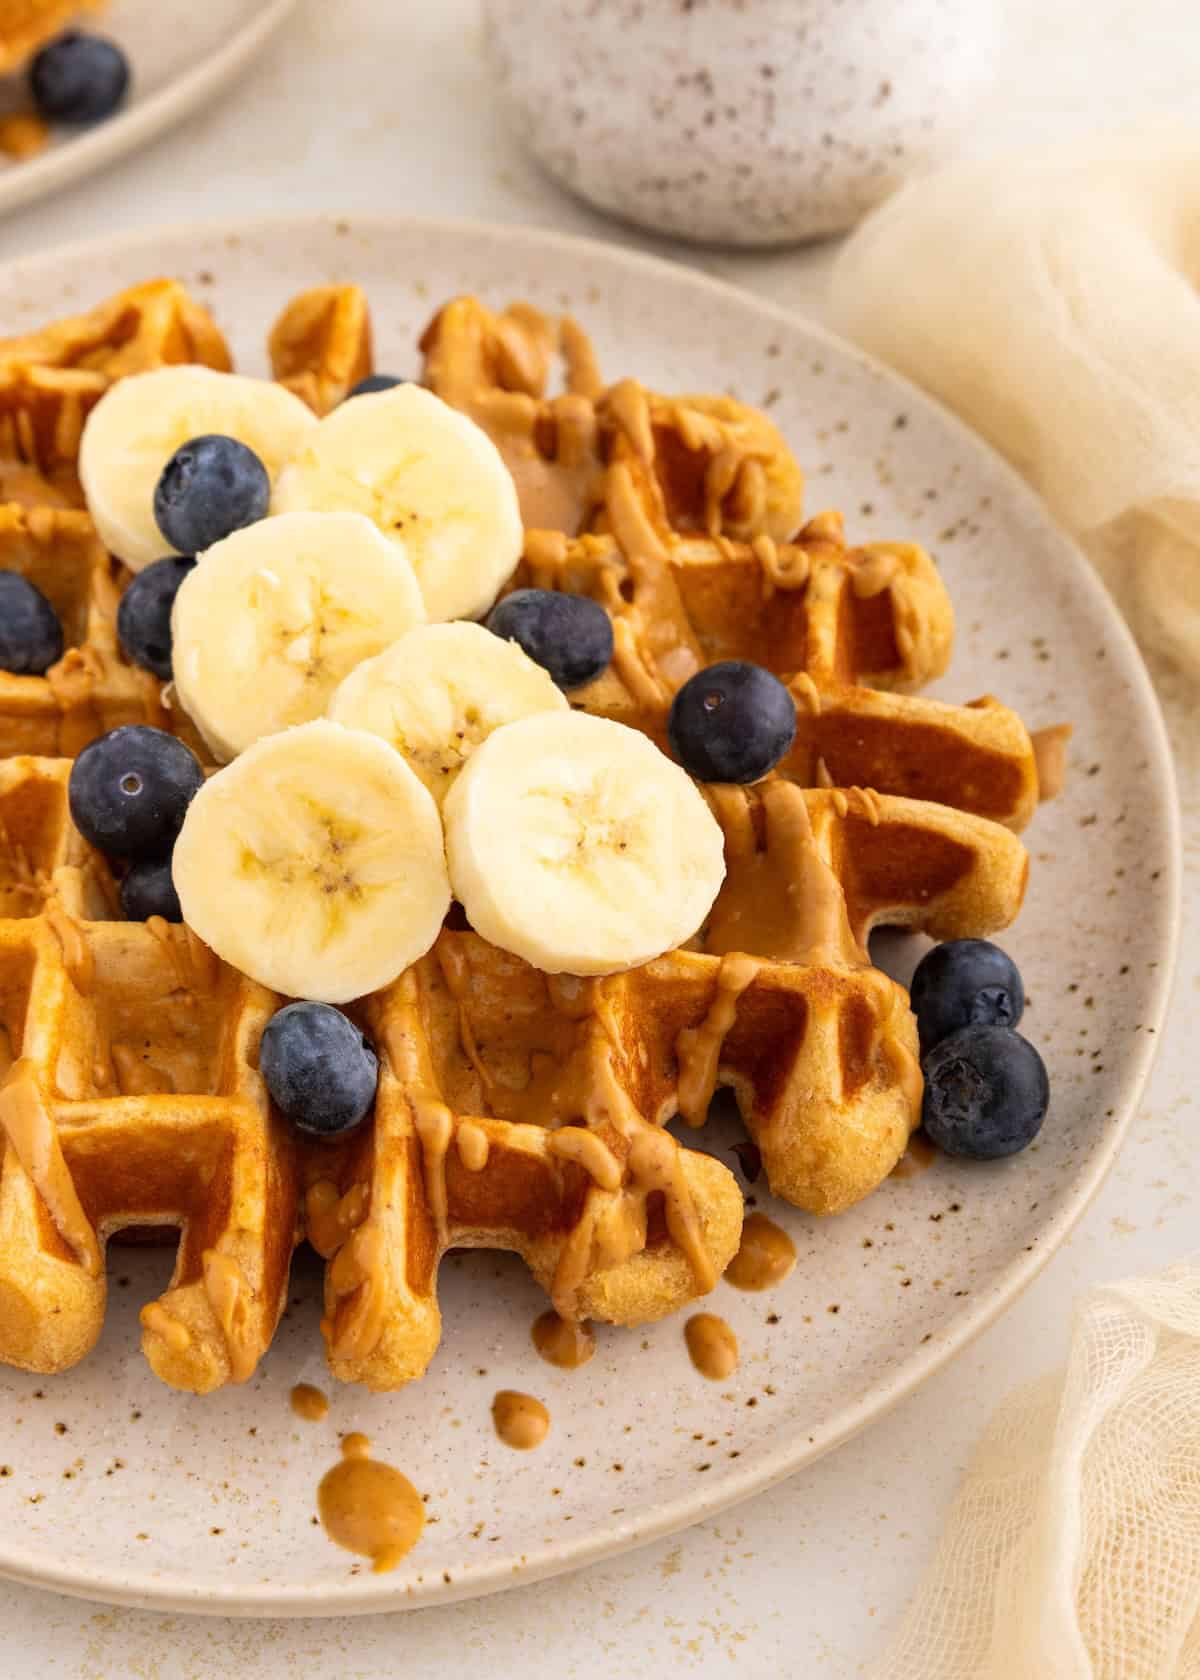
Peanut Butter Waffles are soft, fluffy, and full of peanut butter flavor without feeling too sweet. They make a simple gluten-free breakfast that feels a little more filling than regular waffles.
A Quick Look at the Recipe
✅ Recipe Name: Peanut Butter Waffles
🕒 Ready In: ~20 minutes
👪 Serves: 4 servings
🍽 Calories: ~460 per serving estimated
🥣 Main Ingredients: Gluten-free flour, peanut butter, eggs, milk, honey, vanilla extract
📖 Dietary Info: Gluten-free; naturally sweetened
👌 Difficulty: Easy - mix, cook, serve
SUMMARIZE & SAVE THIS CONTENT ON
The peanut butter gives the batter richness and helps make each waffle satisfying enough for busy mornings, weekend breakfast, or breakfast-for-dinner. They're lightly sweetened with honey, so you can keep them simple or add toppings like sliced bananas, berries, maple syrup, or extra peanut butter.
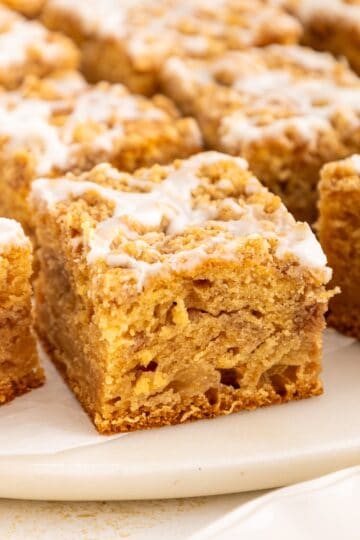
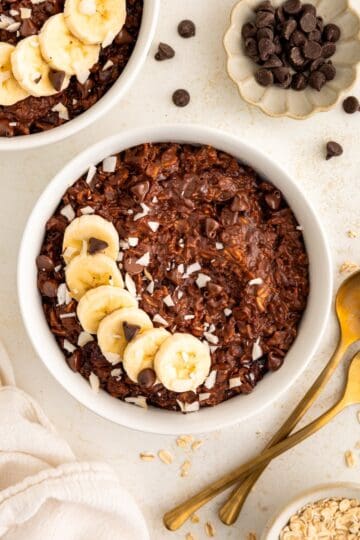
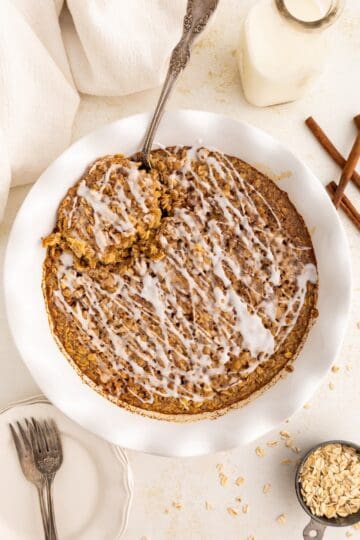
These are a great option when you want a homemade waffle that feels fun but still fits the healthy wholesome Living Chirpy style. If you love easy gluten-free breakfasts, try our Cinnamon Roll Baked Oatmeal, Cottage Cheese Overnight Oats, or Egg White Frittata next.
Jump to:
- A Quick Look at the Recipe
- Why You'll Love these Peanut Butter Waffles:
- Key Ingredients:
- Easy Substitutions & Variations:
- How to Make Peanut Butter Waffles:
- Recipe Notes & Tips:
- How to Store:
- Peanut Butter Waffles FAQs:
- More Breakfast Recipes You'll Love
- Get a FREE Healthy Meal Planning Ebook
- Peanut Butter Waffles
Why You'll Love these Peanut Butter Waffles:
Full of Peanut Butter Flavor: These waffles have a rich peanut butter taste that makes breakfast feel more satisfying.
Gluten-Free Breakfast: Made with gluten-free flour, they are an easy option for a homemade gluten-free waffle.
Naturally Sweetened: Honey adds just enough sweetness without using refined sugar.
Great for Busy Mornings: Make a batch ahead of time and reheat them for quick breakfasts during the week.
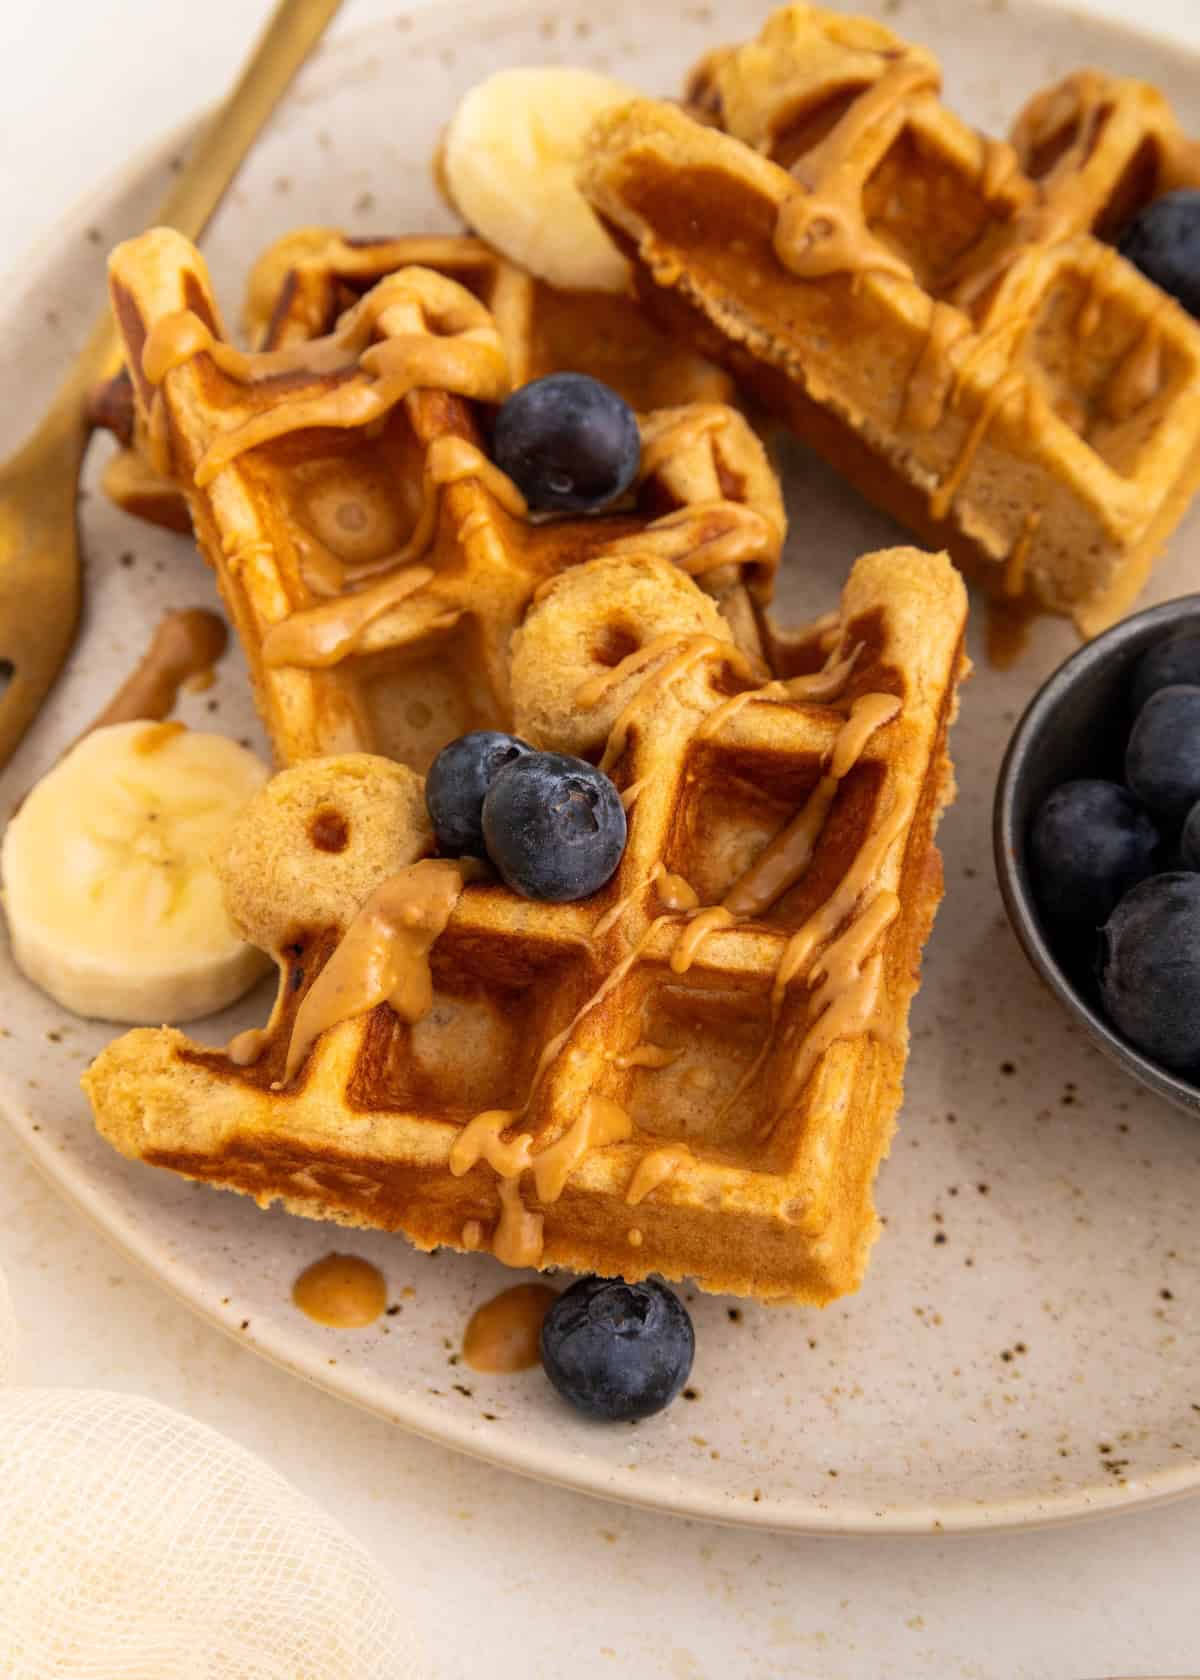
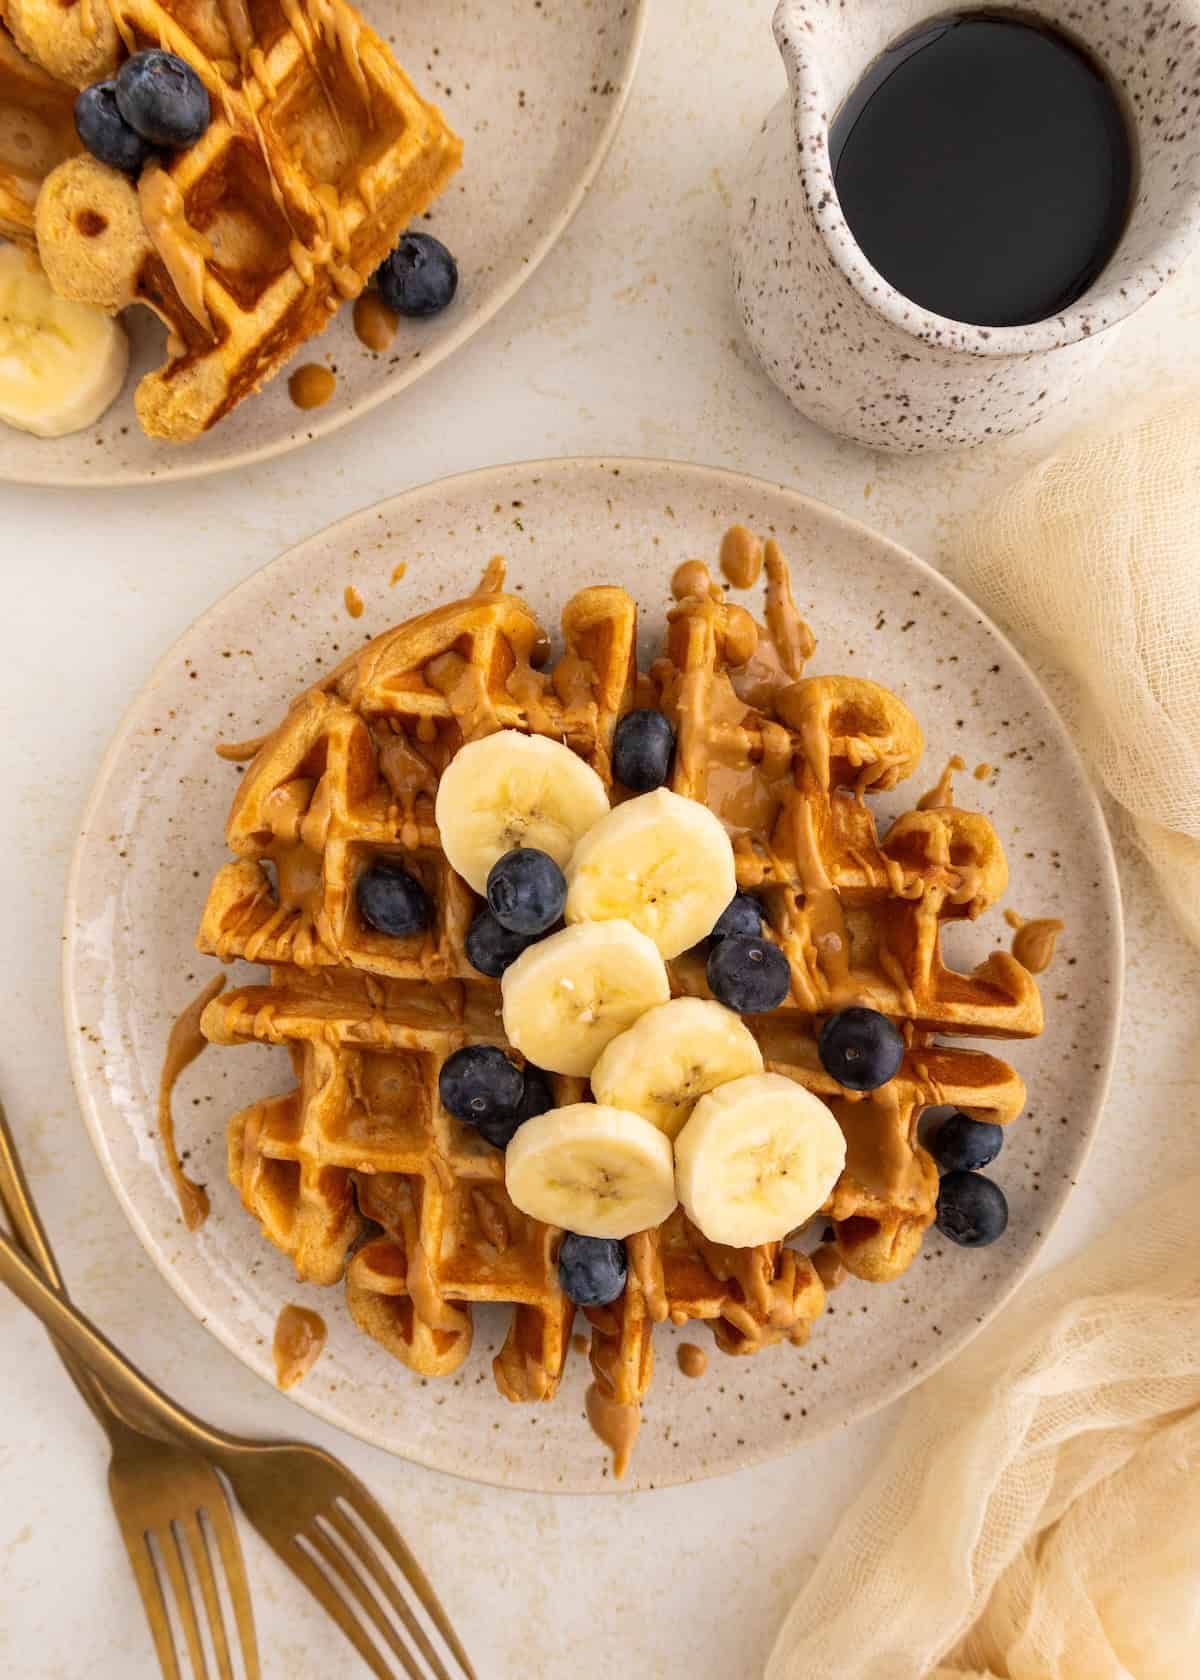
Easy to Top: Serve with sliced bananas, berries, maple syrup, yogurt, or extra peanut butter.
Key Ingredients:
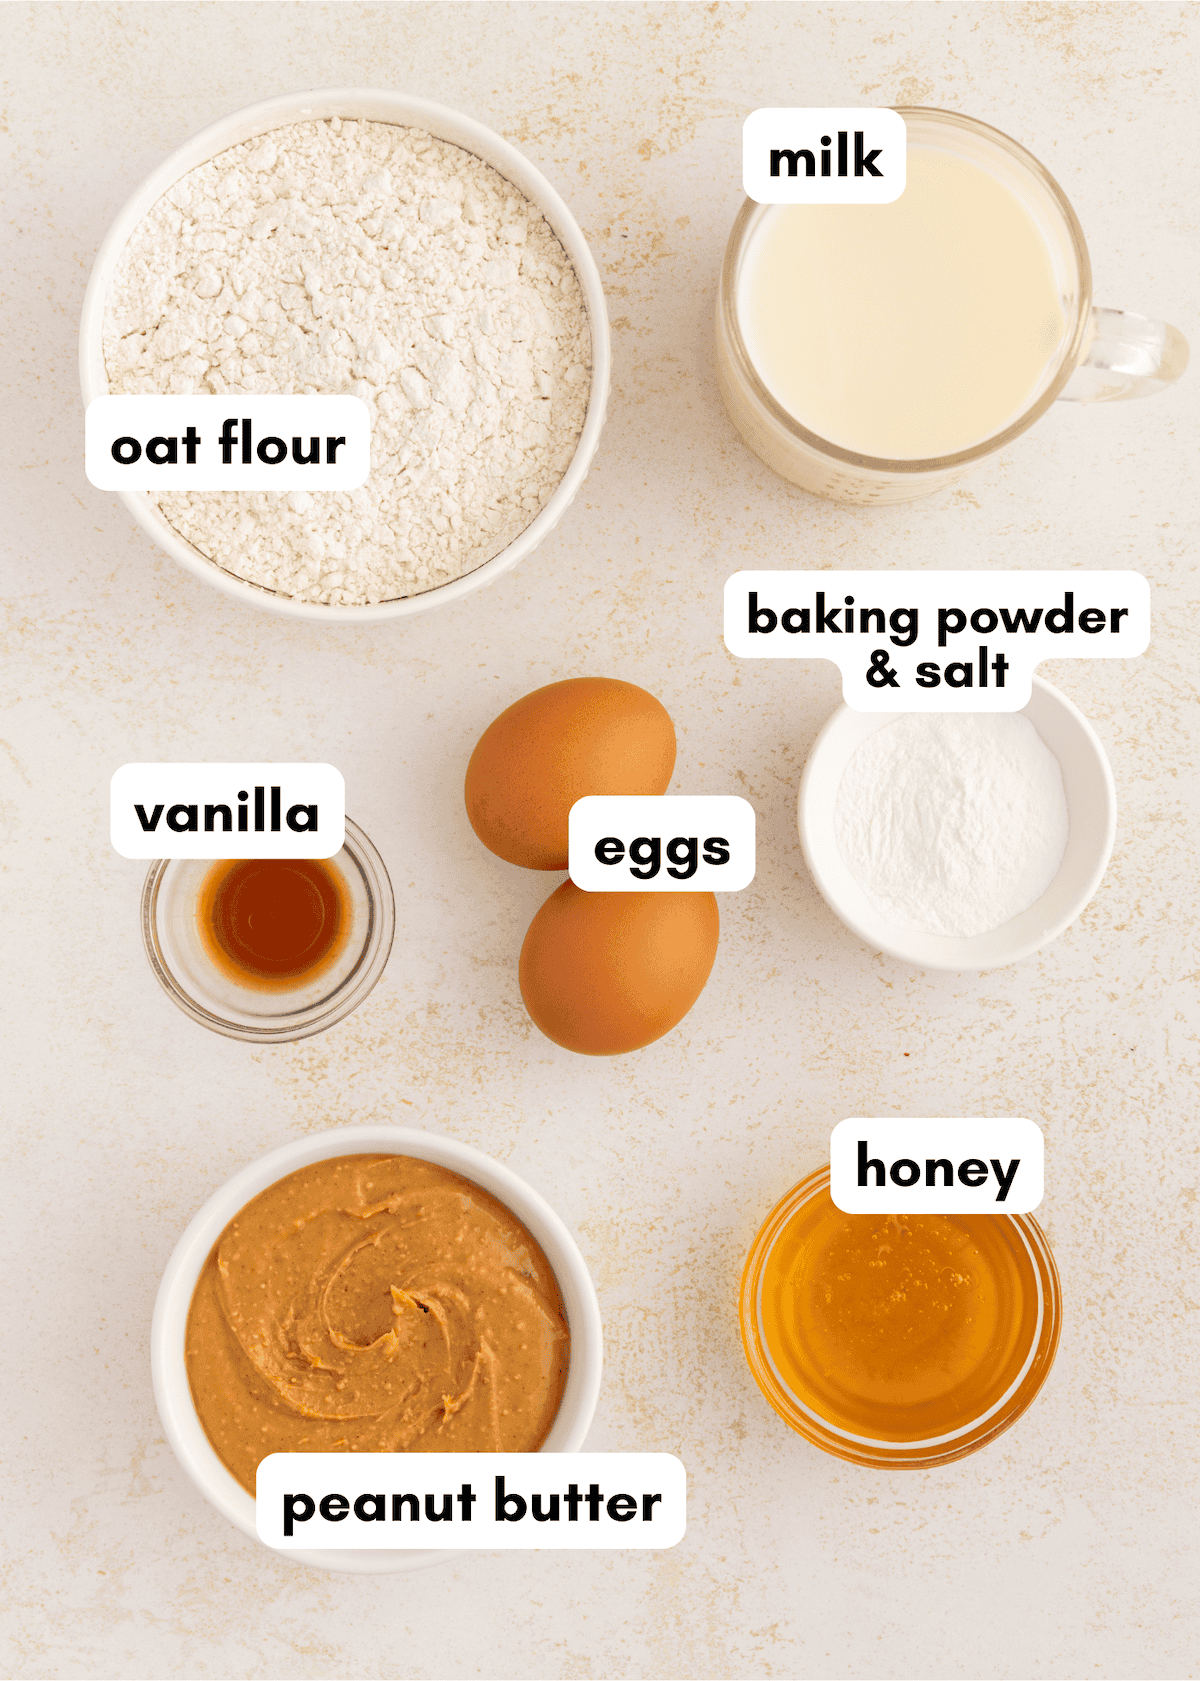
- gluten-free flour. A good 1:1 gluten-free flour blend gives the waffles structure while keeping them soft and fluffy.
- peanut butter. Adds rich peanut butter flavor and makes the waffles more filling. Creamy peanut butter works best for a smooth batter.
- eggs. Help bind the batter together and give the waffles a lighter texture.
- milk. Thins the batter and helps everything mix together smoothly. Use dairy milk or your favorite milk alternative.
- honey. Adds a little natural sweetness without making the waffles taste overly sweet.
- vanilla extract. Adds extra flavor and pairs well with the peanut butter.
Scroll to the recipe card at the bottom of this page for exact quantities.
Easy Substitutions & Variations:
- Make it dairy-free: Use your favorite dairy-free milk, such as almond milk, oat milk, or coconut milk.
- Use a different nut butter: Almond butter or cashew butter can be used instead of peanut butter, but the flavor will change slightly.
- Make them extra peanut buttery: Spread a little extra peanut butter on top before serving.
- Add chocolate chips: Stir mini chocolate chips into the batter for a chocolate peanut butter waffle variation.
- Serve them different ways: Top with sliced bananas, berries, Greek yogurt, maple syrup, honey, or chopped peanuts.
How to Make Peanut Butter Waffles:

- Step 1: Preheat your waffle iron. In a large bowl, whisk together the eggs, milk, peanut butter, honey, and vanilla extract until smooth.
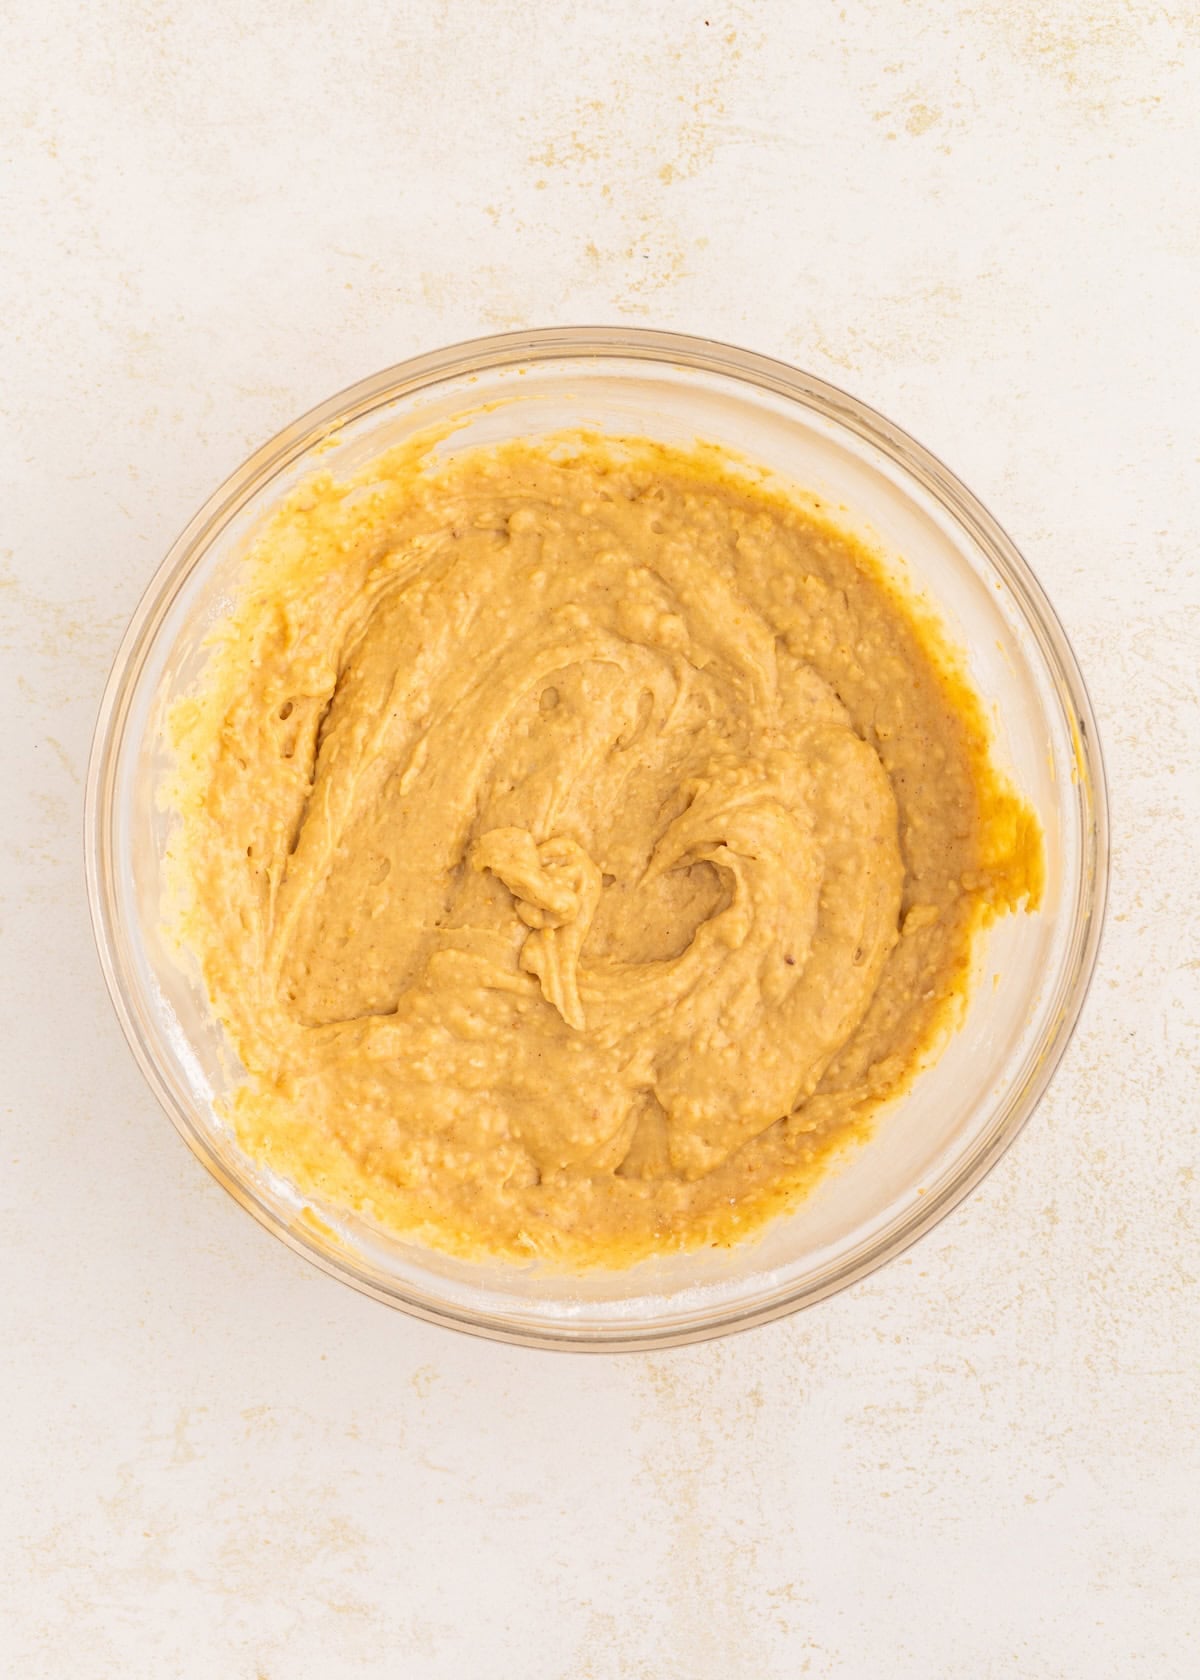
- Step 2: Add the gluten-free flour, baking powder, and salt to the same bowl. Stir until just combined. The batter should be thick but scoopable.
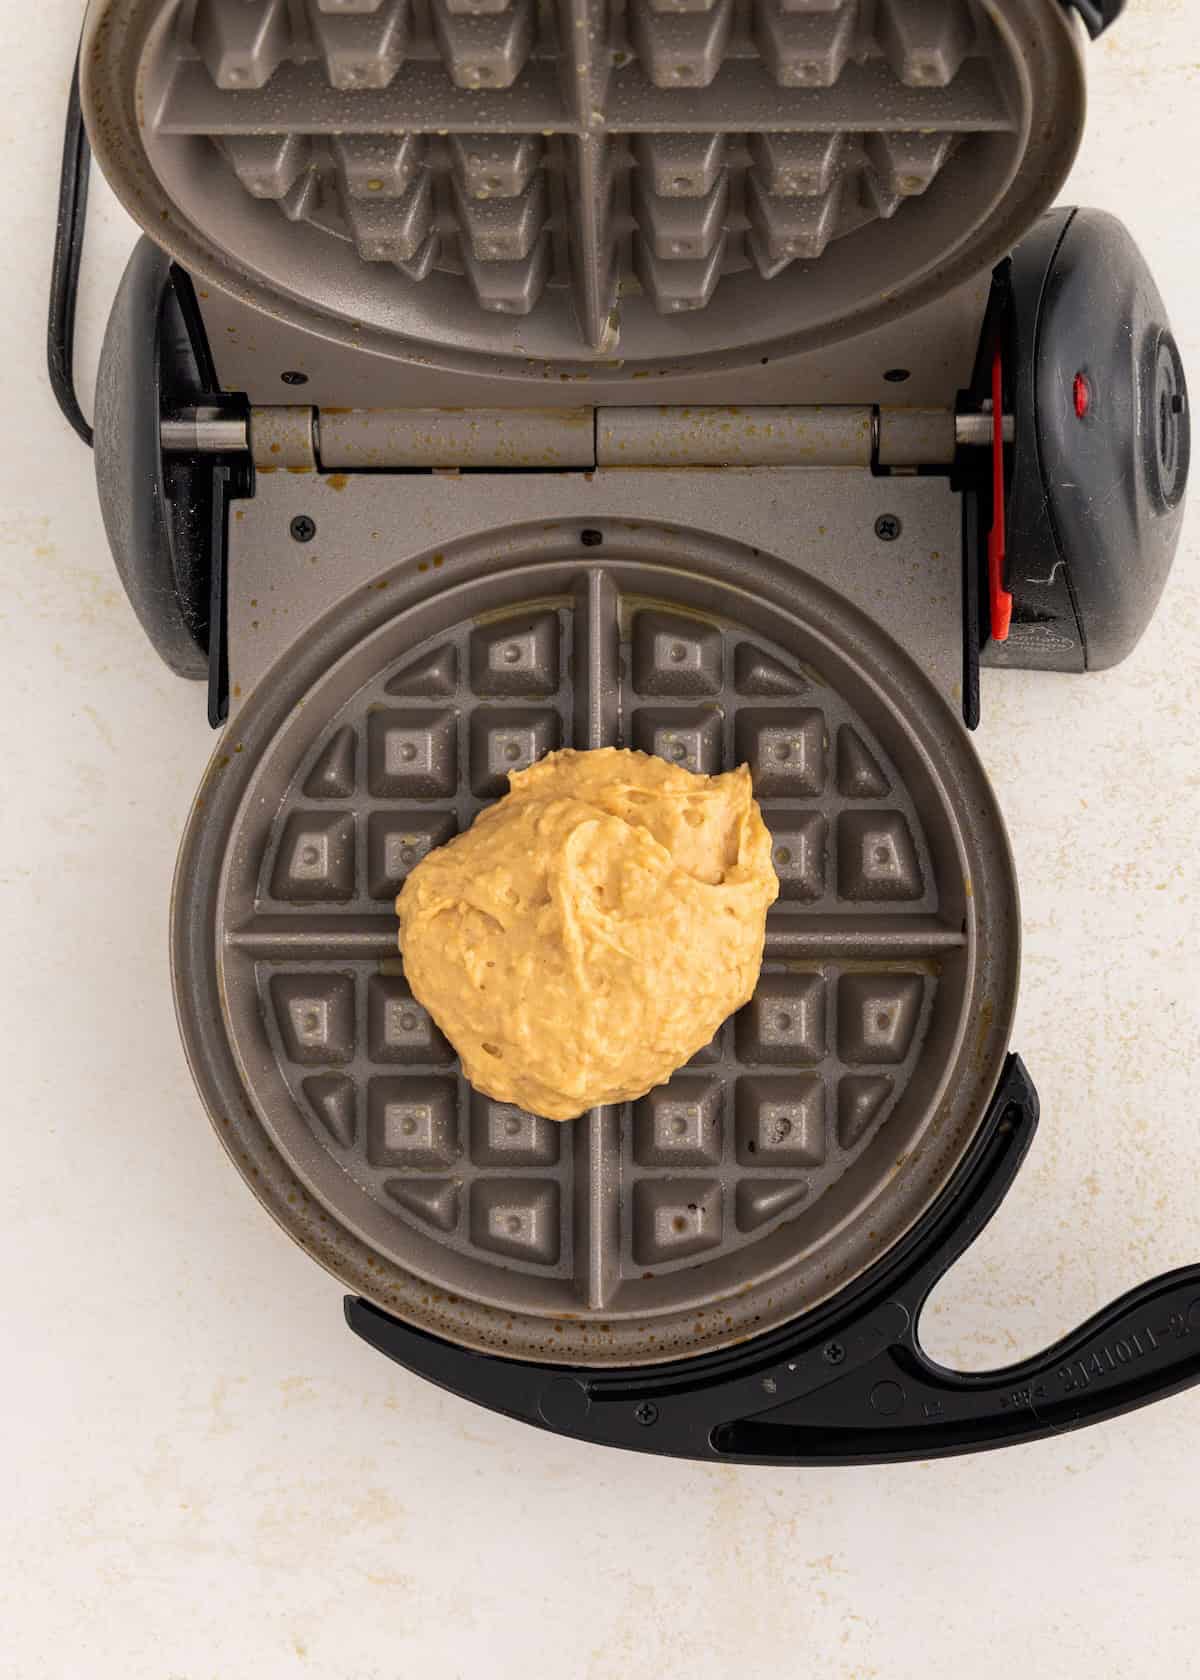
- Step 3: Lightly grease the waffle iron if needed. Add the batter to the waffle iron and cook 3-4 minutes, until the waffles are golden and cooked through.
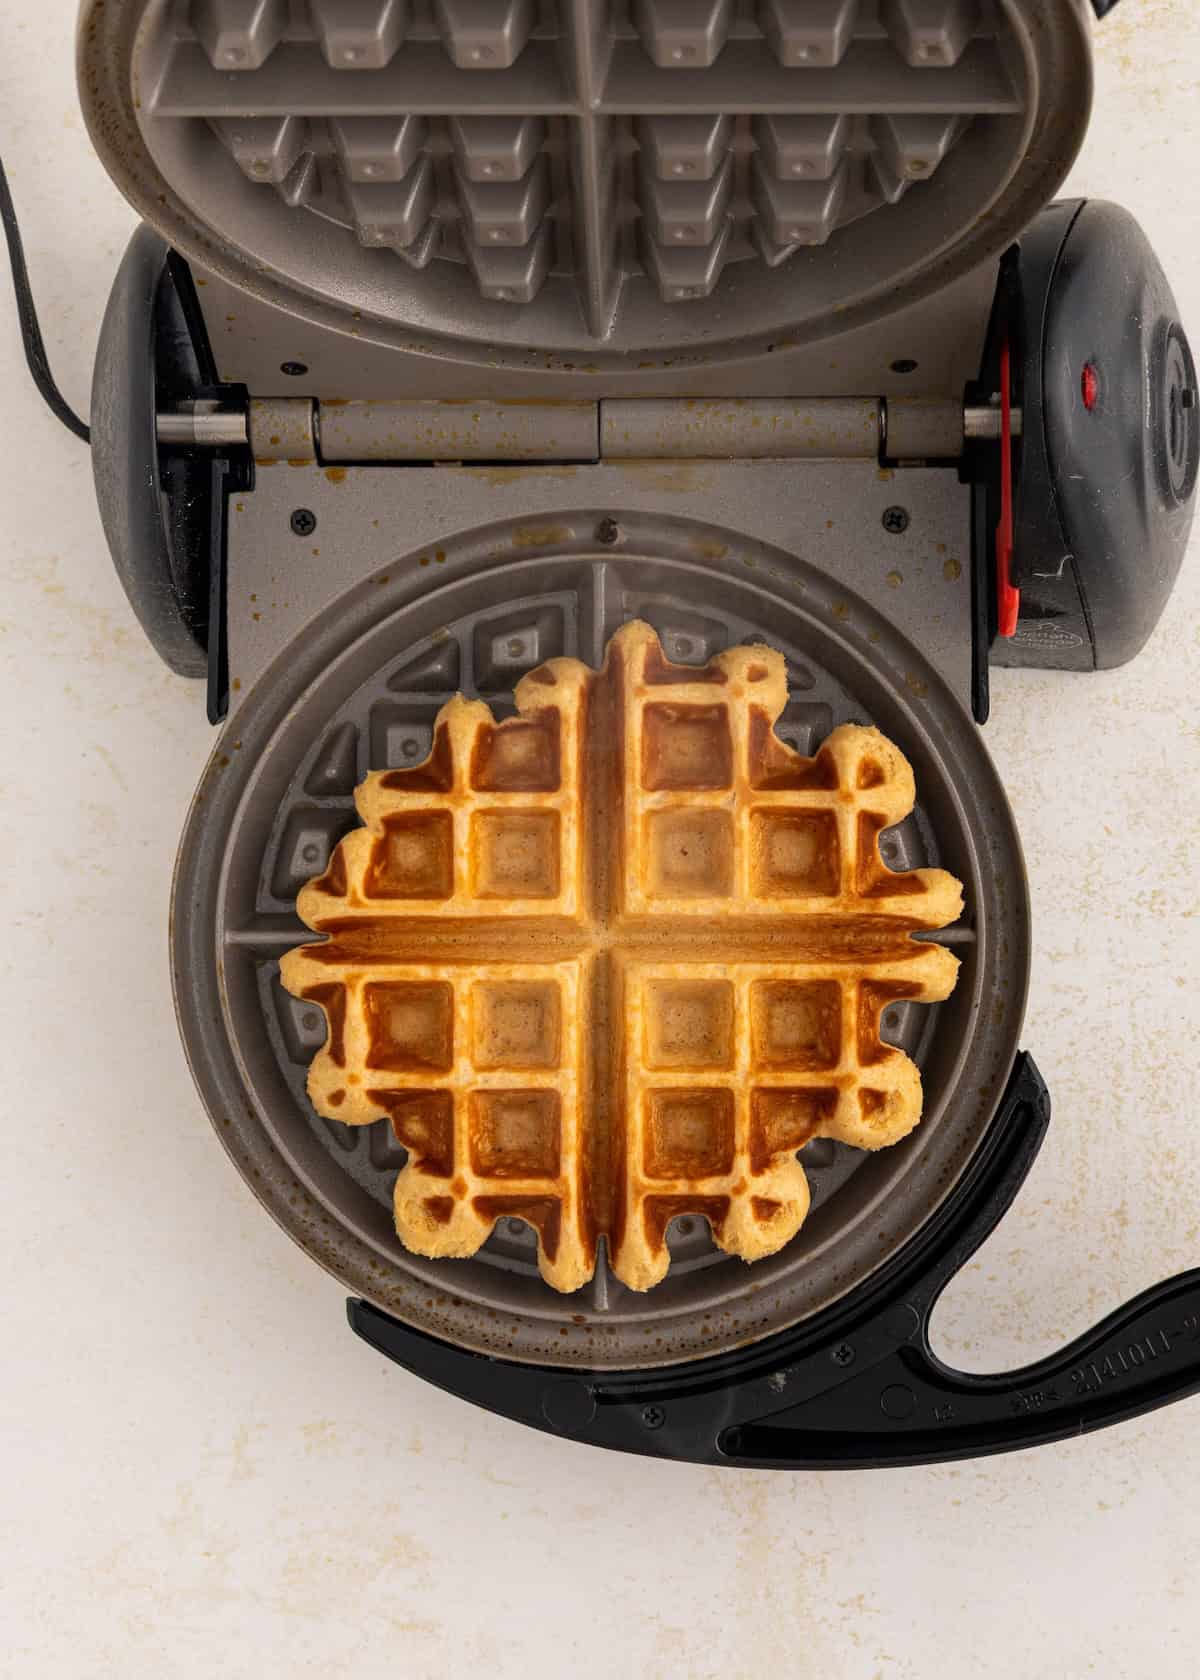
- Step 4: Repeat with the remaining batter. Serve warm with your favorite toppings.
Save this Recipe
Recipe Notes & Tips:
- Use creamy peanut butter: Creamy peanut butter blends into the batter more smoothly and gives the waffles the best texture.
- Do not over mix the batter: Stir just until the wet and dry ingredients are combined so the waffles stay soft and fluffy.
- Let the waffle iron fully preheat: A hot waffle iron helps the waffles cook evenly and keeps them from sticking.
- Grease the waffle iron if needed: Peanut butter can make the batter more likely to stick, so lightly grease your waffle iron between batches if necessary.
- Adjust the batter if needed: Gluten-free flour blends can vary. If the batter feels too thick, add a splash of milk until it is scoopable but not runny.
How to Store:
Refrigerator: Store Peanut Butter Waffles in an airtight container in the refrigerator for up to 4 days.
Reheating: Reheat in the toaster, toaster oven, or air fryer until warmed through and slightly crisp.
Freezer: Freeze waffles in a freezer-safe bag or container for up to 2 months. Place parchment paper between layers so they do not stick together.
Make Ahead Tip: These are great for meal prep. Make a batch, freeze the extras, and reheat straight from frozen for quick breakfasts.
Peanut Butter Waffles FAQs:
The waffle iron may not be fully preheated, or it may need a light coating of oil or cooking spray. Peanut butter can make the batter a little more prone to sticking, so grease the waffle iron between batches if needed.
Yes, these waffles freeze well. Let them cool completely, place parchment paper between layers, and freeze in a freezer-safe bag or container for up to 2 months. Reheat in the toaster, toaster oven, or air fryer.
Sliced bananas, berries, Greek yogurt, maple syrup, honey, extra peanut butter, or mini chocolate chips all pair well with the peanut butter flavor.

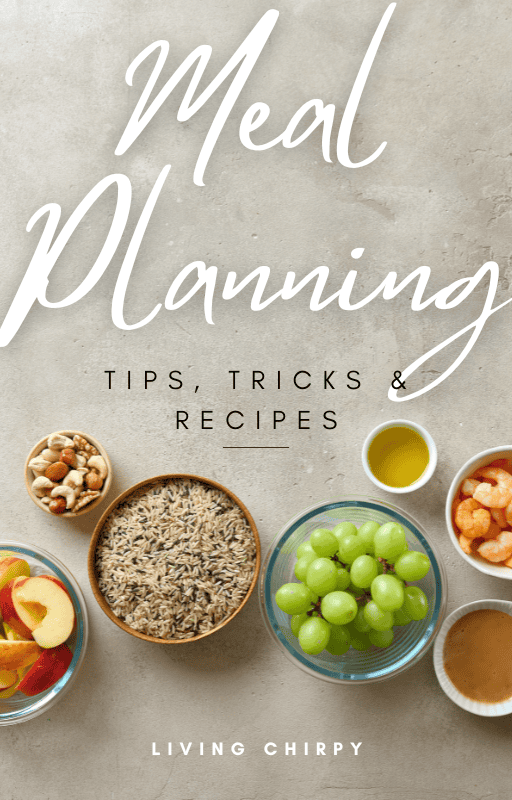
Grab your free copy
Get a FREE Healthy Meal Planning Ebook
Tips, Tricks, and Recipes for Stress Free Meal Planning
Peanut Butter Waffles
Ingredients
- 1 ½ cups gluten-free flour
- 1 tablespoon baking powder
- ½ teaspoon salt
- 2 eggs
- 1 cup milk
- 1 cup peanut butter
- 2 tablespoons honey
- 1 teaspoon vanilla extract
Instructions
- Preheat your waffle iron.
- In a large bowl, whisk together the eggs, milk, peanut butter, honey, and vanilla extract until smooth.
- Add the gluten-free flour, baking powder, and salt to the same bowl.
- Stir until just combined. The batter should be thick but scoopable.
- Lightly grease the waffle iron if needed.
- Add the batter to the waffle iron and cook 3-4 minutes, until the waffles are golden and cooked through.
- Repeat with the remaining batter.
- Serve warm with your favorite toppings.
Nutrition
Notes
- Use creamy peanut butter: Creamy peanut butter blends into the batter more smoothly and gives the waffles the best texture.
- Do not over mix the batter: Stir just until the wet and dry ingredients are combined so the waffles stay soft and fluffy.
- Let the waffle iron fully preheat: A hot waffle iron helps the waffles cook evenly and keeps them from sticking.
- Grease the waffle iron if needed: Peanut butter can make the batter more likely to stick, so lightly grease your waffle iron between batches if necessary.
- Adjust the batter if needed: Gluten-free flour blends can vary. If the batter feels too thick, add a splash of milk until it is scoopable but not runny.

Leave a Reply