
Gluten-free pie crust is a simple homemade crust made with oat flour, cold butter, and ice water that bakes up crisp and sliceable. It's a great option when you want a gluten-free crust that feels classic without needing a long list of specialty ingredients.
A Quick Look at the Recipe
✅ Recipe Name: Gluten-Free Pie Crust
🕒 Ready In: ~15 minutes, plus chilling
👪 Makes: 1 pie crust
🍽 Calories: ~150 per slice (estimated)
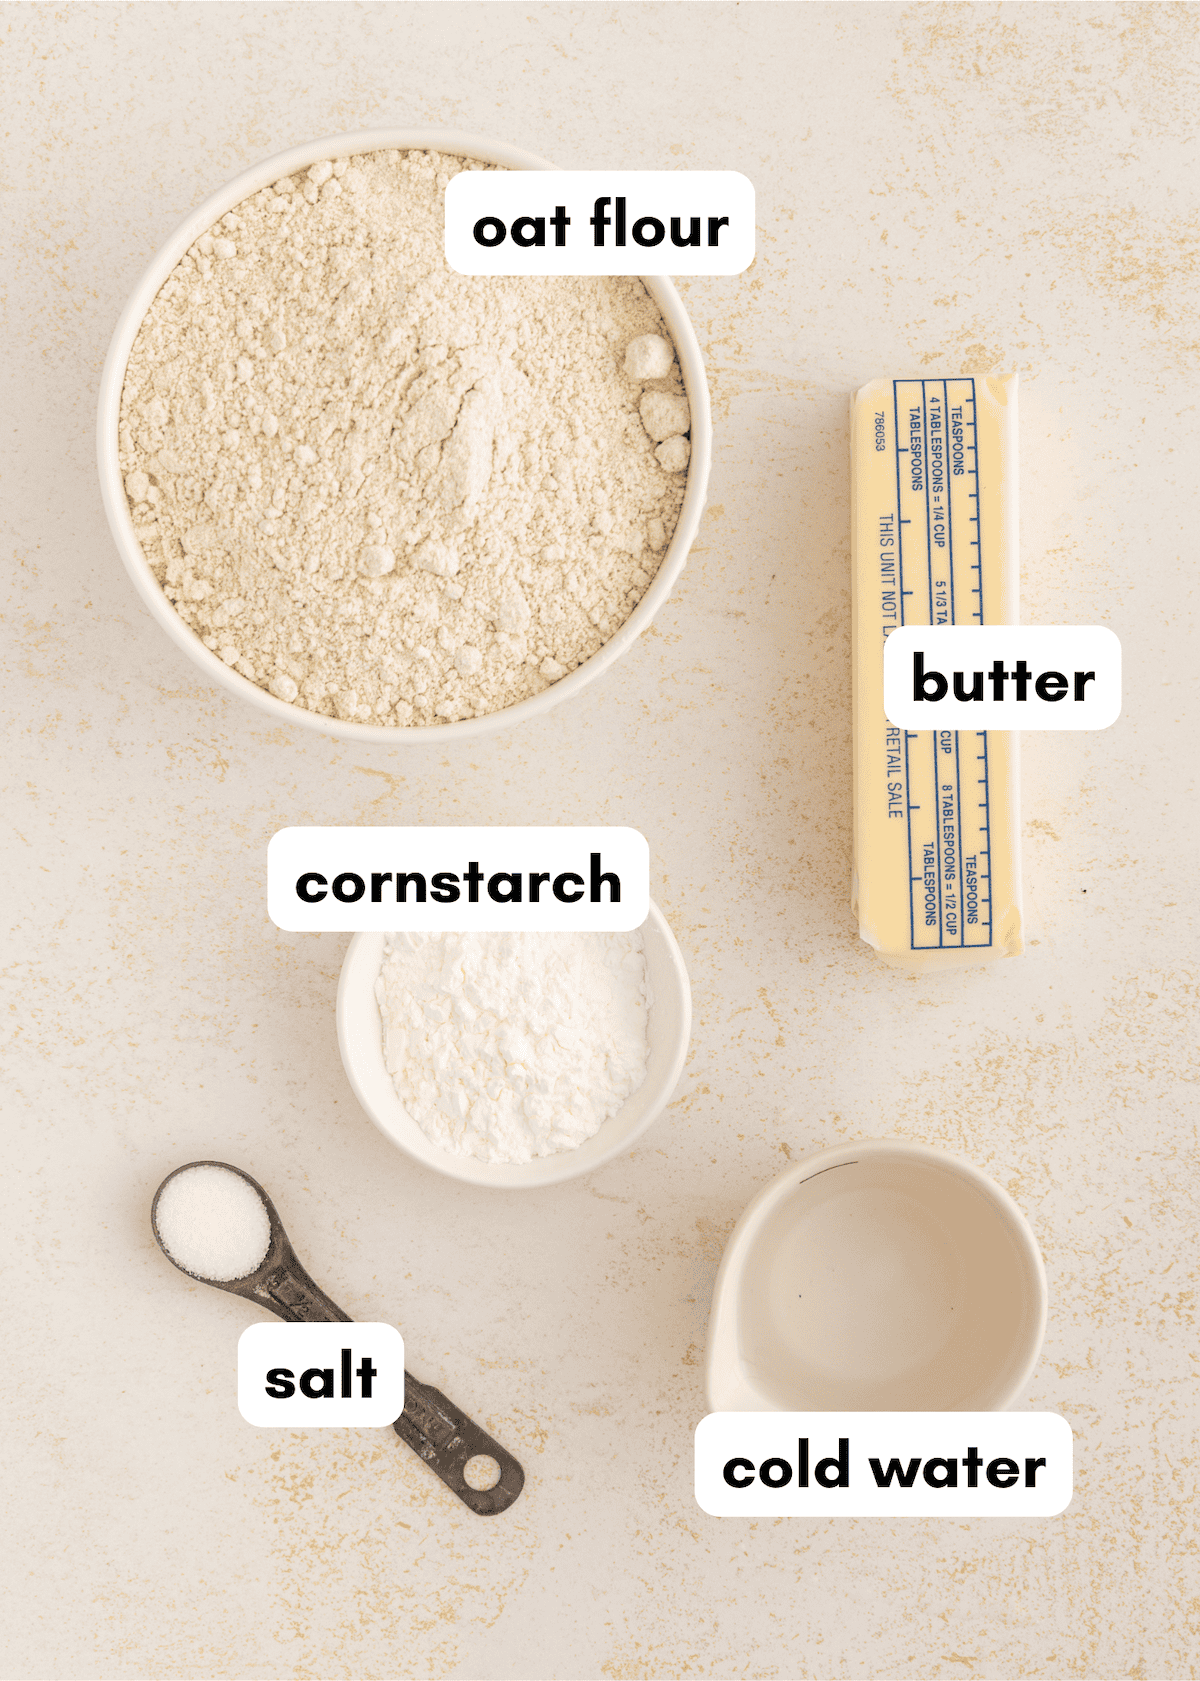
🥣 Main Ingredients: Oat flour, cornstarch, butter, cold water, salt
📖 Dietary Info: Gluten-free
👌 Difficulty: Easy - mix then chill
SUMMARIZE & SAVE THIS CONTENT ON
This crust comes together quickly once you keep everything cold, and the cornstarch helps the texture feel more tender instead of gritty. It works well for both savory quiches and sweet pies.
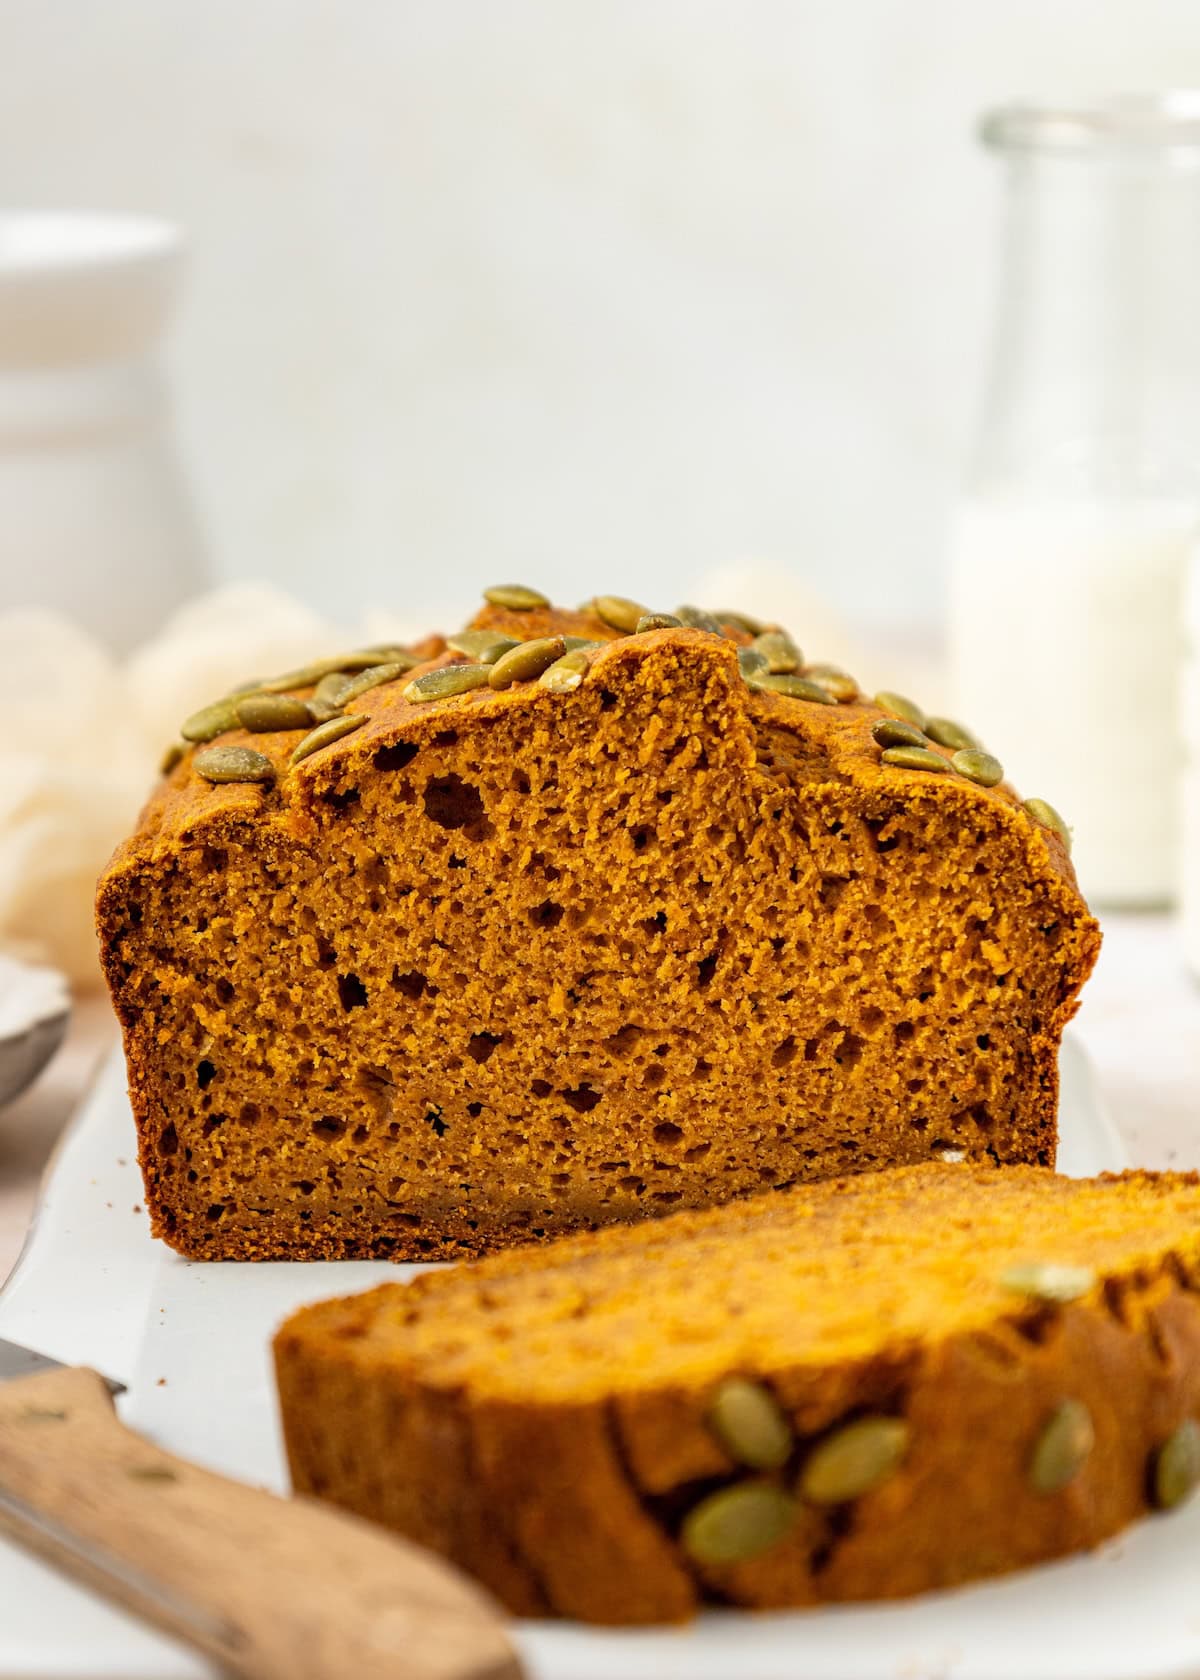
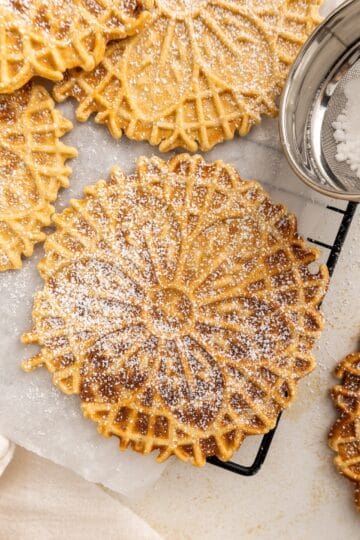
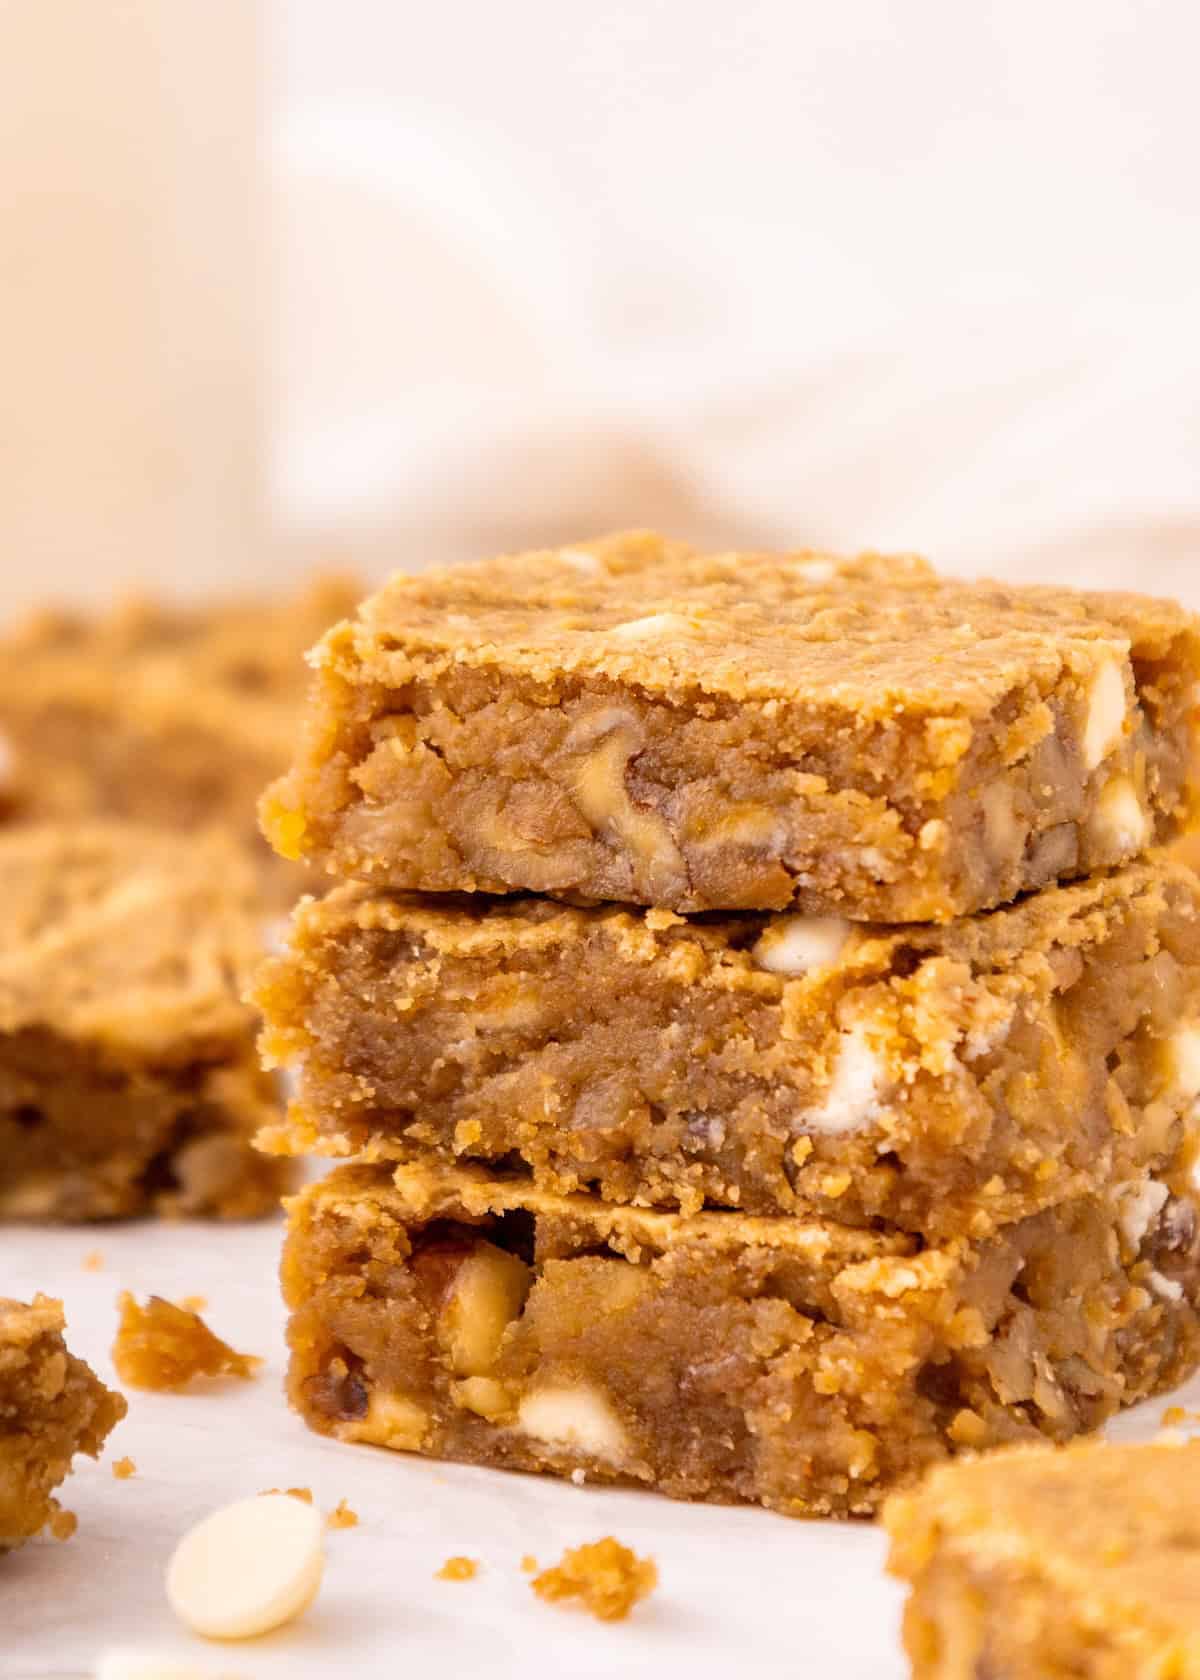
If you're baking more gluten-free favorites, try our Gluten-Free Pizzelles, Gluten-Free Chocolate Donuts, Chickpea Blondies, or Gluten-Free Lemon Bars.
Jump to:
- A Quick Look at the Recipe
- Why You'll Love this Gluten-Free Pie Crust:
- Key Ingredients:
- Easy Substitutions & Variations:
- How to Make Gluten-Free Pie Crust:
- Recipe Notes & Tips:
- How to Store:
- Gluten-Free Pie Crust FAQs:
- More Gluten-Free Recipes You'll Love
- Get a FREE Healthy Meal Planning Ebook
- Gluten-Free Pie Crust
Why You'll Love this Gluten-Free Pie Crust:
Classic Texture: It bakes up crisp and tender with a sliceable crust, not crumbly.
Simple Ingredients: Made with oat flour and butter, so you do not need a long list of specialty flours.
Works for Sweet or Savory: Use it for pies, quiche, and tarts.
Easy to Handle: Chilling helps the dough roll out more smoothly and keeps it from sticking.
Key Ingredients:
- oat flour. Keeps the crust gluten-free while still giving it a classic homemade texture.
- cornstarch. Helps soften the texture and makes the crust feel more tender.
- cold butter. Creates flaky pockets as it melts in the oven, which helps the crust bake up crisp.
- cold water. Brings the dough together without melting the butter, so the crust stays flaky.
- salt. Balances flavor so the crust tastes like a real pie crust, not bland.
Scroll to the recipe card at the bottom of this page for exact quantities.
Easy Substitutions & Variations:
- Dairy-free option: Use cold vegan butter sticks in place of butter.
- Slightly sweeter crust: Add a small amount of sugar if you are using it for dessert pie.
- Extra tender: Add an extra tablespoon of cornstarch for a softer bite, especially for fruit pies.
- Thicker crust: Double the recipe for a deep dish pie crust.
- Blind bake option: Par bake the crust before adding a wet filling to help prevent sogginess.
How to Make Gluten-Free Pie Crust:
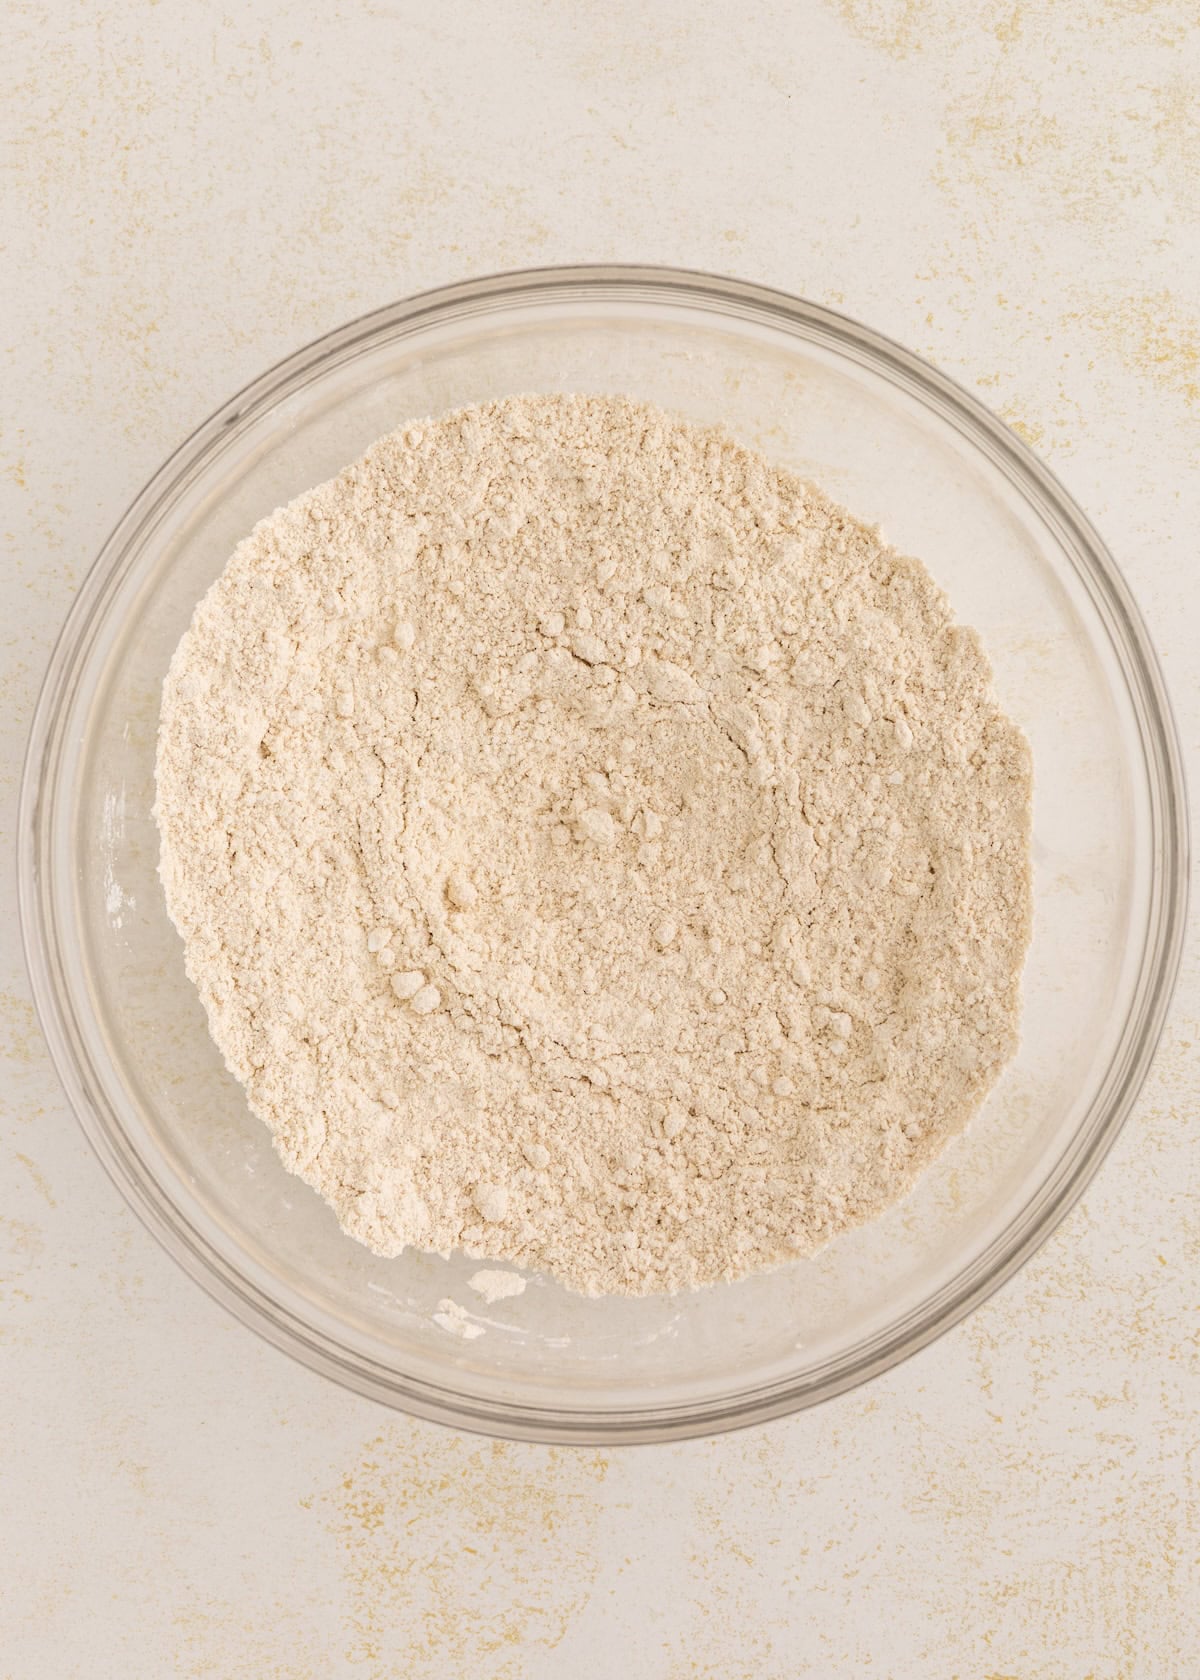
- Step 1: Add the oat flour, cornstarch, and salt to a bowl and whisk to combine.
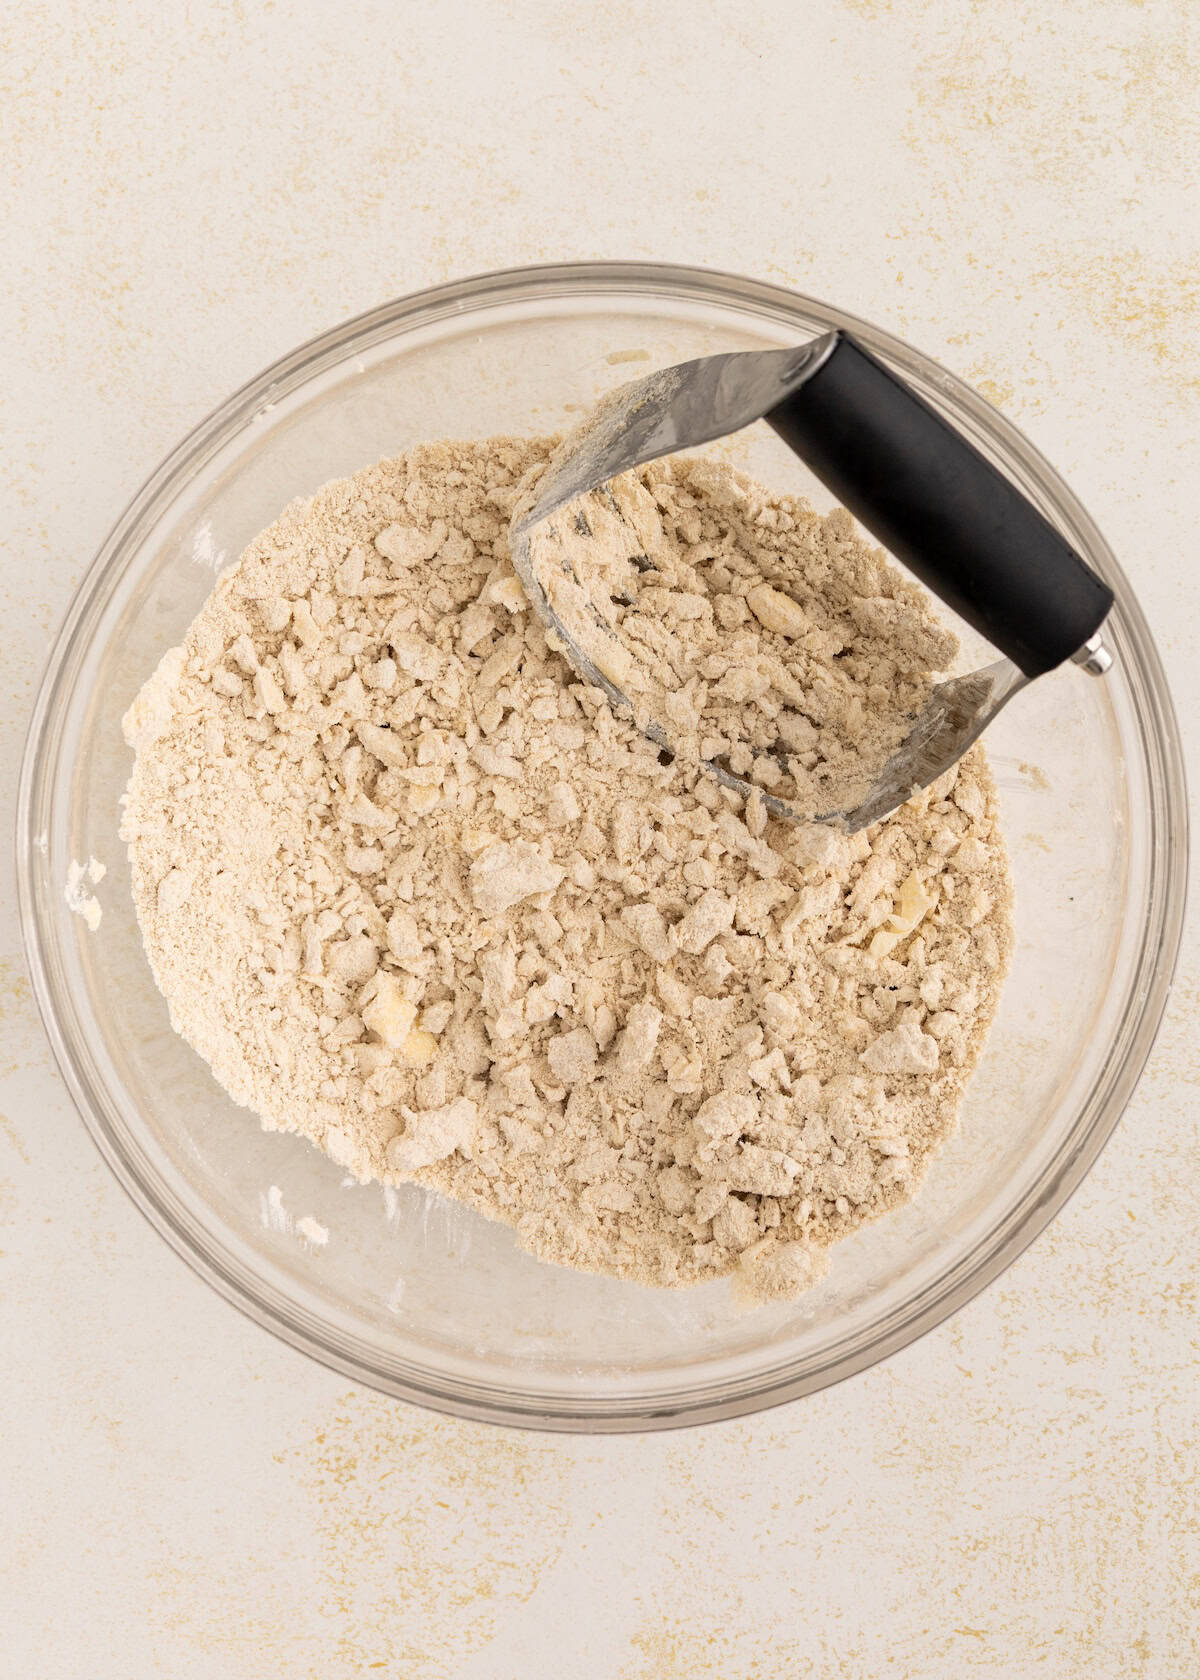
- Step 2: Cut the cold butter into small cubes and add it to the bowl. Use a pastry cutter to work the butter into the flour until it looks like coarse crumbs.
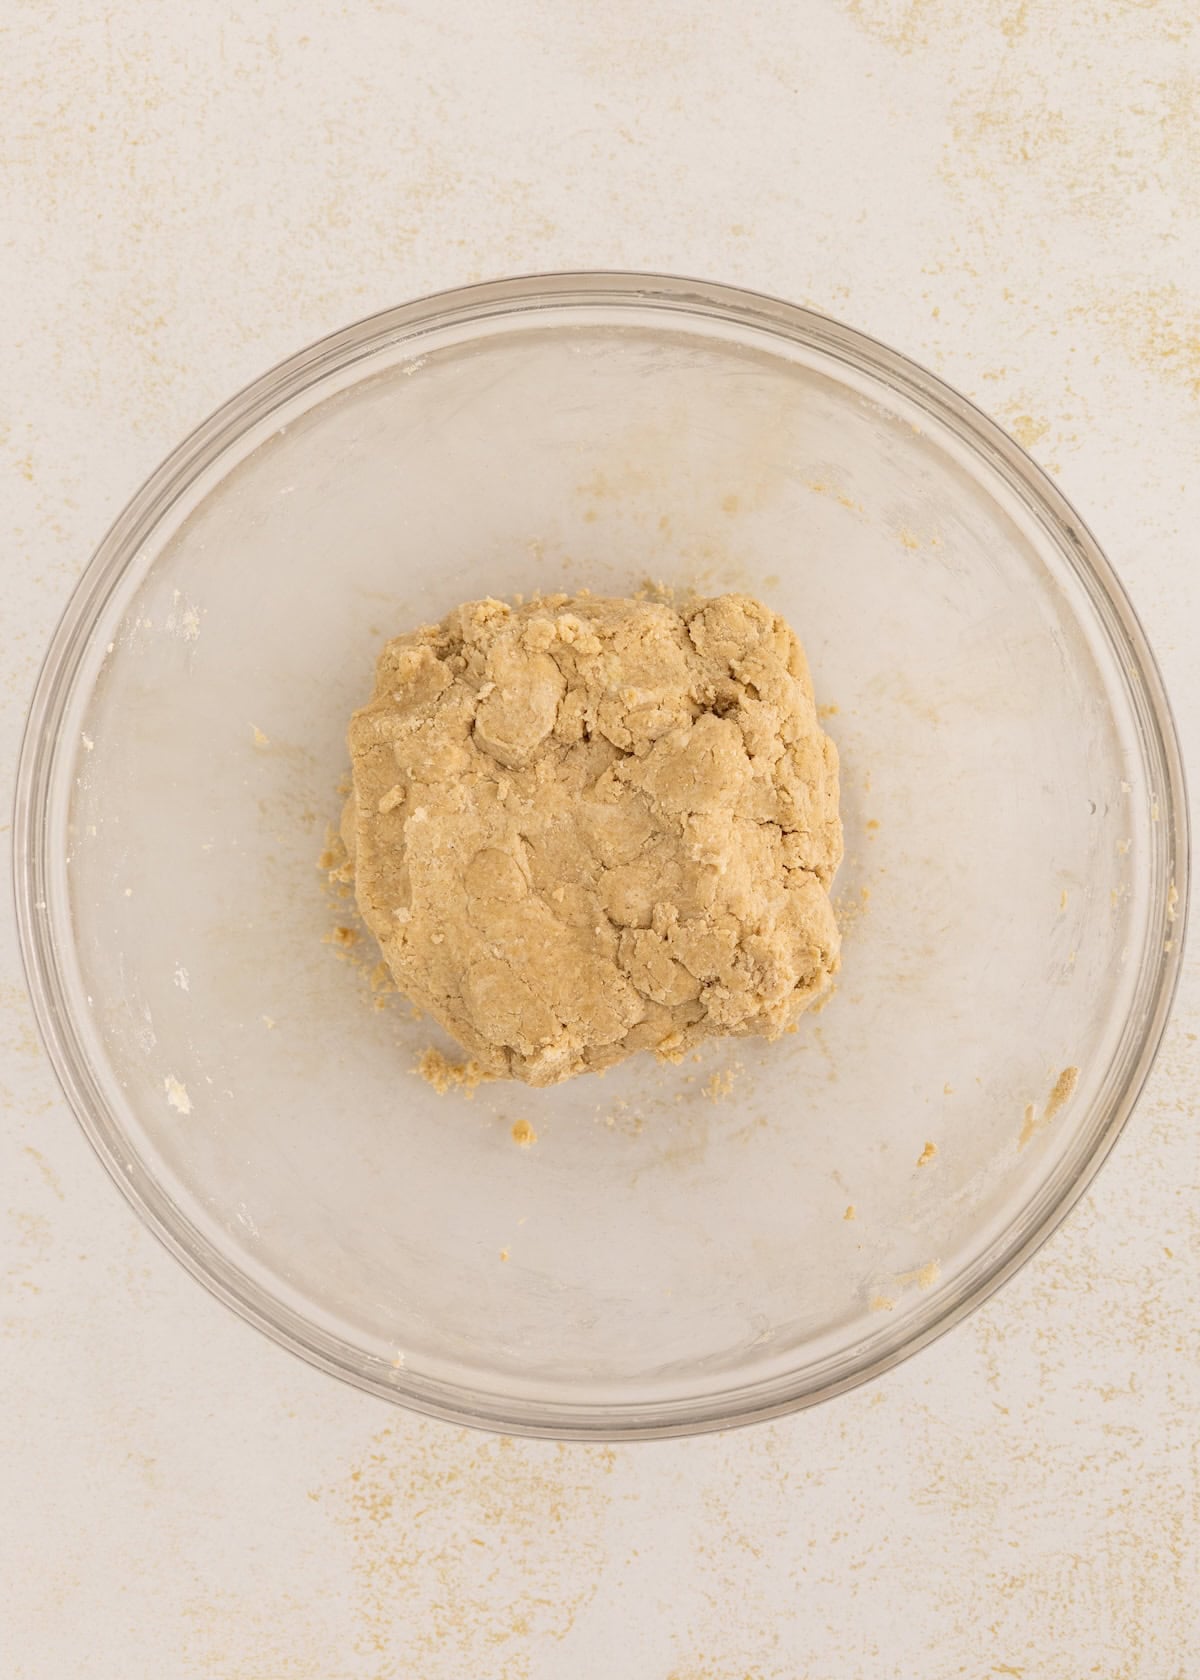
- Step 3: Add the cold water a little at a time, mixing until the dough holds together when pressed. Form the dough into a disc, wrap, and refrigerate for at least 30 minutes.
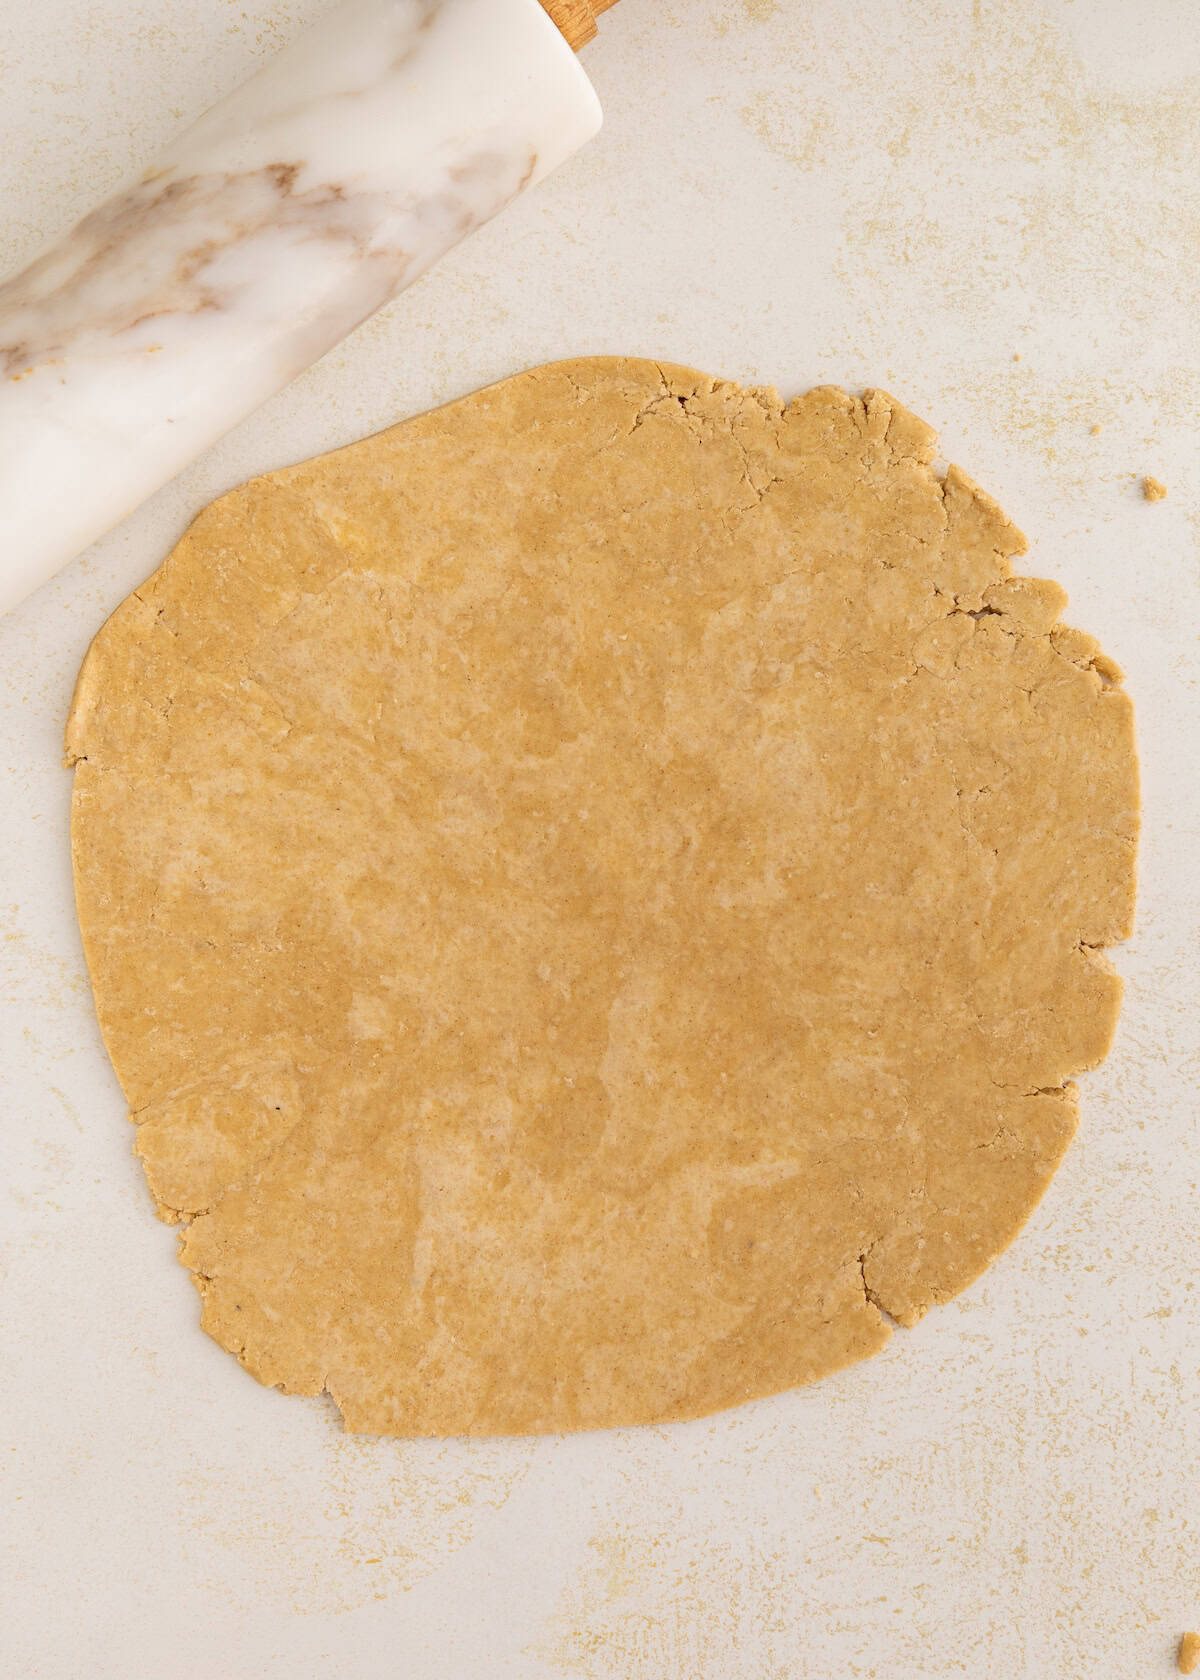
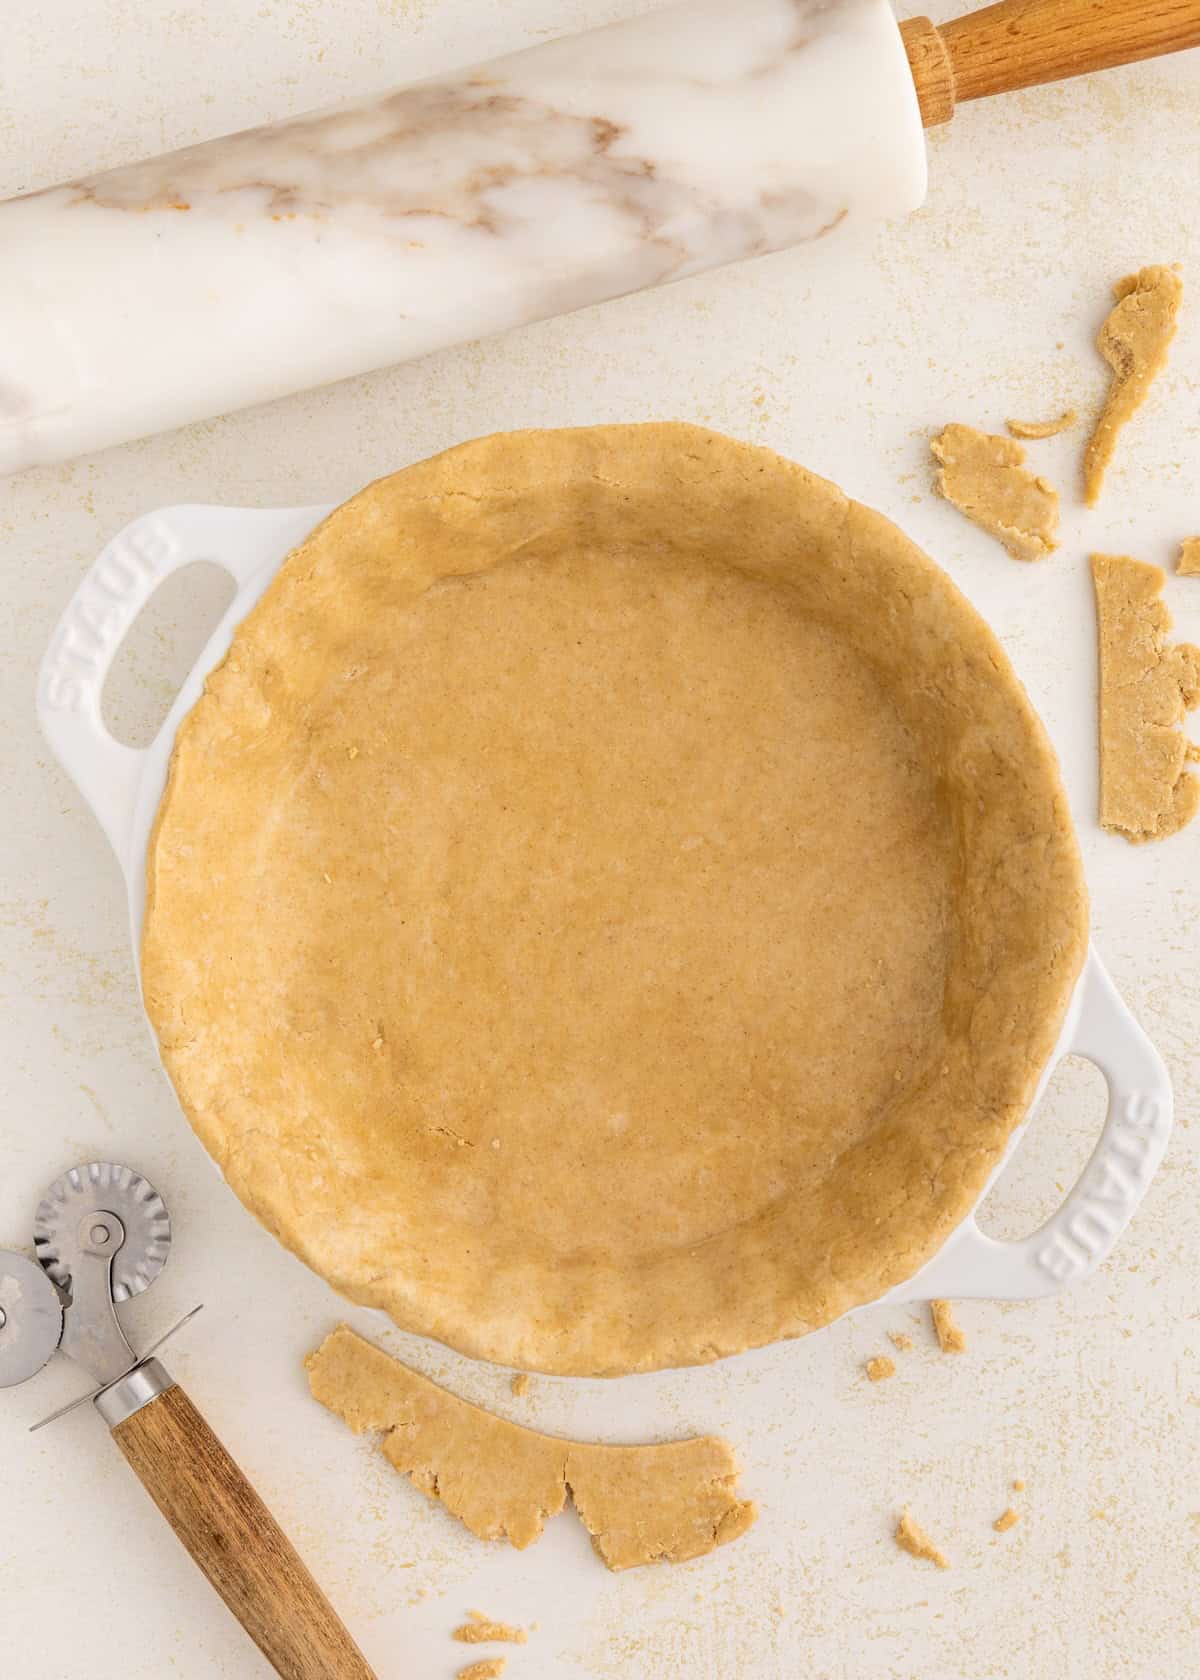
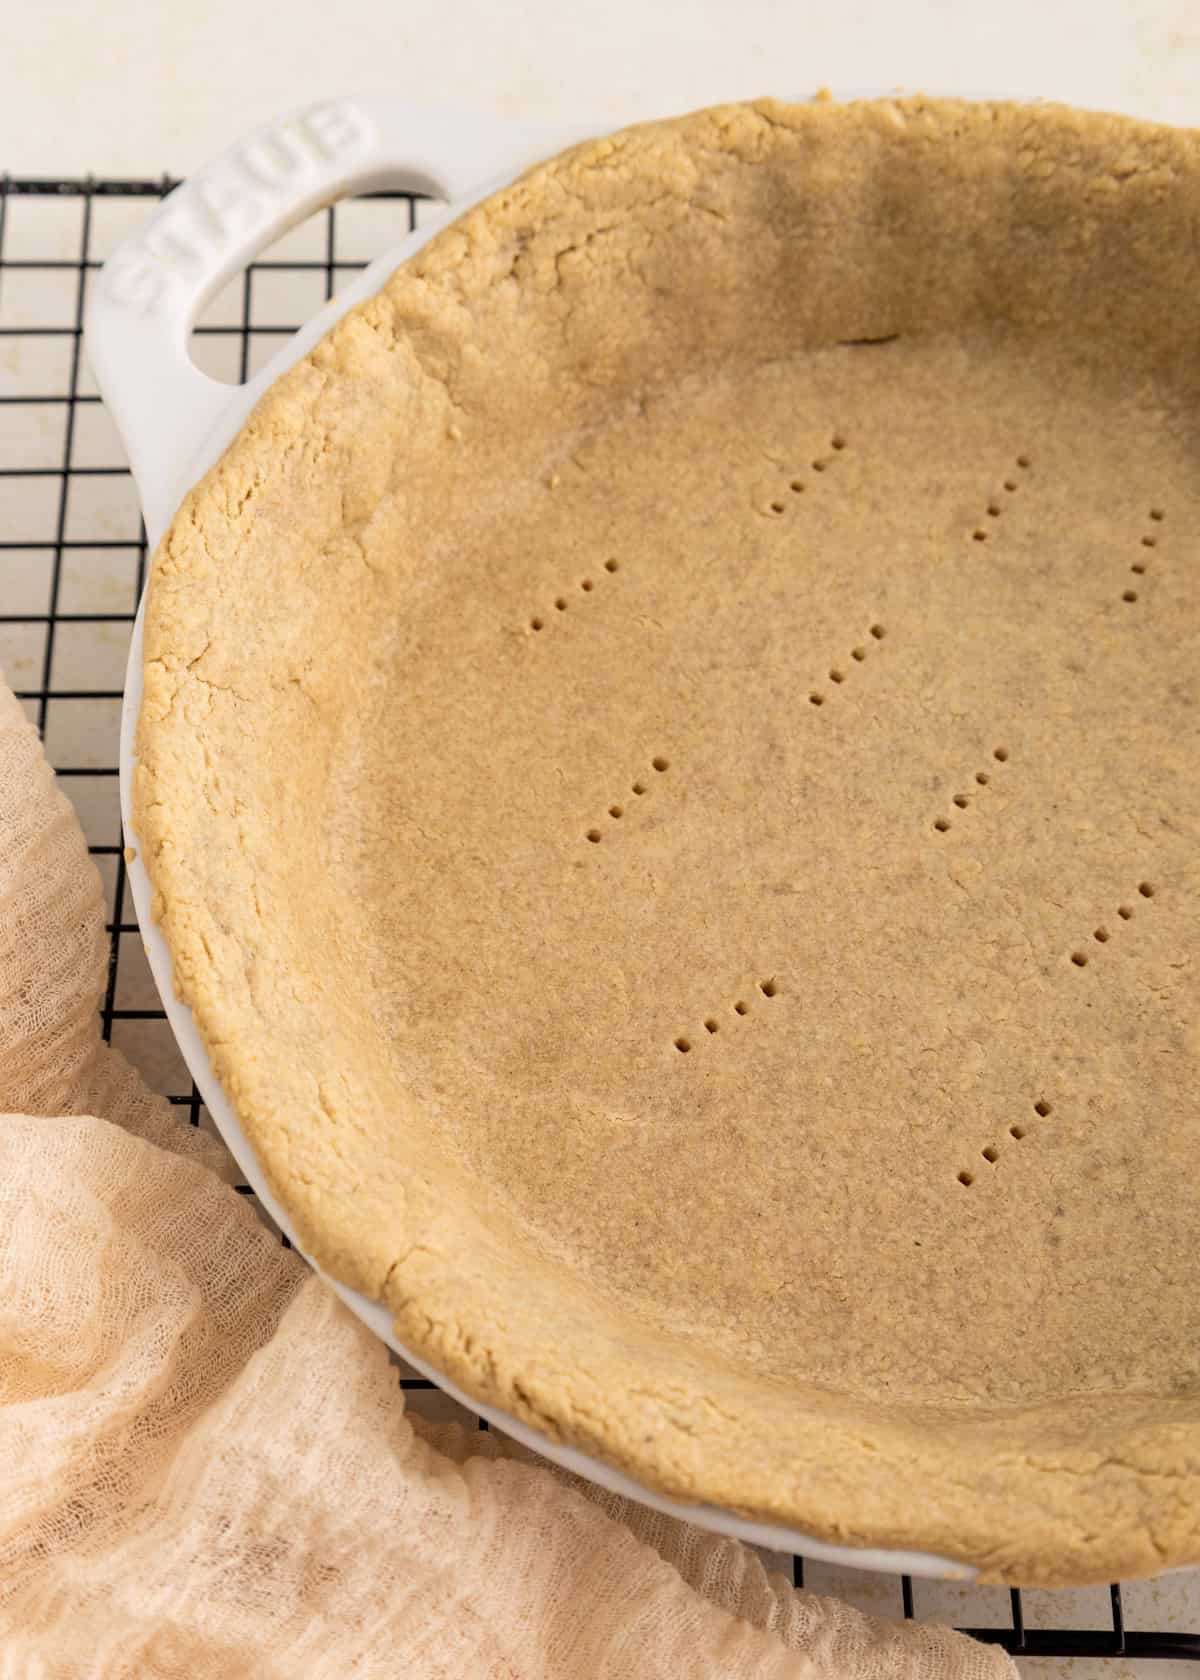
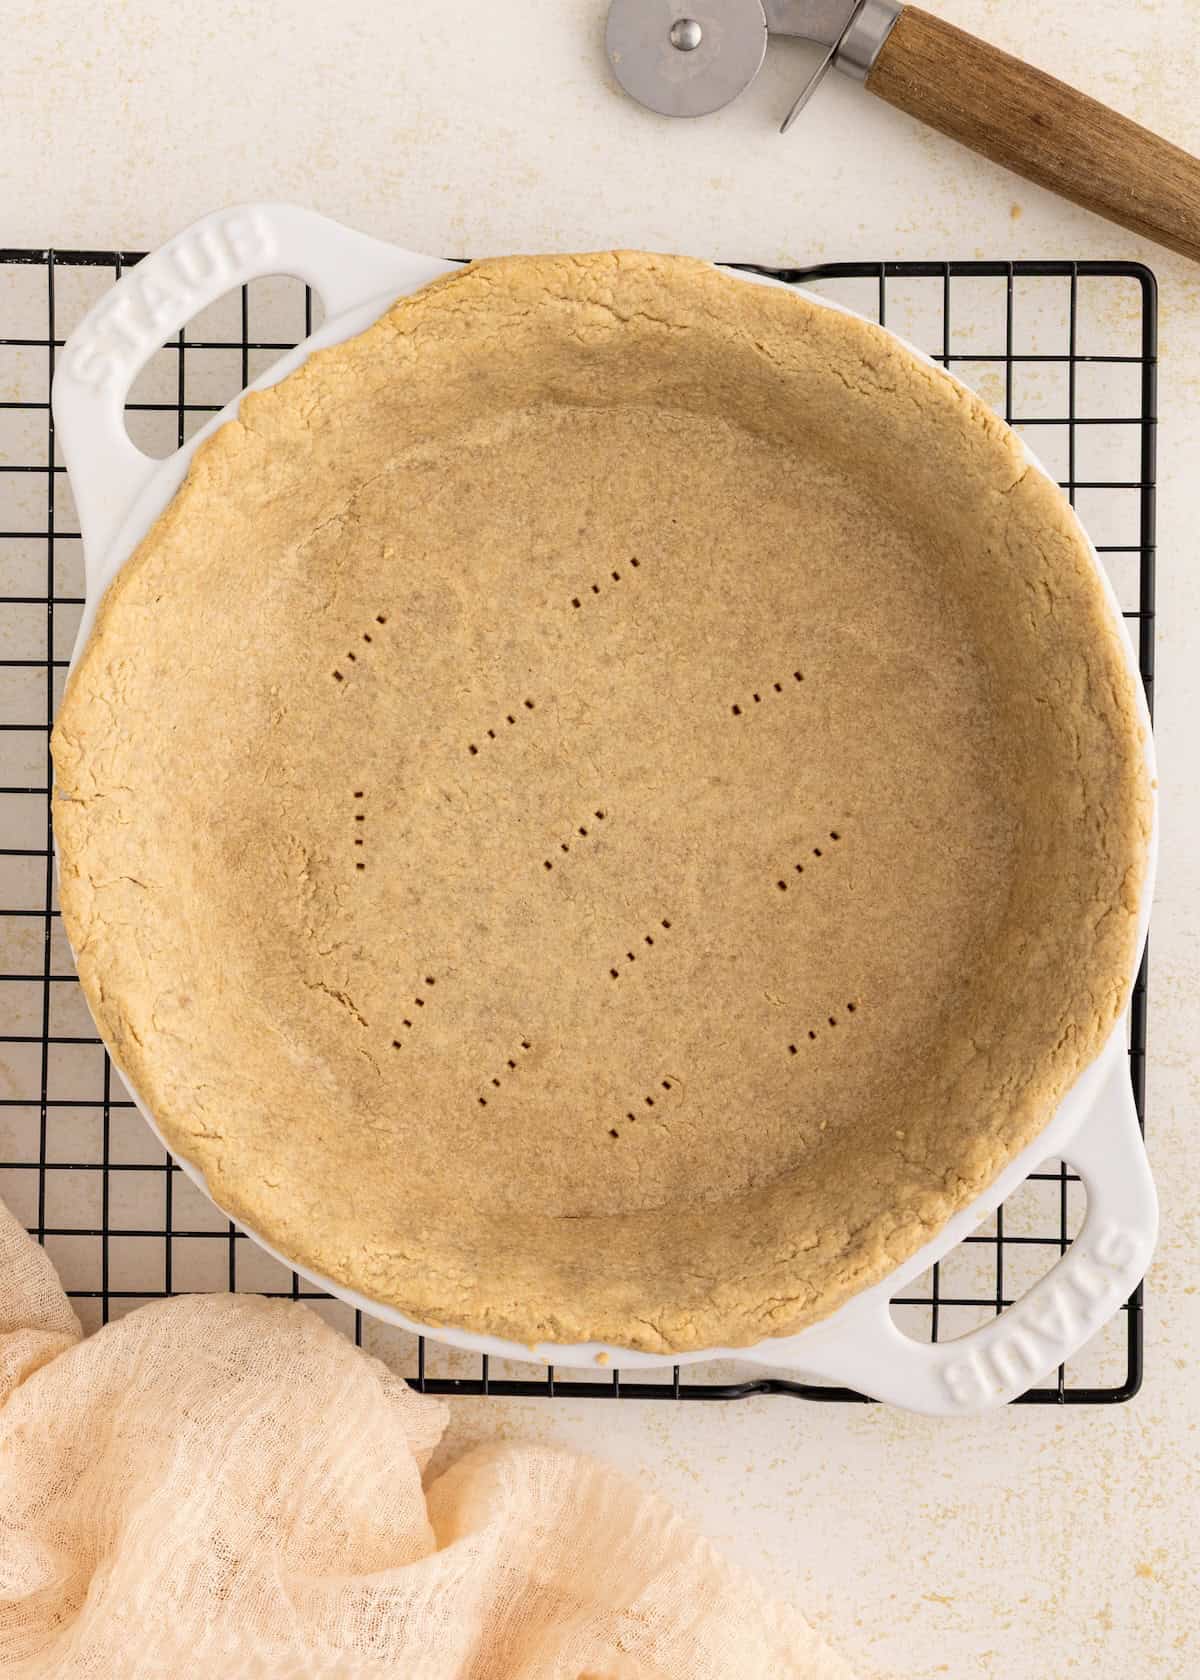
- Step 4: Roll the chilled dough between two sheets of parchment paper, then transfer it to a pie dish and press it in gently. Trim and crimp the edges as needed.
Save this Recipe
Recipe Notes & Tips:
- Use certified gluten-free oat flour: This helps keep the crust truly gluten-free since oats can be cross-contaminated.
- Keep everything cold: Cold butter and cold water are what help the crust bake up tender and not greasy.
- Do not overwork the dough: Mixing too much can make the crust tough, so stop once it holds together.
- Roll between parchment: This is the easiest way to prevent sticking and cracking with gluten-free dough.
- Chill again if needed: If the dough softens while shaping, chill it for 10 minutes before baking.
How to Store:
Refrigerator: Wrap the gluten-free pie crust dough tightly and refrigerate for up to 3 days.
Freezer: Freeze the dough disc for up to 2 months. Thaw overnight in the fridge before rolling out.
Baked crust: A fully baked gluten-free pie crust can be stored at room temperature for 1 day or in the fridge for up to 3 days, covered well.
Gluten-Free Pie Crust FAQs:
Gluten-free pie crust can crack if the dough is too dry or too cold when rolling. Add cold water a teaspoon at a time until the dough holds together, and roll between parchment paper to prevent sticking and tearing.
Blind baking is recommended for gluten-free pie crust when using a wet filling like custard or quiche. Par baking helps prevent a soggy bottom and keeps the crust crisp.
Yes, chilling gluten-free pie crust dough helps the butter stay cold and makes the dough easier to roll and handle. It also helps the crust bake up more tender.

Grab your free copy
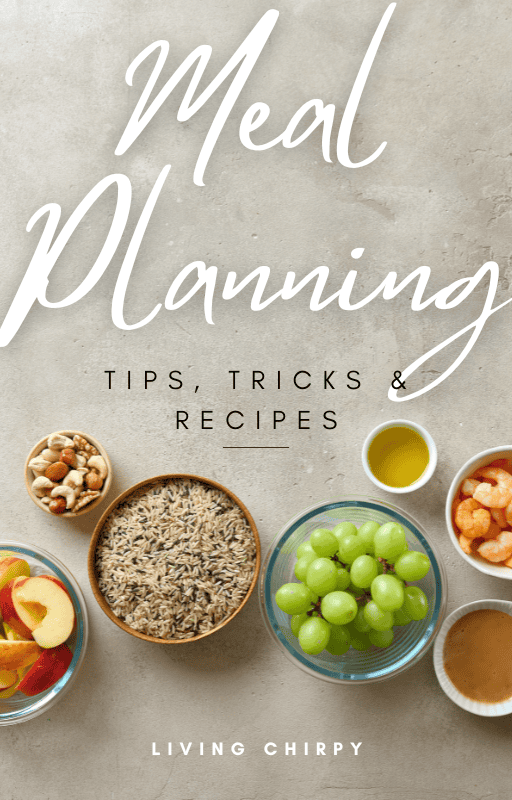
Get a FREE Healthy Meal Planning Ebook
Tips, Tricks, and Recipes for Stress Free Meal Planning
Gluten-Free Pie Crust
Ingredients
- 2 cups oat flour
- 2 tablespoons cornstarch
- ½ teaspoon salt
- ½ cup butter, cold
- ¼ cup cold water
Instructions
- Add the oat flour, cornstarch, and salt to a bowl and whisk to combine.
- Cut the cold butter into small cubes and add it to the bowl. Use a pastry cutter or your fingertips to work the butter into the flour until it looks like coarse crumbs with some pea-sized pieces.
- Add the cold water a little at a time, mixing until the dough holds together when pressed.
- Form the dough into a disc, wrap, and refrigerate for at least 30 minutes.
- Roll the chilled dough between two sheets of parchment paper, then transfer it to a pie dish and press it in gently. Trim and crimp the edges as needed.
Nutrition
Notes
- Use certified gluten-free oat flour: This helps keep the crust truly gluten-free since oats can be cross-contaminated.
- Keep everything cold: Cold butter and cold water are what help the crust bake up tender and not greasy.
- Do not overwork the dough: Mixing too much can make the crust tough, so stop once it holds together.
- Roll between parchment: This is the easiest way to prevent sticking and cracking with gluten-free dough.
- Chill again if needed: If the dough softens while shaping, chill it for 10 minutes before baking.
Leave a Reply