
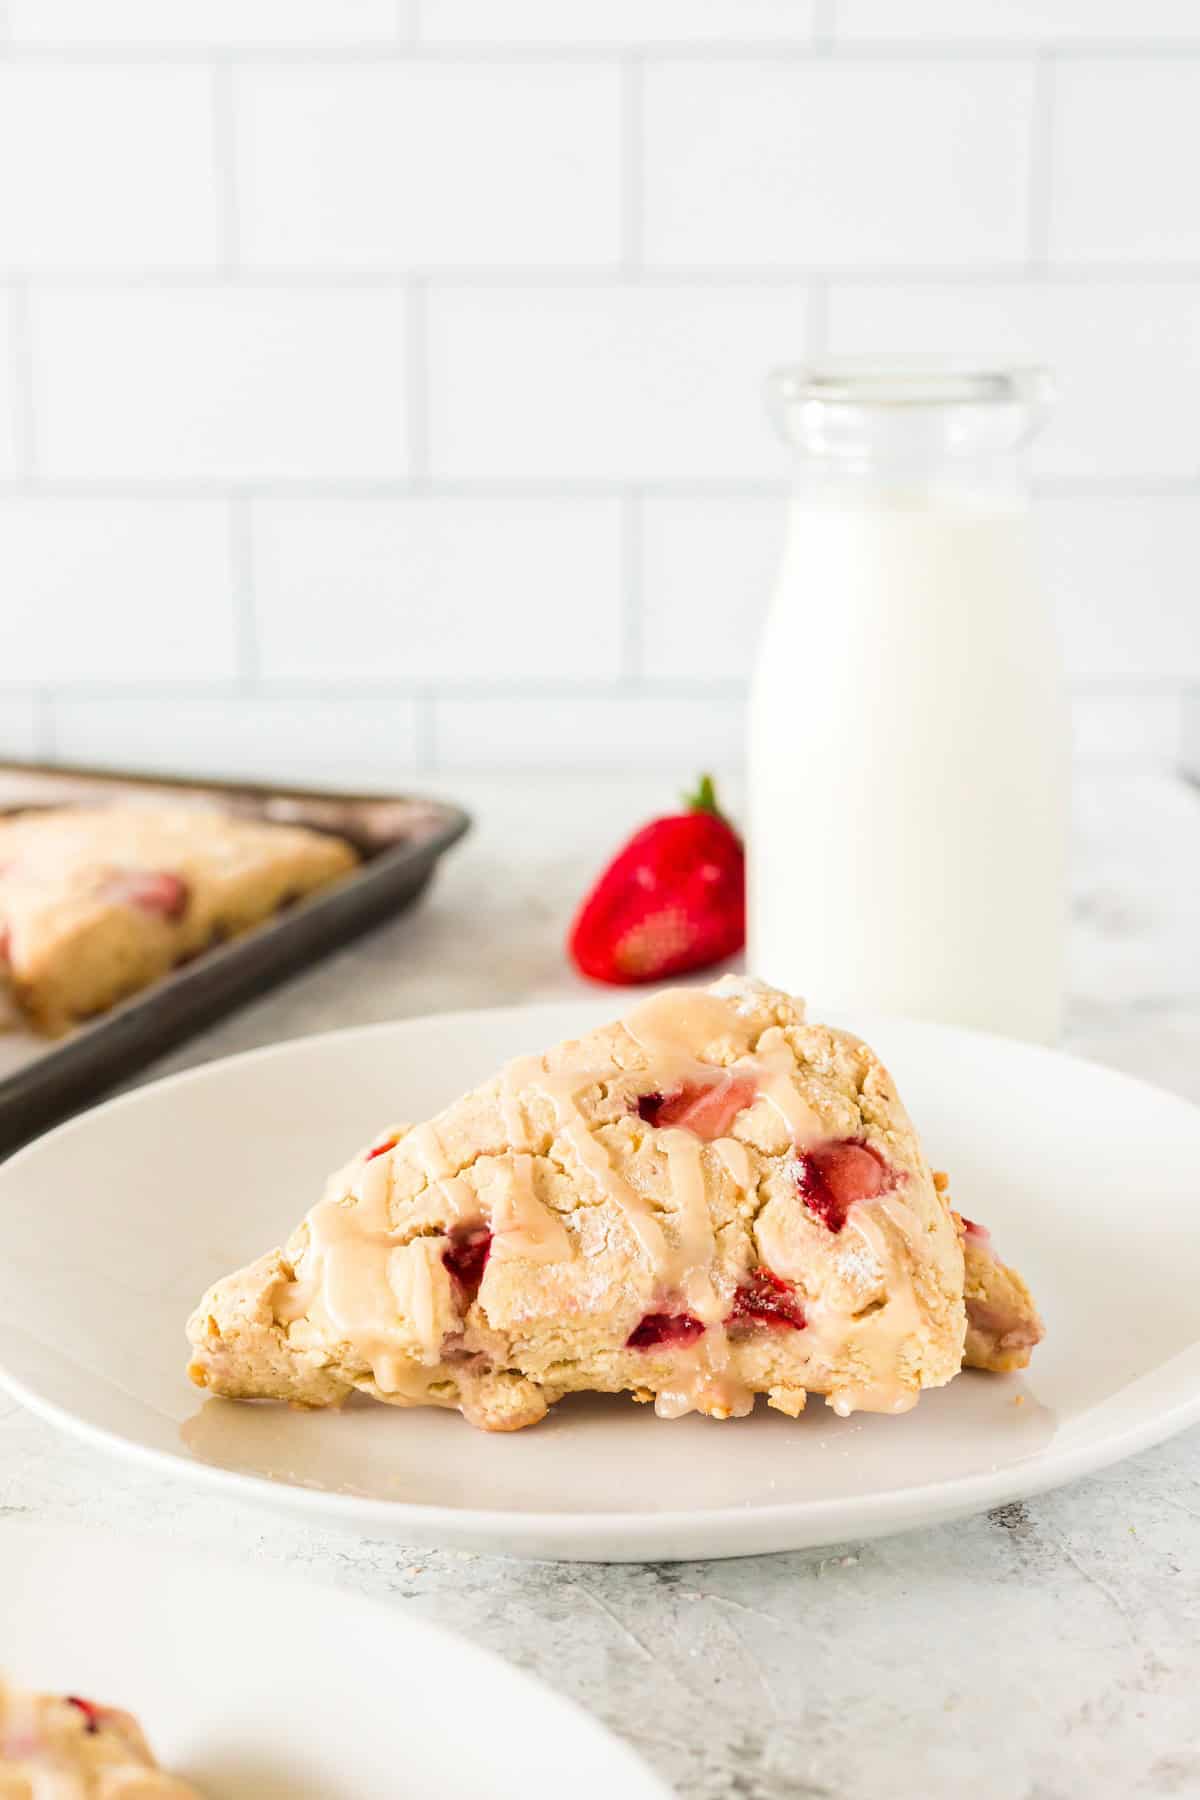
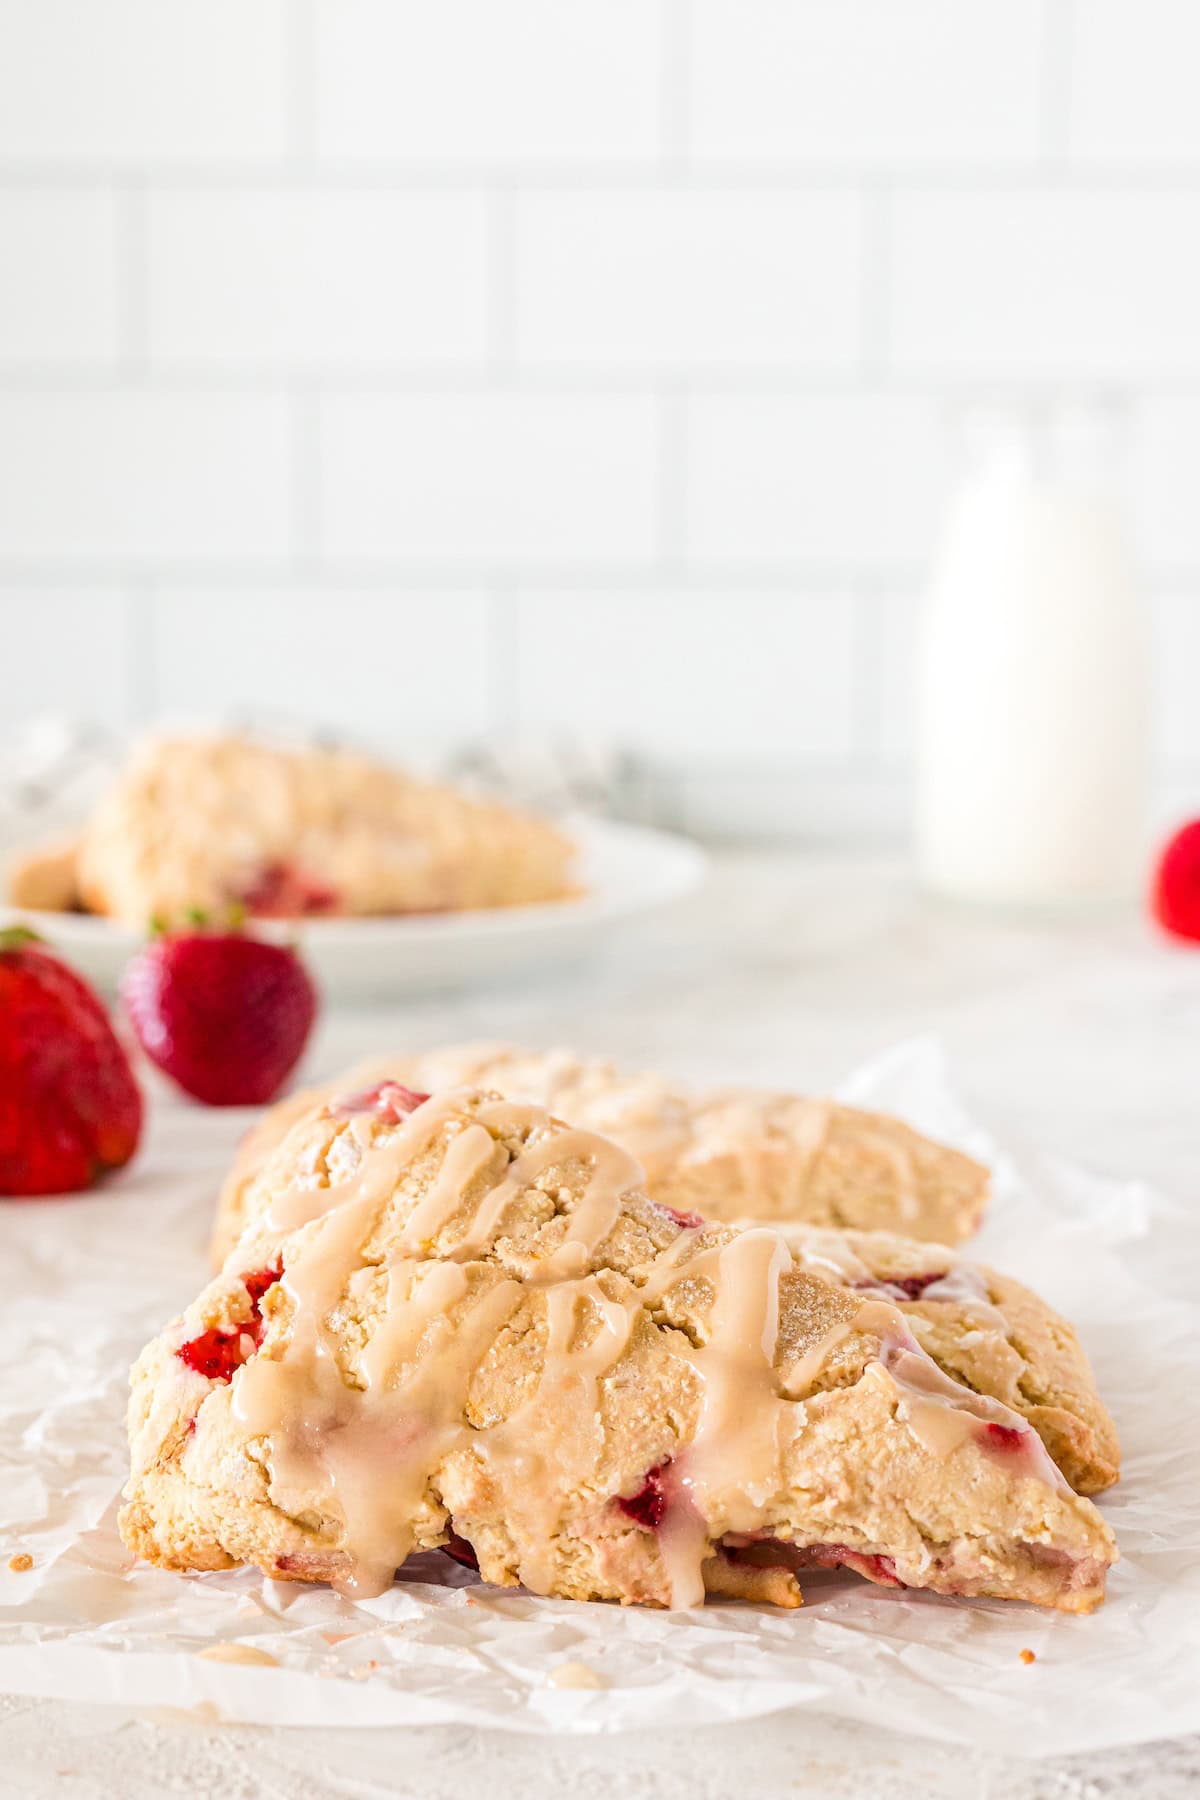
These Gluten-Free Strawberry Scones are tender, lightly sweet, and made with fresh strawberries and bright lemon flavor. Baked until lightly golden and finished with a simple lemon glaze, they offer a bakery-style scone texture without using wheat flour.
A Quick Look at the Recipe
✅ Recipe Name: Gluten-Free Strawberry Scones
🕒 Ready In: ~35 minutes
👪 Serves: 8 scones
🍽 Calories: ~280 per scone (estimated)
🥣 Main Ingredients: Gluten-free flour, fresh strawberries, eggs, coconut oil, lemon juice, lemon zest
📖 Dietary Info: Gluten free; dairy free
👌 Difficulty: Easy - mix, shape, and bake
SUMMARIZE & SAVE THIS CONTENT ON
The dough comes together easily with coconut oil and eggs, creating gluten-free scones that hold their shape while baking and stay soft on the inside. Fresh strawberries add bursts of flavor throughout, while lemon juice and zest balance the sweetness for a fresh, spring-inspired treat.
If you love gluten-free baking, you might also enjoy our Healthy Banana Oat Muffins, Gluten-Free Pumpkin Bread, Chocolate Chip Zucchini Bread, or Gluten-Free Pumpkin Scones. These easy recipes are perfect for brunch spreads, make-ahead breakfasts, or simple weekend baking.
Jump to:
- A Quick Look at the Recipe
- Why You'll Love these Gluten-Free Strawberry Scones:
- Key Ingredients:
- Easy Substitutions & Variations:
- How to Make Gluten-Free Strawberry Scones:
- Recipe Notes & Tips:
- How to Store:
- Gluten-Free Strawberry Scones FAQs:
- More Breakfast Recipes You'll Love
- Get a FREE Healthy Meal Planning Ebook
- Gluten-Free Strawberry Scones
Why You'll Love these Gluten-Free Strawberry Scones:
Bakery-Style Texture: These scones bake up tender on the inside with lightly crisp edges, just like a classic bakery scone.
Fresh Strawberry Flavor: Real diced strawberries add juicy bursts of fruit in every bite.
Bright Lemon Finish: Lemon juice and zest balance the sweetness and enhance the strawberry flavor.
Naturally Gluten Free: Made without wheat flour while still holding their shape beautifully.
Perfect for Brunch: Great for weekend breakfasts, brunch spreads, or a simple afternoon treat.
Key Ingredients:
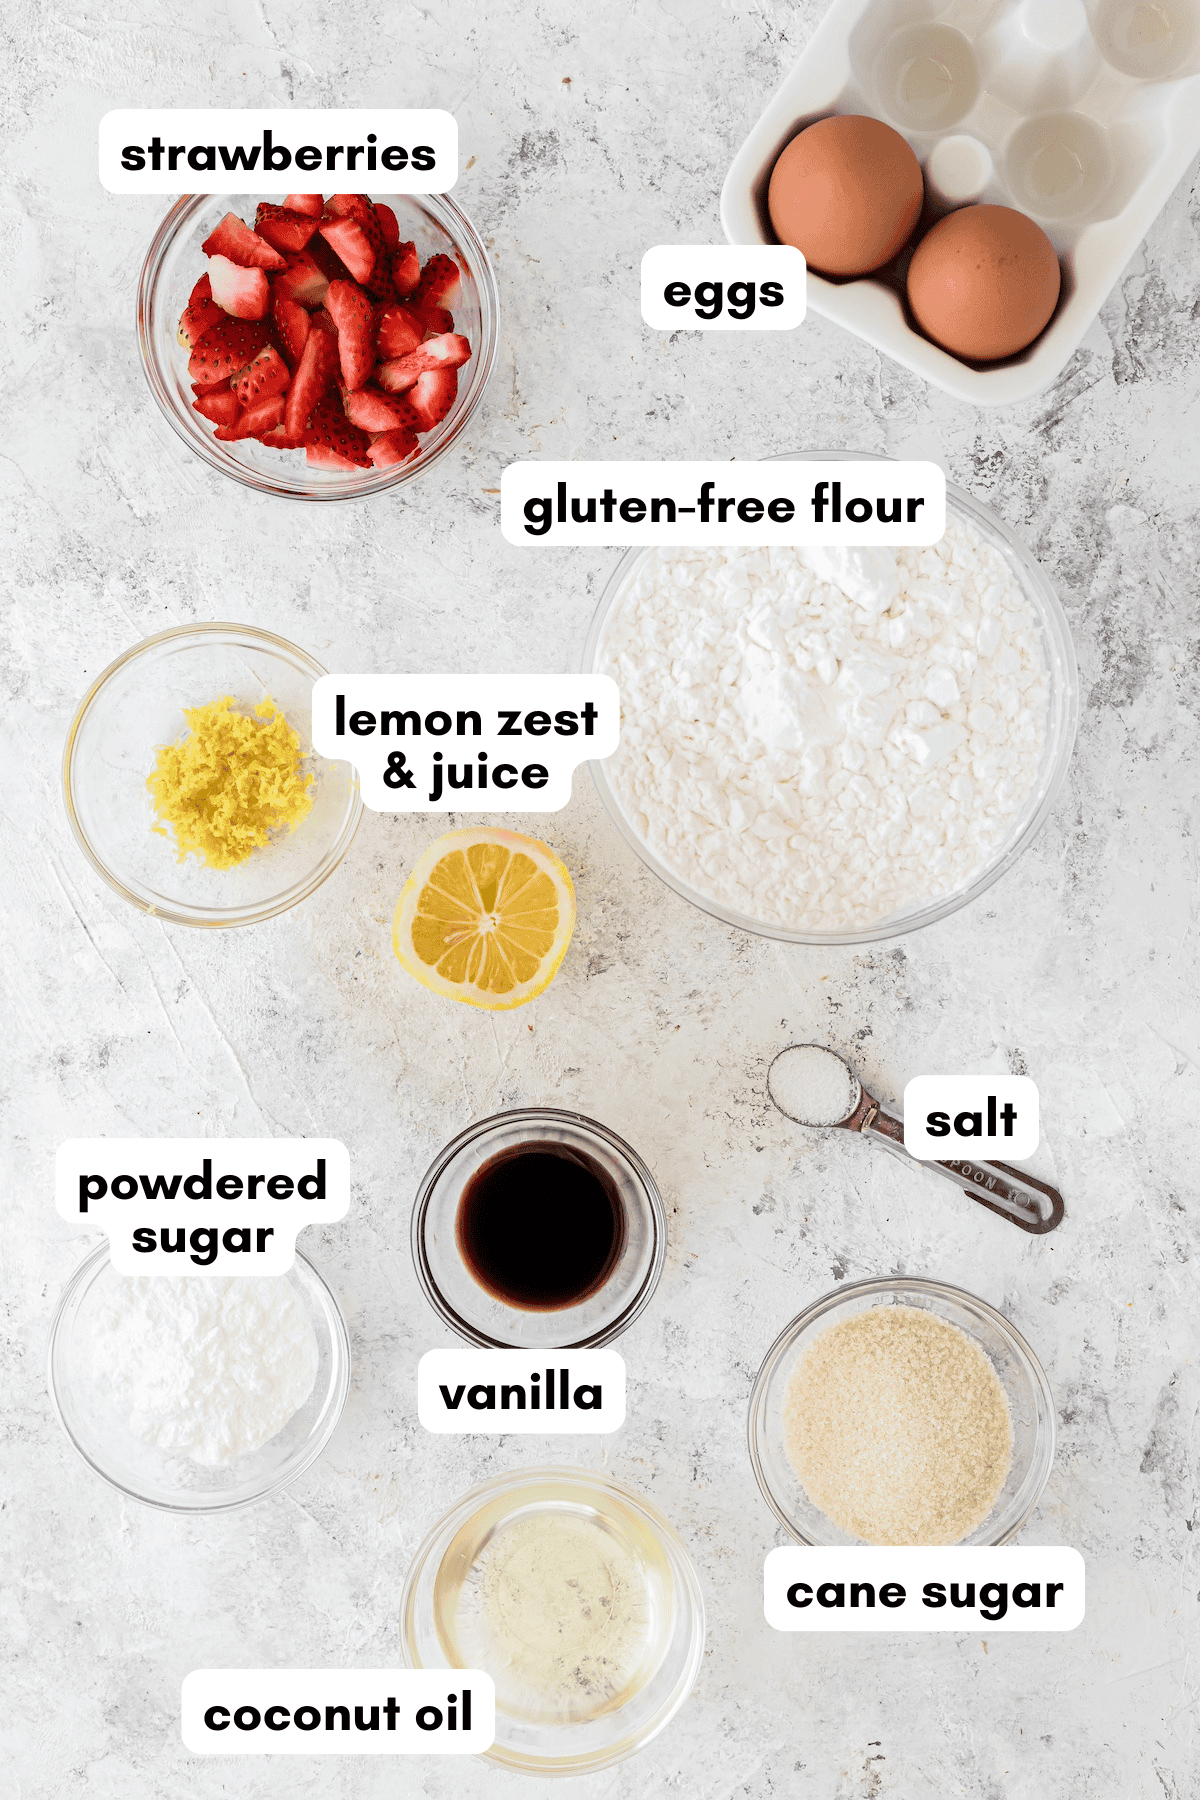
- gluten-free flour. Provides structure while keeping the scones light and tender. Use a reliable gluten-free flour blend designed for baking.
- fresh strawberries. Add natural sweetness and juicy bursts of flavor throughout the scones.
- coconut oil. Replaces butter to keep the scones moist while making them dairy free.
- eggs. Help bind the dough and give the scones their soft, bakery-style texture.
- lemon juice and zest. Brighten the flavor and balance the sweetness of the strawberries and glaze.
Scroll to the recipe card at the bottom of this page for exact quantities.
Easy Substitutions & Variations:
- Different berries: Swap the strawberries for blueberries, raspberries, or chopped peaches for a different fruit-forward scone.
- Butter instead of coconut oil: Use melted butter in place of coconut oil if dairy is not a concern.
- Lower sugar option: Reduce the cane sugar slightly or skip the glaze for a less sweet scone.
- Make them mini: Shape the dough into smaller wedges and reduce the baking time for mini gluten-free strawberry scones.
- Orange twist: Replace the lemon juice and zest with orange juice and zest for a softer citrus flavor.
How to Make Gluten-Free Strawberry Scones:
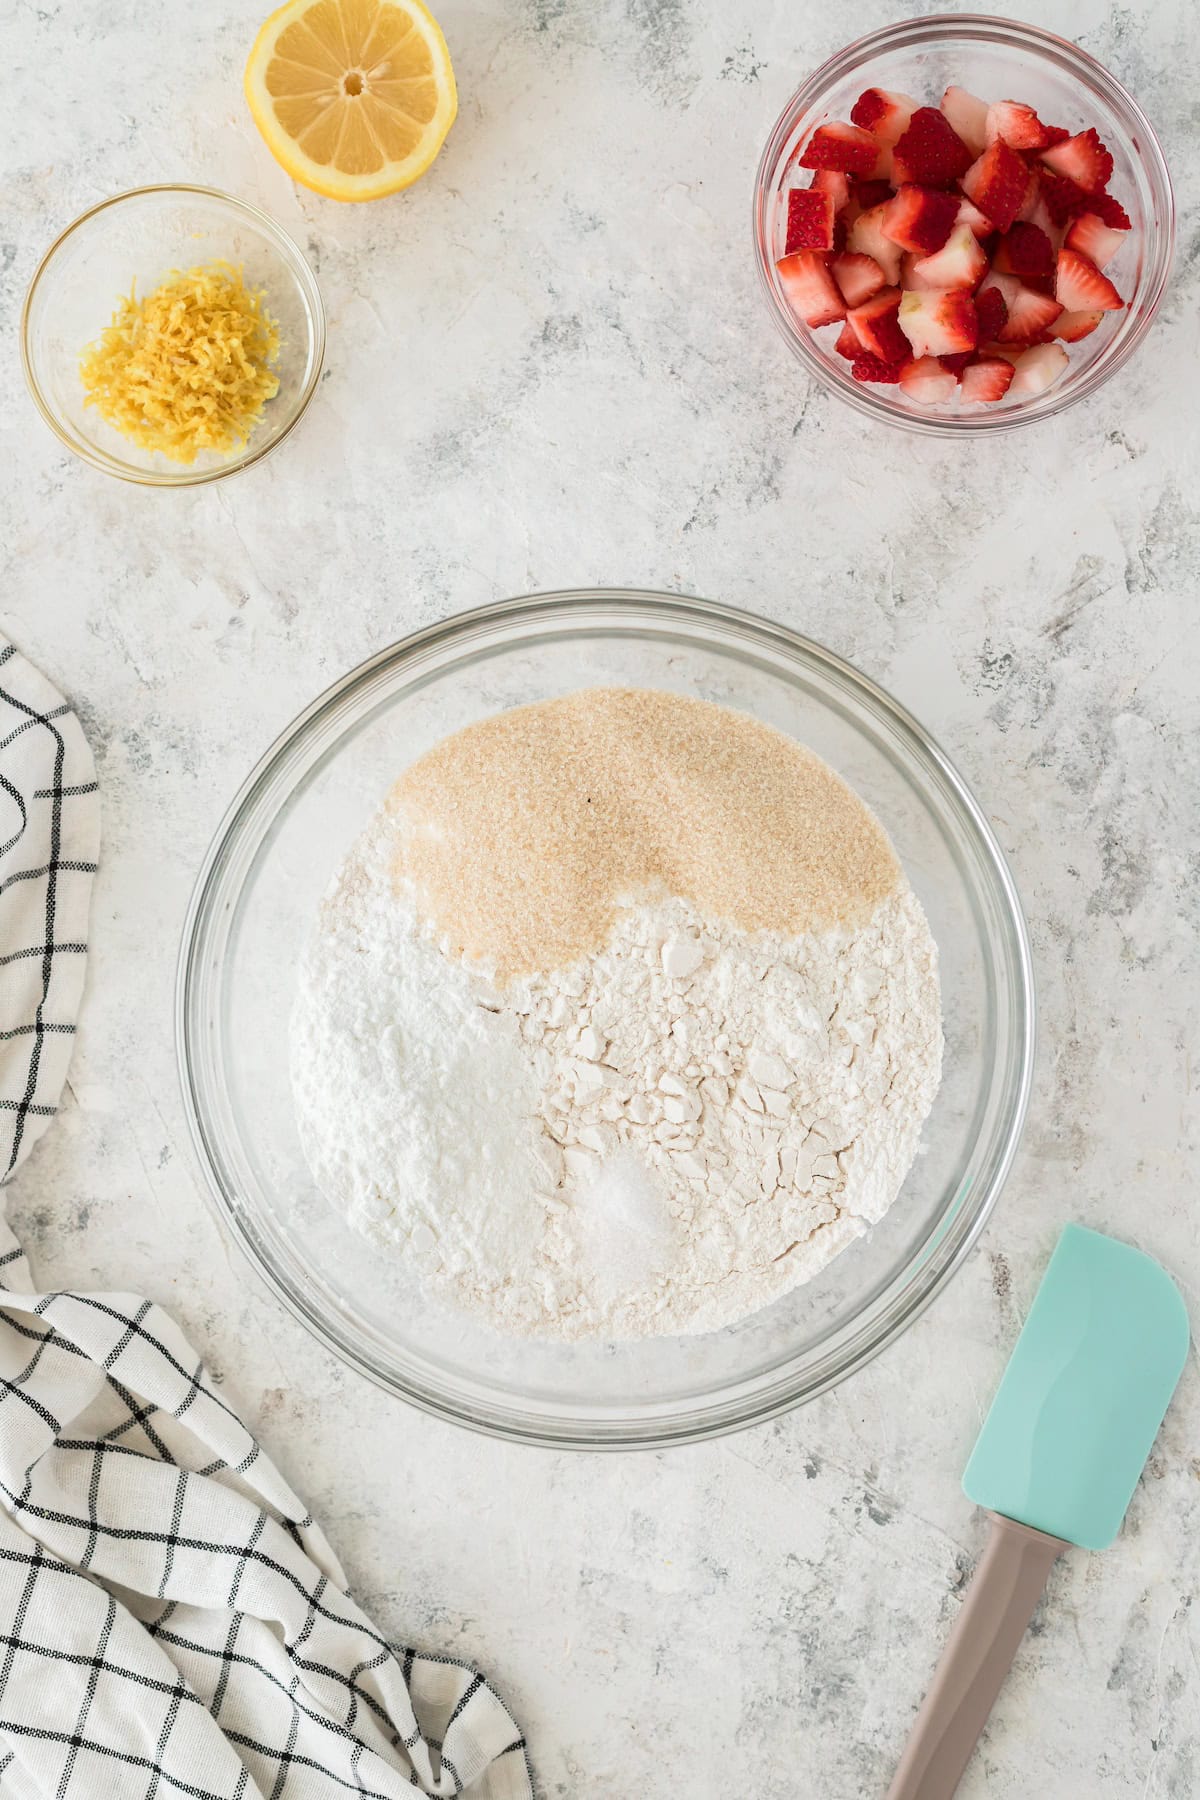
- Step 1: Preheat the oven to 400°. Line a large cookie sheet with parchment paper In a large mixing bowl, whisk together the flour, sugar, baking powder, and salt.

- Step 2: Add in the eggs, coconut oil, lemon juice, lemon zest, and ice water. Mix until dough forms and all ingredients are well combined.
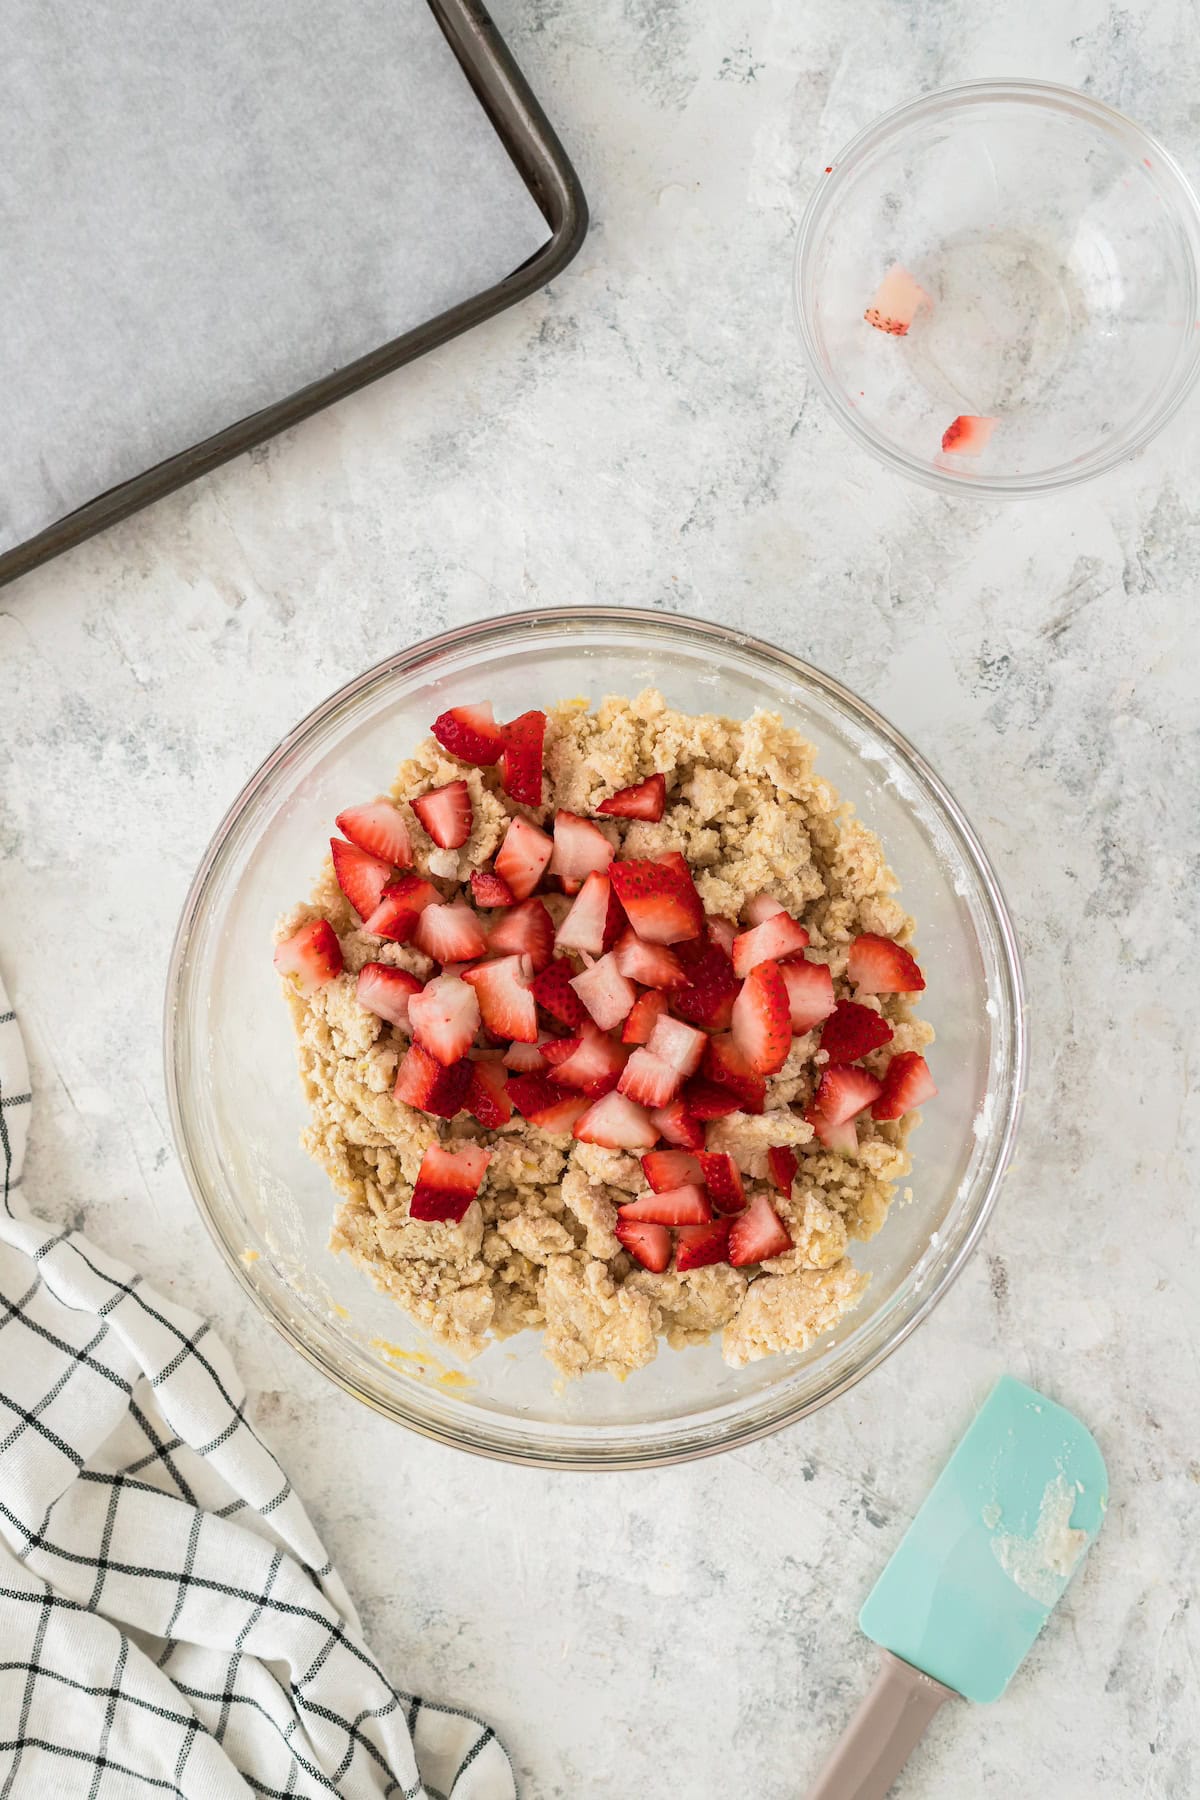
- Step 3: Carefully mix the strawberries into the dough.
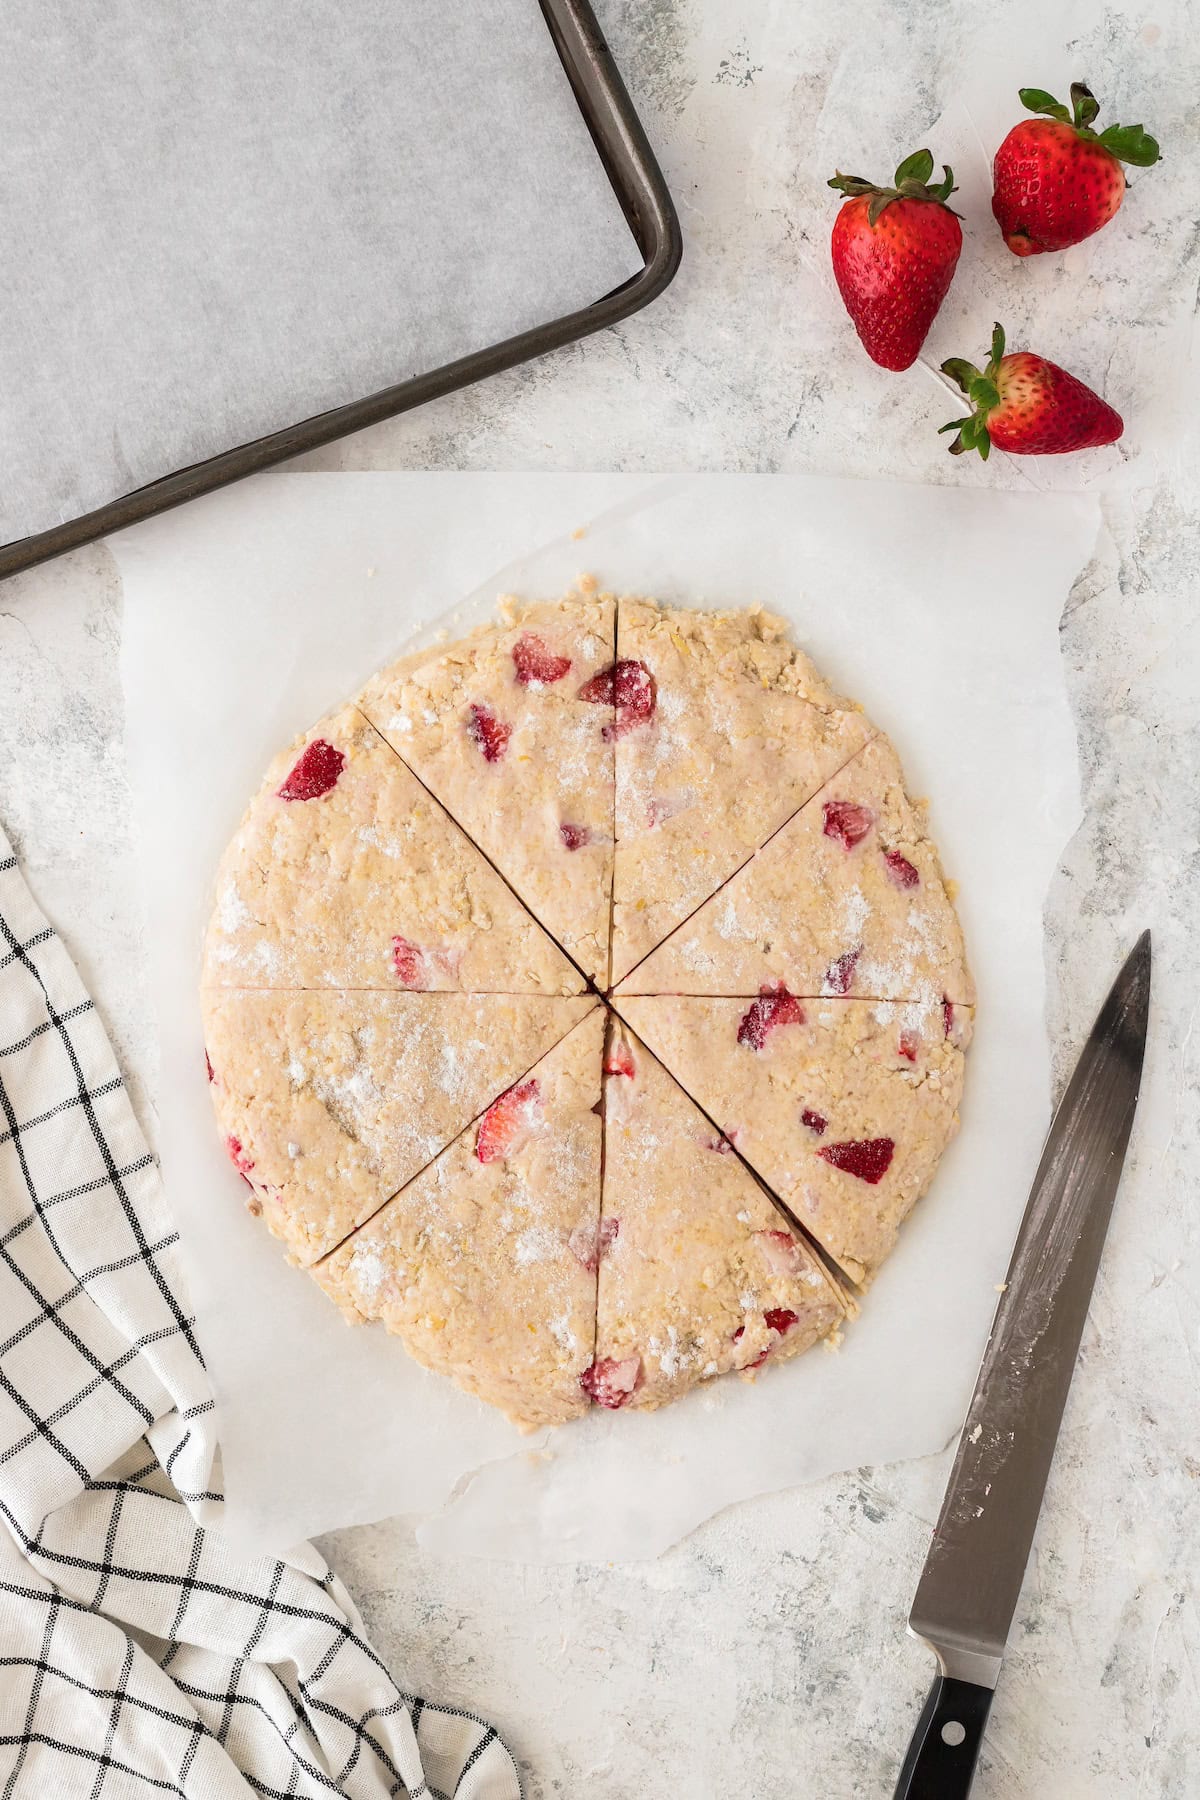
- Step 4: Turn the flour onto a lightly floured counter surface, form dough into a circle, slice into 8 triangle pieces
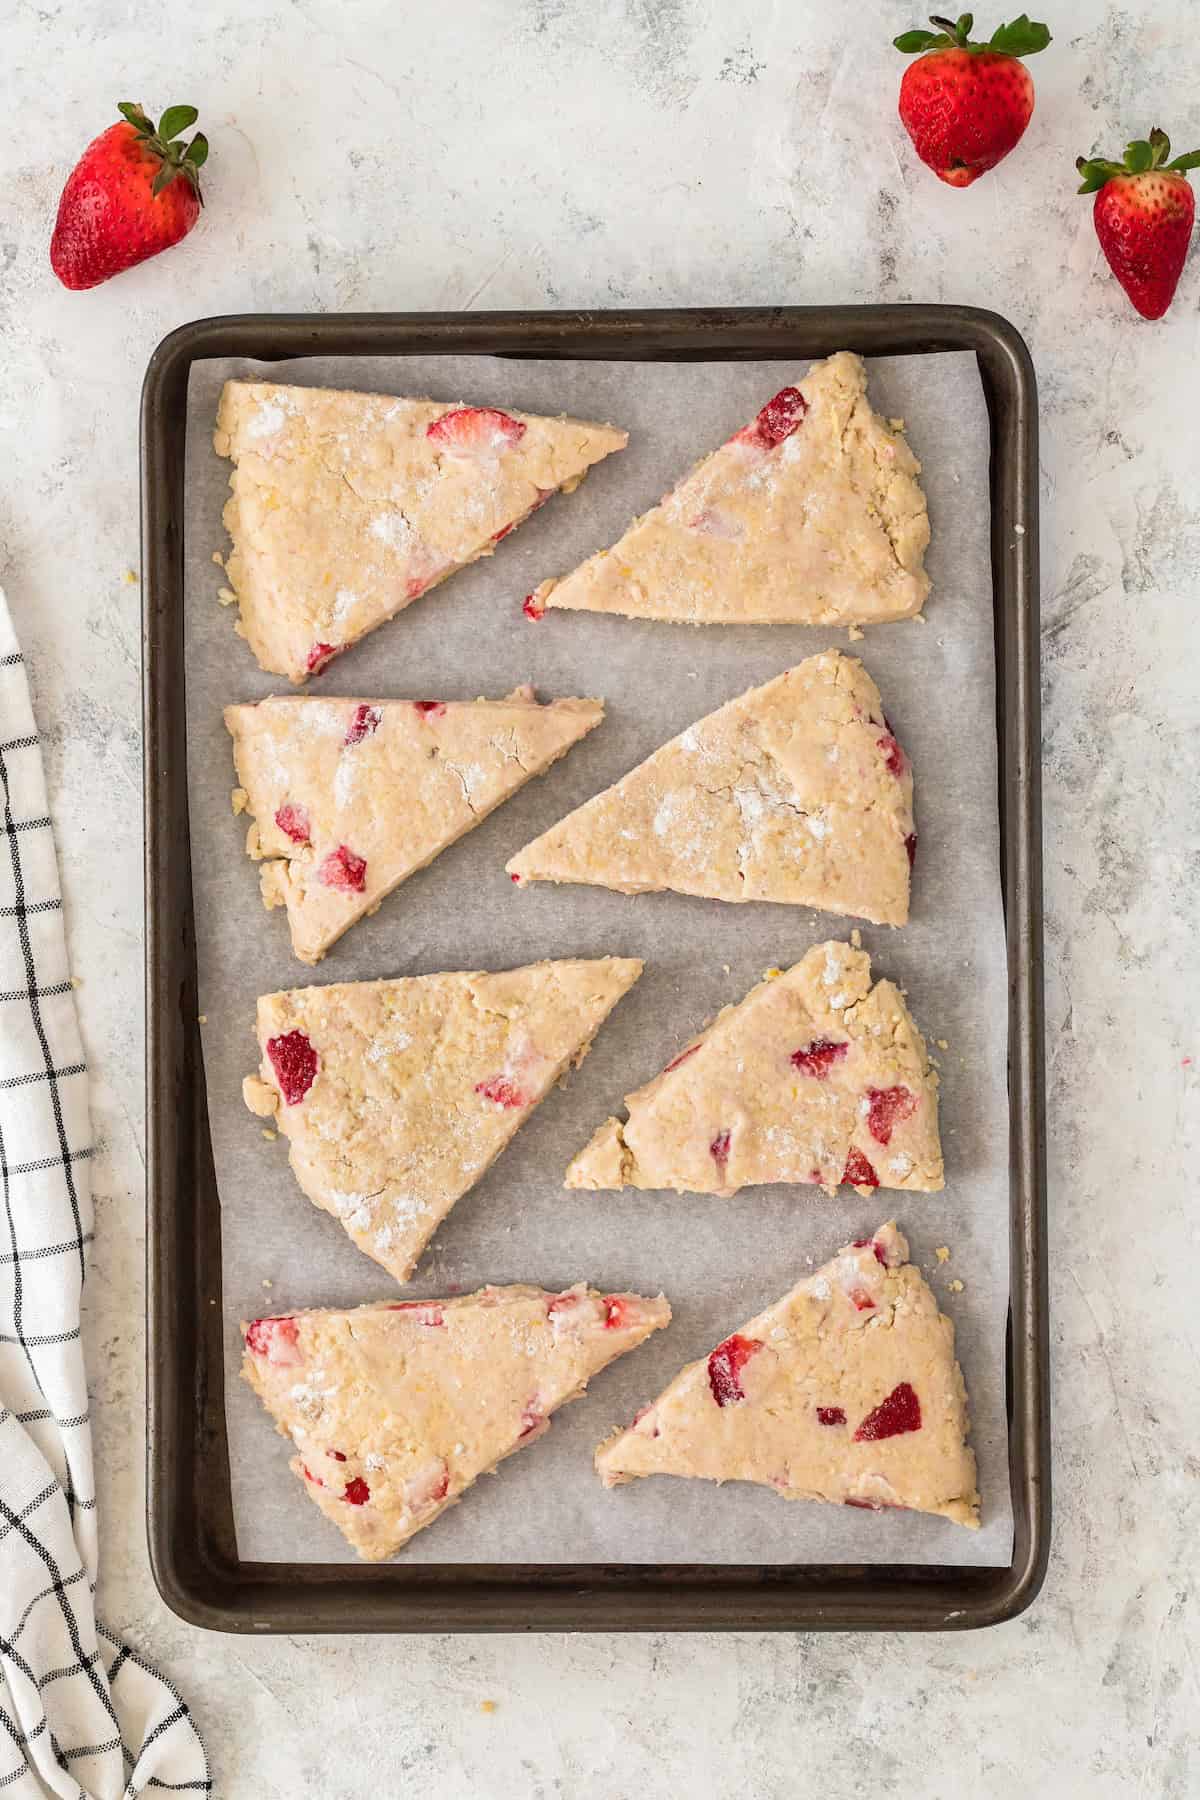
- Step 5: Place pieces onto a baking sheet, spacing them evenly apart. Bake for 24-28 minutes until the edges are very light golden and the tops become cracked.

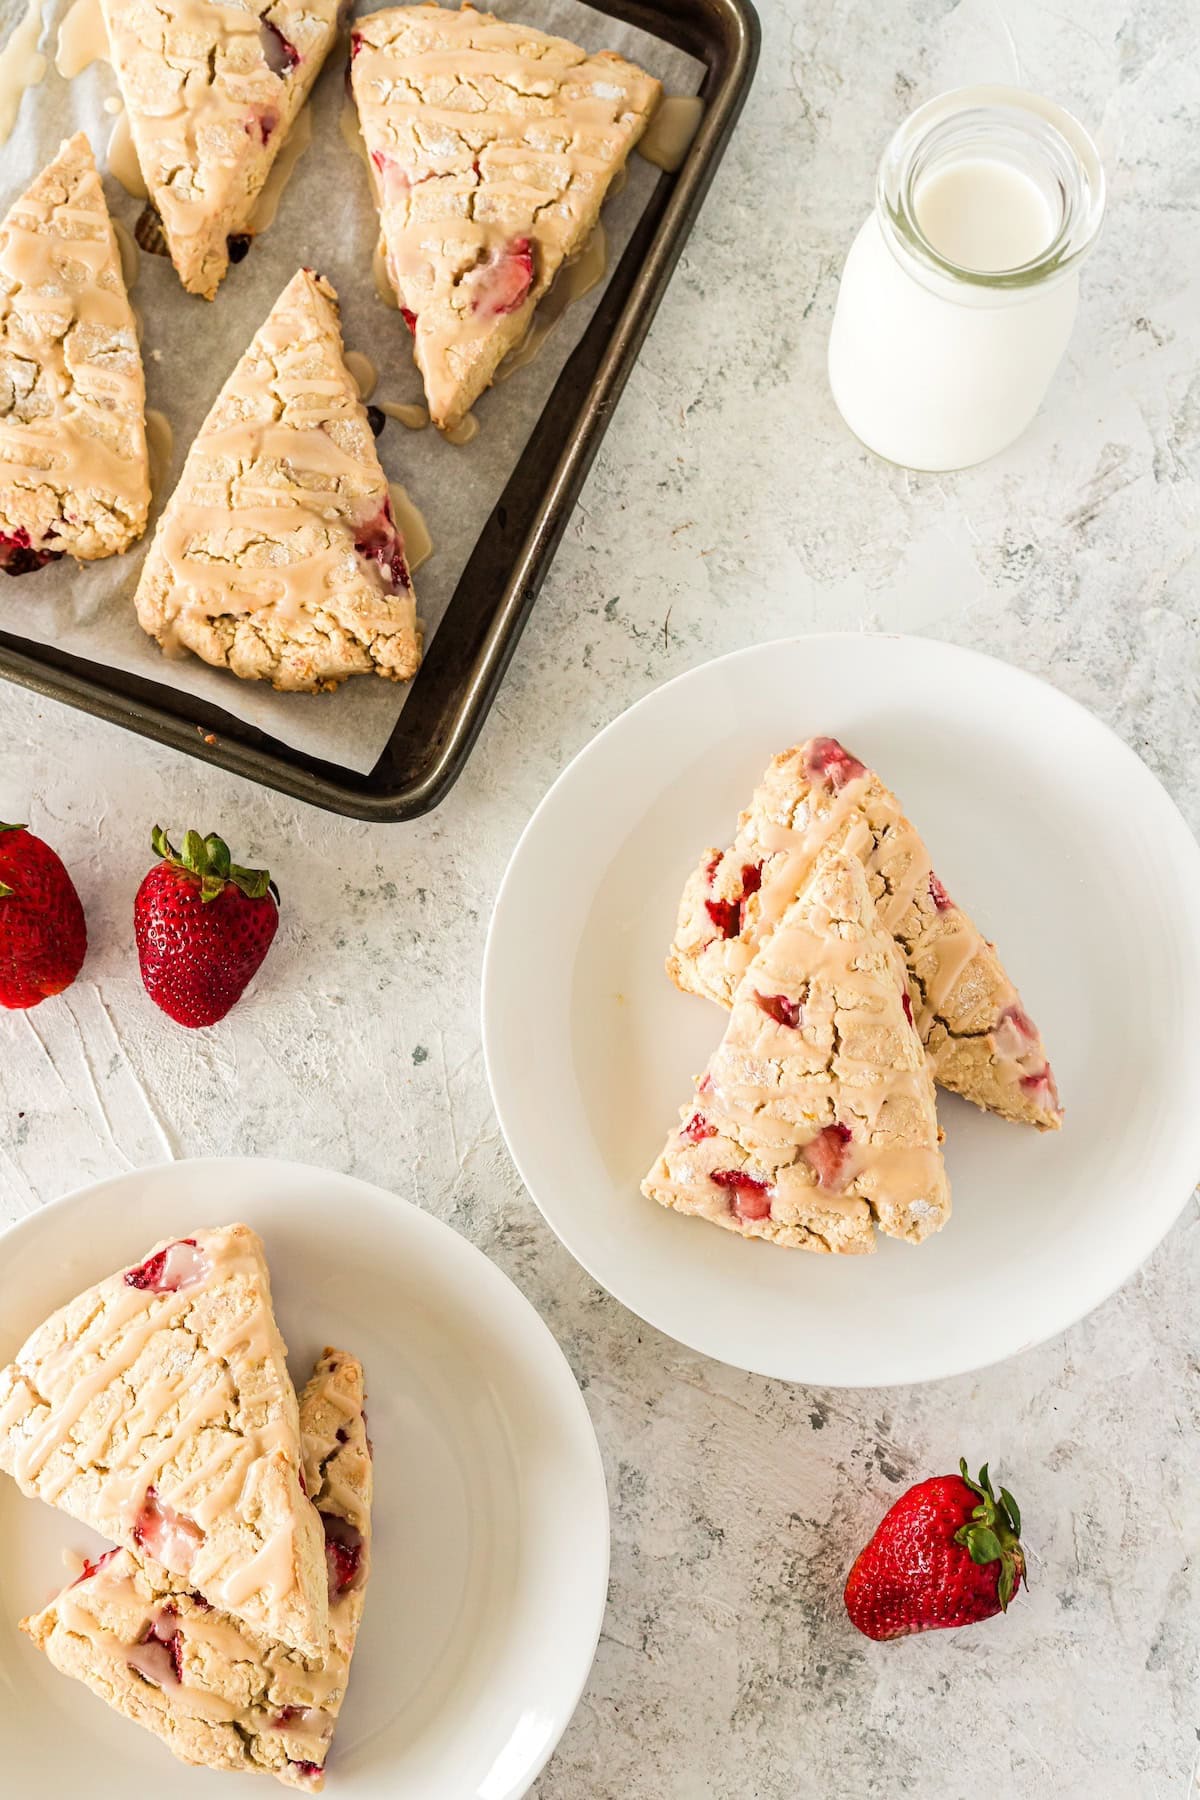
- Step 6: While the scones bake, mix the glaze ingredients together in a small bowl. Let scones cool for at least 10 minutes, then drizzle glaze over top and serve.
Save this Recipe
Recipe Notes & Tips:
- Dice the strawberries small: Smaller pieces distribute more evenly through the dough and prevent excess moisture pockets.
- Work gently: Gluten-free dough is more delicate, so mix just until combined to keep the scones tender.
- Flour your surface lightly: Use a small amount of gluten-free flour when shaping to prevent sticking without drying out the dough.
- Watch for visual cues: The scones are done when the tops look cracked and the edges are lightly golden.
- Cool before glazing: Let the scones cool for at least 10 minutes so the lemon glaze sets nicely instead of melting.
- Serving Suggestions: Enjoy these on their own or pair with recipes like Medicine Ball Tea, Fig Chia Pudding, or Yogurt Parfaits for a complete breakfast or brunch spread.
How to Store:
Room Temperature: Once completely cooled, store the gluten-free strawberry scones in an airtight container at room temperature for up to 2 days.
Refrigerator: For slightly longer storage, keep the scones in a sealed container in the refrigerator for up to 4 days. Let them come to room temperature or warm briefly before serving.
Freezer: Freeze cooled scones in a freezer-safe container or zip-top bag for up to 2 months. Thaw at room temperature and drizzle with fresh glaze before serving if desired.
Gluten-Free Strawberry Scones FAQs:
Gluten-free strawberry scones can turn out crumbly if the dough is too dry or over mixed. Measuring the gluten-free flour accurately and mixing just until the dough comes together helps the scones hold their shape.
Gluten-free strawberry scones made with a gluten-free flour blend that already contains xanthan gum do not need additional binders, as the eggs also help provide structure.
Frozen strawberries can be used in gluten-free strawberry scones, but they should be kept frozen and chopped before mixing to prevent excess moisture and streaking in the dough.


Grab your free copy
Get a FREE Healthy Meal Planning Ebook
Tips, Tricks, and Recipes for Stress Free Meal Planning
Gluten-Free Strawberry Scones
Ingredients
- 3 cups gluten-free flour
- ¾ cup fresh strawberries, diced
- 3 tablespoons cane sugar
- 3 teaspoons baking powder
- 2 teaspoons vanilla extract
- ½ teaspoon salt
- 2 eggs
- ¼ cup coconut oil, melted
- 2 tablespoons ice water
- 3 tablespoons lemon juice
- 1 tablespoon lemon zest
- 1 cup powdered sugar
- 2 tablespoons lemon juice
- ½ teaspoon vanilla extract
Instructions
- Preheat the oven to 400°. Line a large cookie sheet with parchment paper
- In a large mixing bowl, whisk together the flour, sugar, baking powder, and salt.
- Add in the eggs, coconut oil, lemon juice, lemon zest, and ice water. Mix until dough forms and all ingredients are well combined.
- Carefully mix the strawberries into the dough. Turn the flour onto a lightly floured counter surface, form dough into a circle, slice into 8 triangle pieces
- Place pieces onto a baking sheet, spacing them evenly apart. Bake for 24-28 minutes until the edges are very light golden and the tops become cracked.
- While the scones bake, mix the glaze ingredients together in a small bowl.
- Let scones cool for at least 10 minutes, then drizzle glaze over top and serve.
Nutrition
Notes
- Dice the strawberries small: Smaller pieces distribute more evenly through the dough and prevent excess moisture pockets.
- Work gently: Gluten-free dough is more delicate, so mix just until combined to keep the scones tender.
- Flour your surface lightly: Use a small amount of gluten-free flour when shaping to prevent sticking without drying out the dough.
- Watch for visual cues: The scones are done when the tops look cracked and the edges are lightly golden.
- Cool before glazing: Let the scones cool for at least 10 minutes so the lemon glaze sets nicely instead of melting.
- Serving Suggestions: Enjoy these on their own or pair with recipes like Medicine Ball Tea, Fig Chia Pudding, or Yogurt Parfaits for a complete breakfast or brunch spread.


Kae says
Yum!