
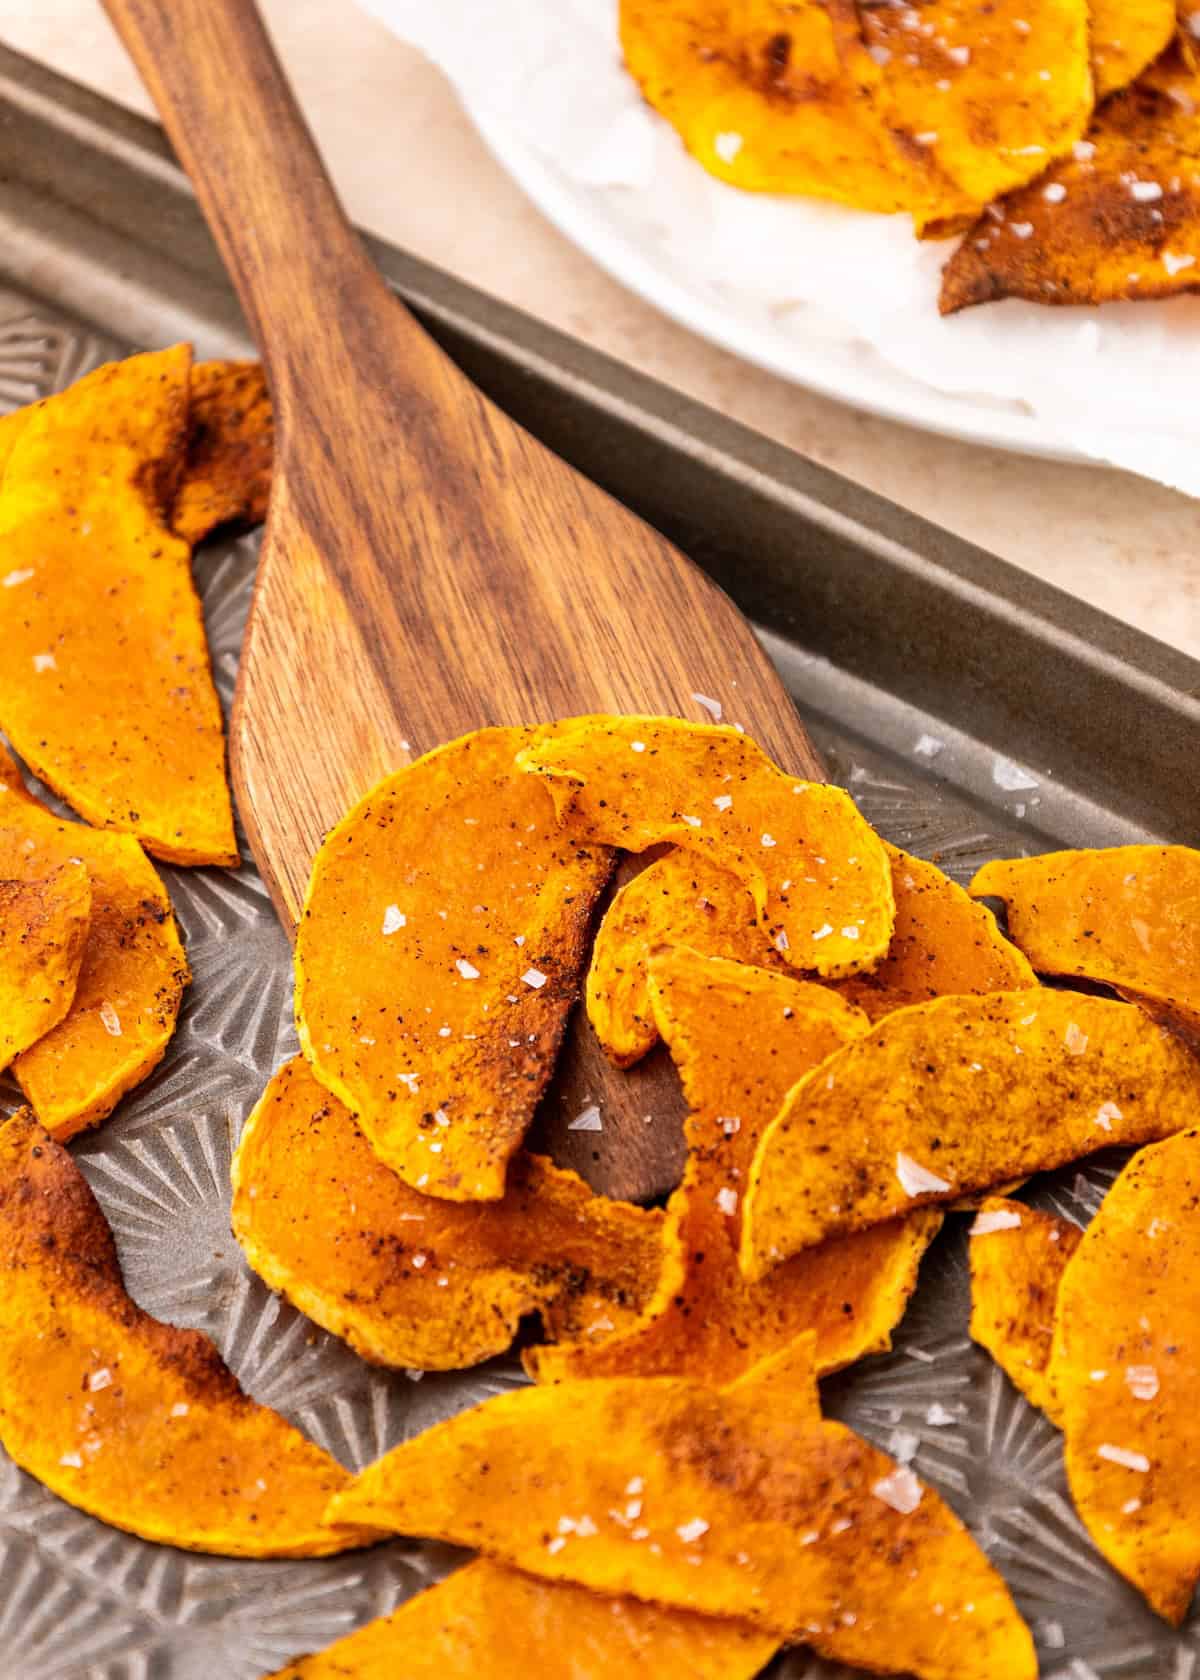
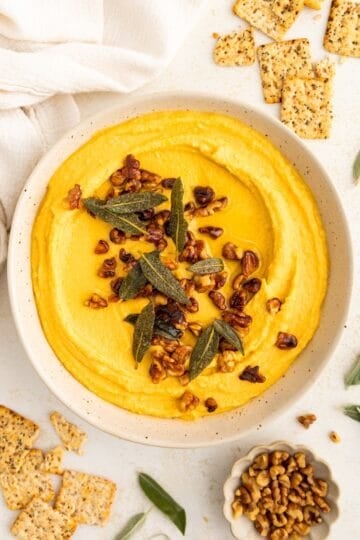
Butternut squash chips are a baked, crispy snack made with thinly sliced squash, olive oil, and simple seasonings. This recipe focuses on achieving crisp edges and savory flavor without deep frying.
A Quick Look at the Recipe
✅ Recipe Name: Butternut Squash Chips
🕒 Ready In: ~40 minutes
👪 Serves: 4 servings
🍽 Calories: ~140 per serving (estimated)
🥣 Main Ingredients: Butternut squash, olive oil, garlic powder, cayenne
📖 Dietary Info: Gluten-free; vegan
👌 Difficulty: Easy - slice and bake
SUMMARIZE & SAVE THIS CONTENT ON
The squash is sliced thin, tossed with oil and spices, then baked until golden and crisp. Using the oven keeps the process straightforward while allowing the chips to develop a crunchy texture as they cool.
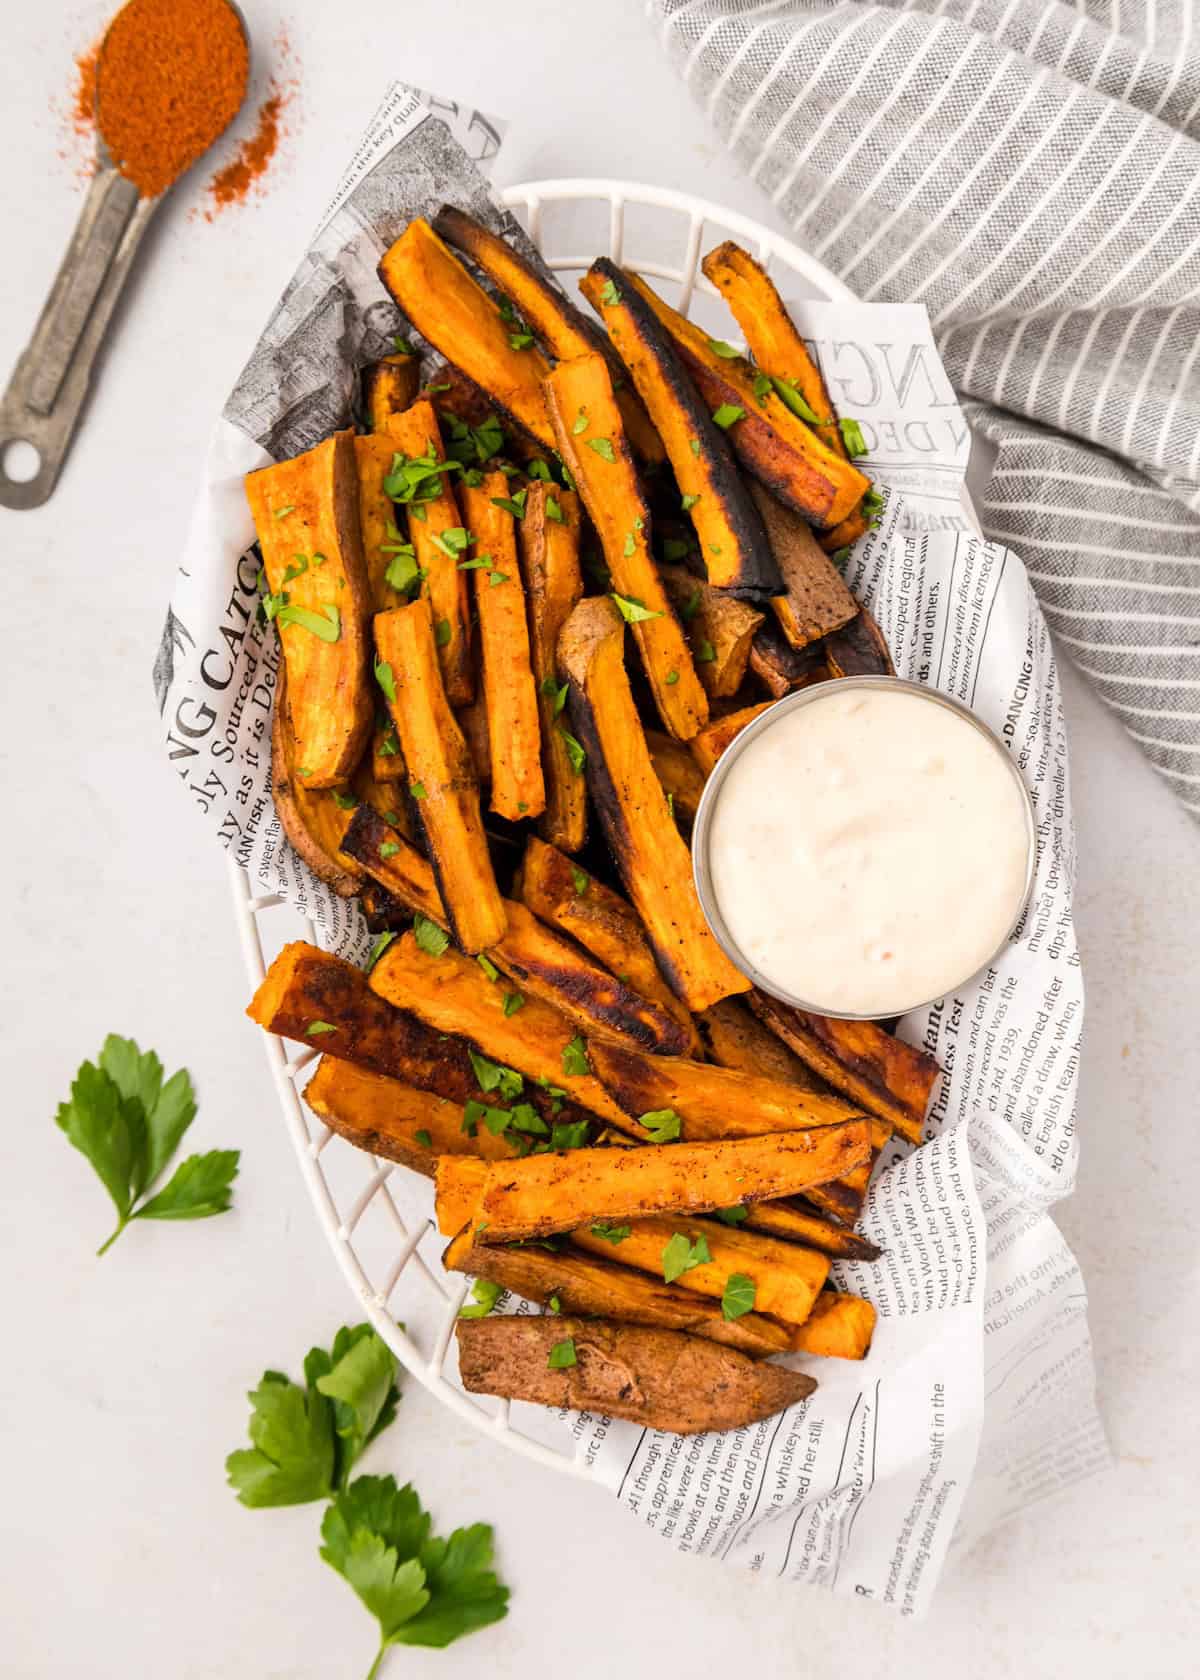
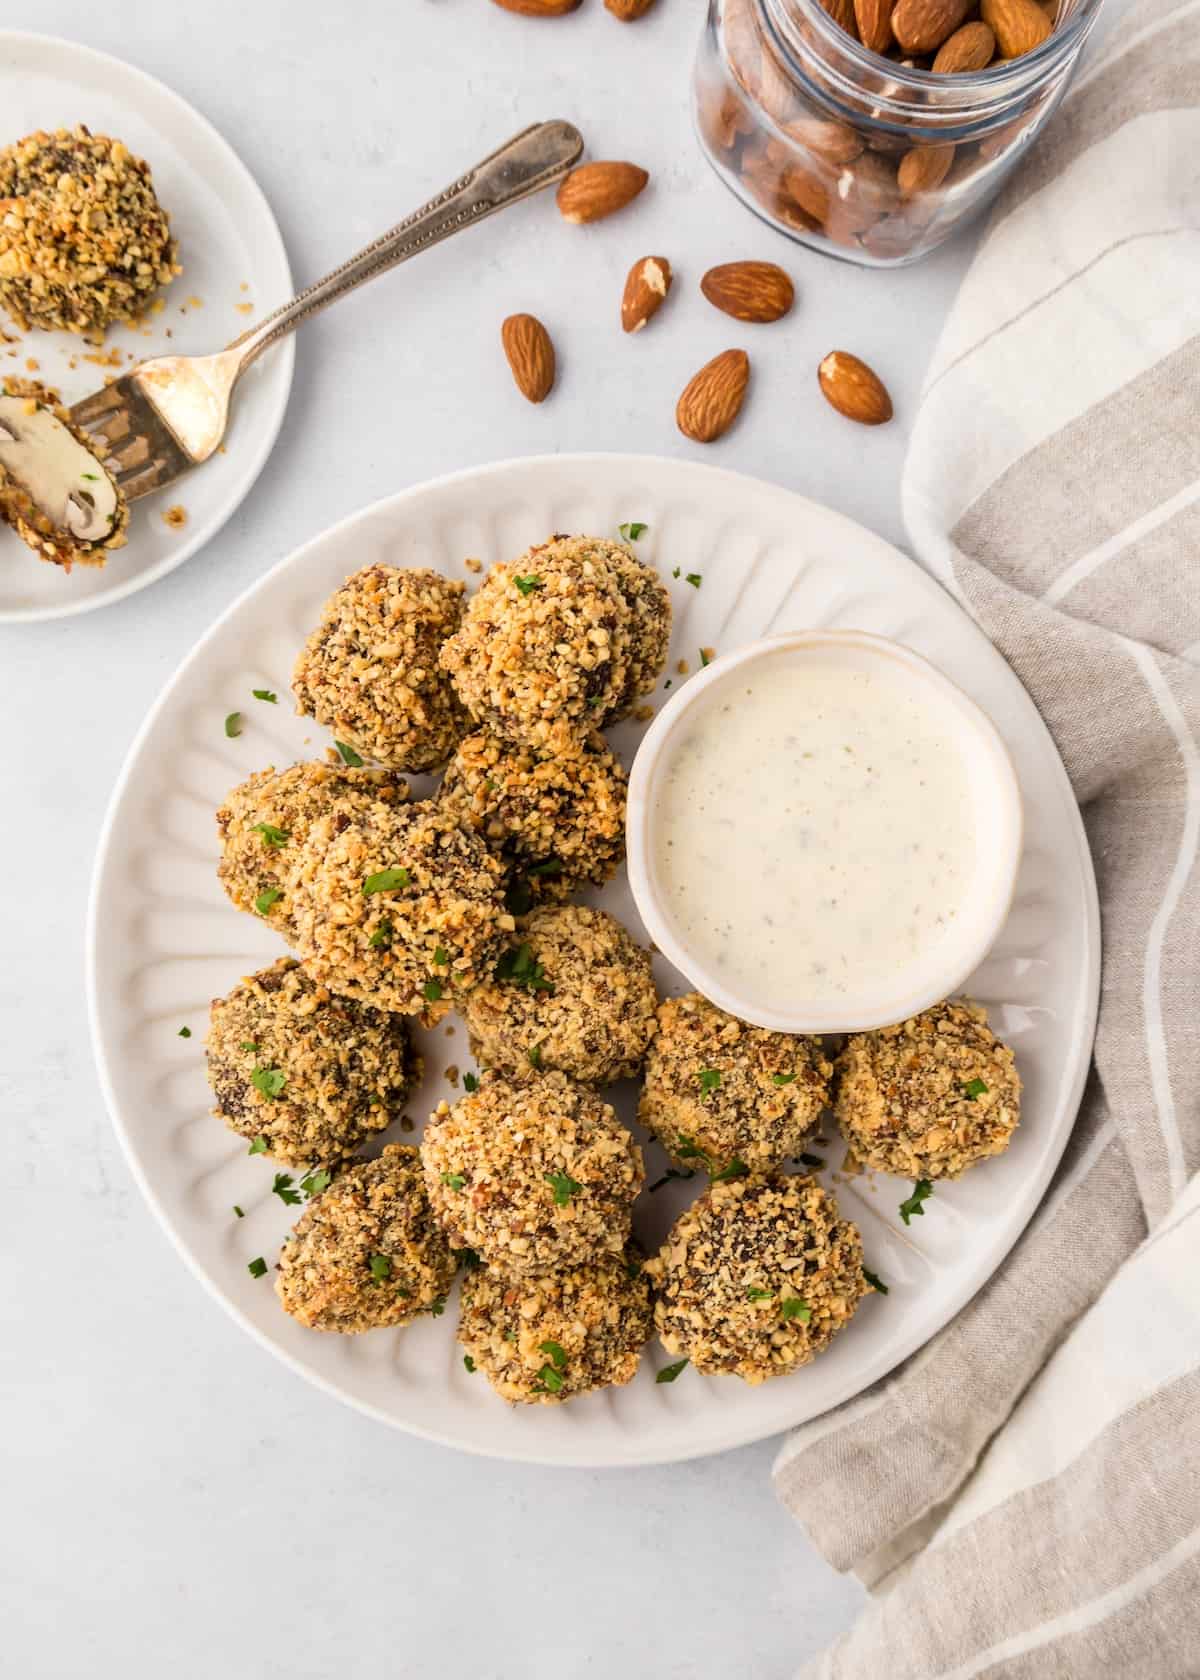
If you enjoy simple vegetable snacks like this, you might also like our Loaded Potato Skins, Veggie Tots, or Sweet Potato Chips. These recipes use similar techniques and work well as snacks, sides, or light appetizers.
Jump to:
- A Quick Look at the Recipe
- Why You'll Love Butternut Squash Chips:
- Key Ingredients:
- Easy Substitutions & Variations:
- How to Make Butternut Squash Chips:
- Recipe Notes & Tips:
- How to Store:
- Butternut Squash Chips FAQs:
- More Side Dish Recipes You'll Love
- Get a FREE Healthy Meal Planning Ebook
- Butternut Squash Chips
Why You'll Love Butternut Squash Chips:
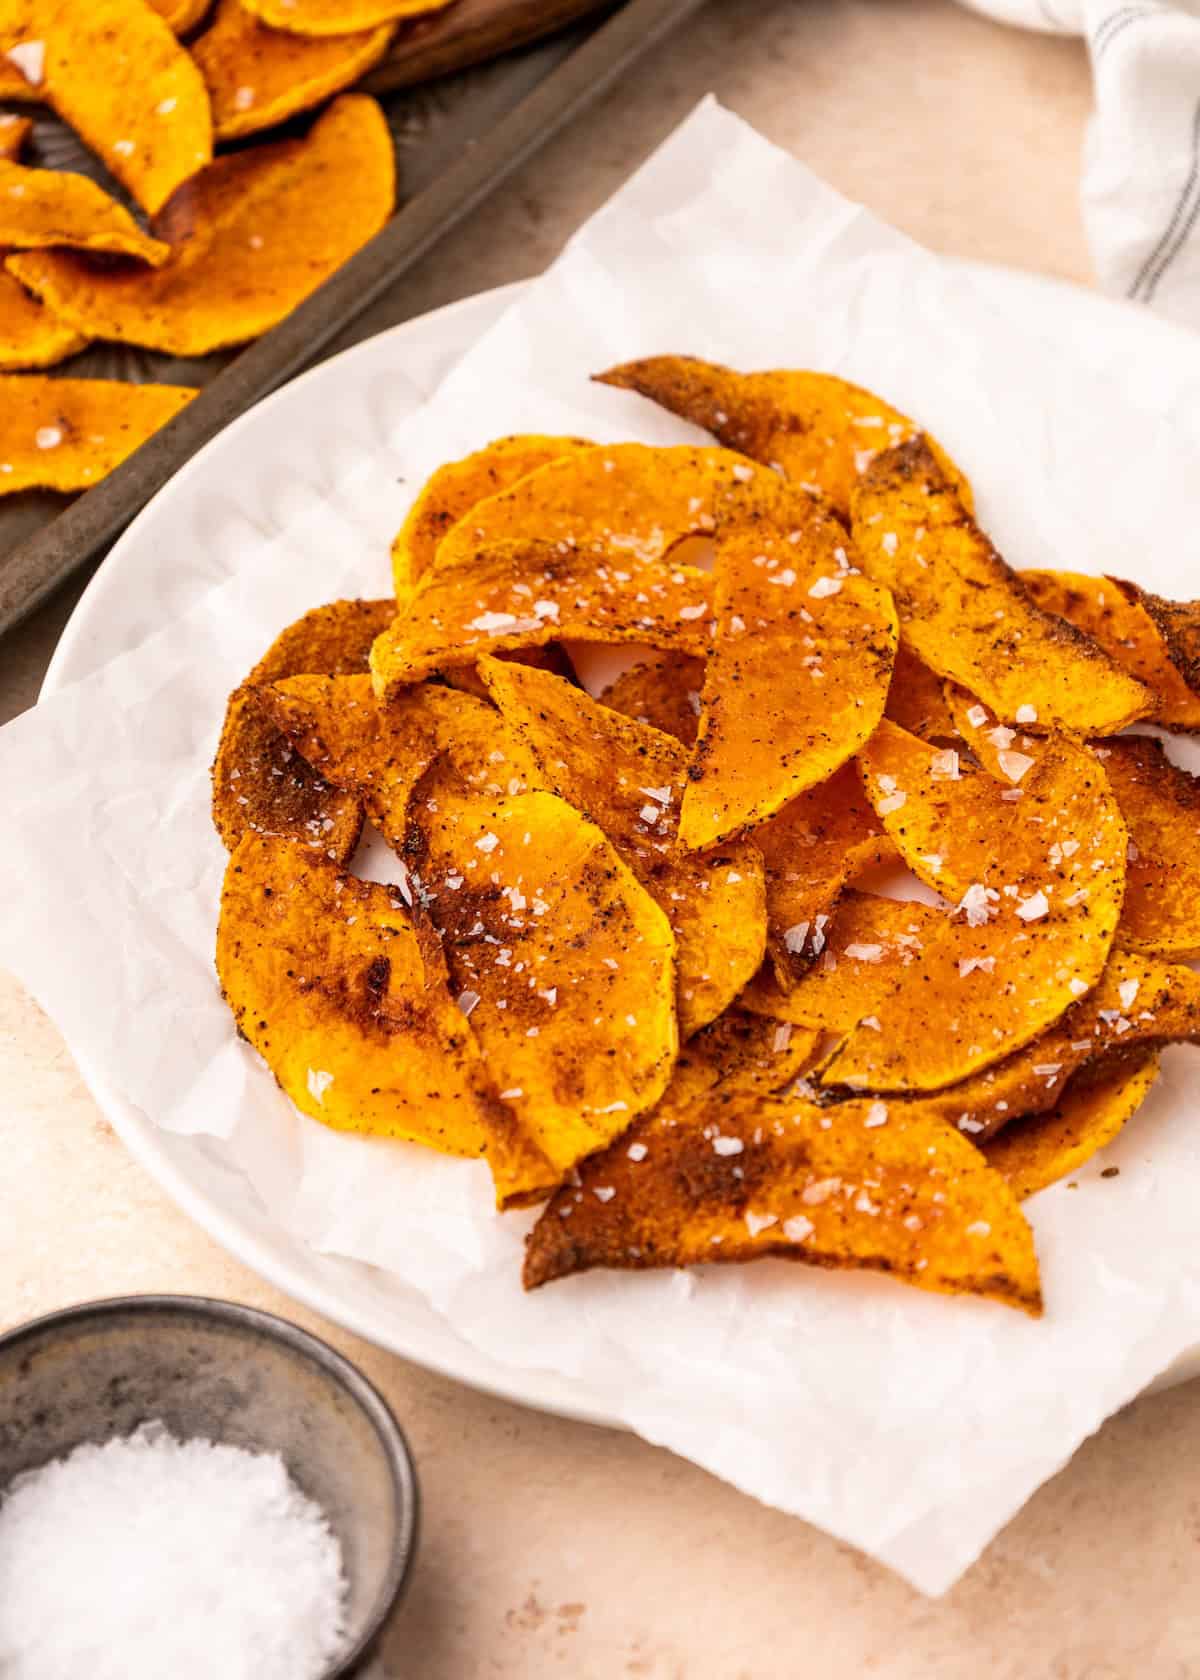
Crispy Baked Texture: Thinly sliced butternut squash bakes into light, crisp chips without the need for frying.
Simple Ingredients: Made with olive oil and pantry spices for an easy, savory snack.
Naturally Gluten-Free: A great snack option for anyone avoiding gluten.
Customizable Heat: Cayenne adds a gentle kick, but the amount can be adjusted to suit your preference.
Perfect for Snacking: These chips work well as a crunchy snack, side dish, or appetizer.
Key Ingredients:
- butternut squash. Choose a medium butternut squash for balanced sweetness and texture; peeling and slicing it evenly ensures uniform cooking and crispiness.
- olive oil. Use high-quality extra virgin olive oil to coat the slices; it helps the chips crisp up and adds a subtle fruity flavor.
- garlic powder. Adds savory notes that complement the sweetness and spice, enriching the overall flavor profile.
- cayenne pepper. Offers a spicy kick to balance the sweetness; adjust the amount based on your preferred level of heat.
Scroll to the recipe card at the bottom of this page for exact quantities.
Easy Substitutions & Variations:
- Different Seasonings: Swap garlic powder and cayenne for smoked paprika, cinnamon, or chili powder for a different flavor profile.
- Make Them Mild: Omit the cayenne pepper for a more neutral, kid-friendly version.
- Add Fresh Herbs: Sprinkle with fresh rosemary or thyme after baking for extra flavor.
- Air Fryer Option: Cook the squash slices in the air fryer at 375°F for 10-12 minutes, flipping halfway, until crisp.
- Sweet Version: Toss with a pinch of cinnamon and a light drizzle of maple syrup before baking for a sweet snack option.
How to Make Butternut Squash Chips:
- Preheat the oven to 375°F. Line a baking sheet with parchment paper.
- Use a sharp knife or mandoline to slice the butternut squash evenly. Thinner slices will result in crispier chips.
- Place the slices in a large bowl. Drizzle the olive oil over the squash slices.
- Sprinkle with seasonings and toss the slices gently until evenly coated.
- Lay the slices in a single layer on the prepared baking sheet. Avoid overlapping to ensure even baking.
- Bake in the preheated oven for 20-25 minutes. Keep an eye on them during the last few minutes to avoid burning. Flip the slices halfway through the baking time for even crispiness.
- Remove from the oven once the chips are golden and crispy. Let them cool on the baking sheet for a few minutes-they'll crisp up even more as they cool. Enjoy immediately, or store in an airtight container once completely cooled.
Recipe Notes & Tips:
- Uniform Slicing: For even cooking and consistent crispiness, use a mandoline slicer or a sharp knife to slice the squash evenly. Very thin rounds will result in crispier chips.
- Avoid Overlapping: Arrange slices in a single layer on the baking sheet to ensure proper airflow and optimal crisping.
- Watch Closely: Baking times can vary based on slice thickness and oven differences; start checking for doneness around 20 minutes.
- Flavor Adjustment: Feel free to modify the spices, if you prefer less heat, reduce the cayenne pepper, or add other herbs like rosemary for extra flavor.
- Cooling Benefits: Allowing the chips to cool on the baking sheet helps them firm up and become even crunchier.
Save this Recipe
How to Store:
Cool Completely: Allow the chips to cool fully before storing to maintain their crispiness.
Airtight Container: Transfer them into an airtight container to protect against moisture.
Room Temperature: Store in a cool, dry spot at room temperature for best results, consume within 1-2 days for optimal crunch.
Re-crisp Option: If the chips lose some crispness, reheat them in a preheated oven for a few minutes to restore their texture.
Butternut Squash Chips FAQs:
To make butternut squash chips crispy, slice the squash very thin and evenly, coat lightly with oil, and bake in a single layer without overlapping. Letting the chips cool on the baking sheet after baking also helps them crisp up further.
Yes, butternut squash chips can be made in the air fryer by cooking thin slices at 375°F for about 10-12 minutes, flipping halfway through. Keep an eye on them, as they can brown quickly.
Butternut squash chips are best enjoyed the same day they're made, as they can soften over time. Storing them in an airtight container once fully cooled helps preserve their texture for a short period.


Grab your free copy
Get a FREE Healthy Meal Planning Ebook
Tips, Tricks, and Recipes for Stress Free Meal Planning
Butternut Squash Chips
Equipment
- Sheet pan
Ingredients
- 1 butternut squash, peeled and sliced
- 2 tablespoons olive oil
- 1 teaspoon salt
- ½ teaspoon pepper
- ½ teaspoon garlic powder
- ½ teaspoon cayenne pepper
Instructions
- Preheat the oven to 375°F. Line a baking sheet with parchment paper.
- Use a sharp knife or mandoline to slice the butternut squash evenly. Thinner slices will result in crispier chips.
- Place the slices in a large bowl. Drizzle the olive oil over the squash slices.
- Sprinkle with seasonings and toss the slices gently until evenly coated.
- Lay the slices in a single layer on the prepared baking sheet. Avoid overlapping to ensure even baking.
- Bake in the preheated oven for 20-25 minutes. Keep an eye on them during the last few minutes to avoid burning. Flip the slices halfway through the baking time for even crispiness.
- Remove from the oven once the chips are golden and crispy. Let them cool on the baking sheet for a few minutes-they'll crisp up even more as they cool. Enjoy immediately, or store in an airtight container once completely cooled.
Nutrition
Notes
- Uniform Slicing: For even cooking and consistent crispiness, use a mandoline or a sharp knife to slice the squash evenly.
- Avoid Overlapping: Arrange slices in a single layer on the baking sheet to ensure proper airflow and optimal crisping.
- Watch Closely: Baking times can vary based on slice thickness and oven differences; start checking for doneness around 20 minutes.
- Flavor Adjustment: Feel free to modify the spices, if you prefer less heat, reduce the cayenne pepper, or add other herbs like rosemary for extra flavor.
- Cooling Benefits: Allowing the chips to cool on the baking sheet helps them firm up and become even crunchier.

Lisa says
Nice and crispy. I love making these as a snack. thanks for sharing