
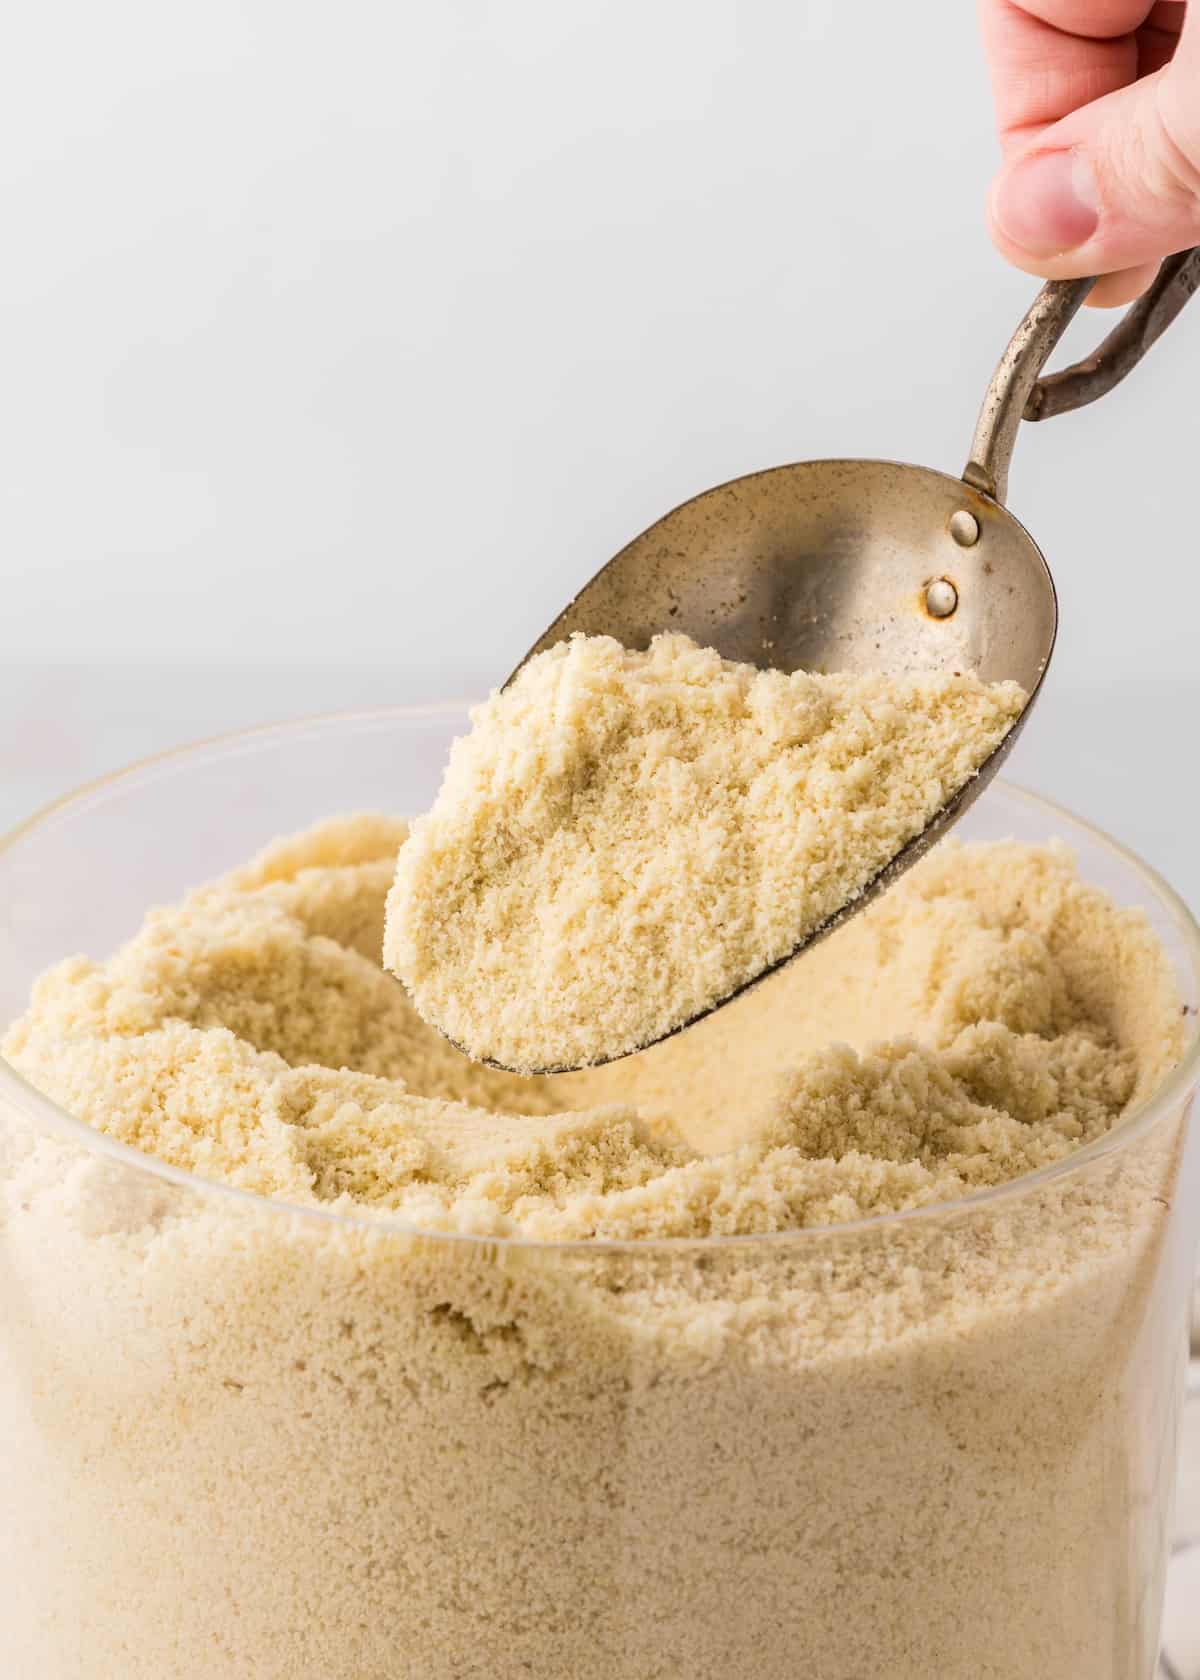
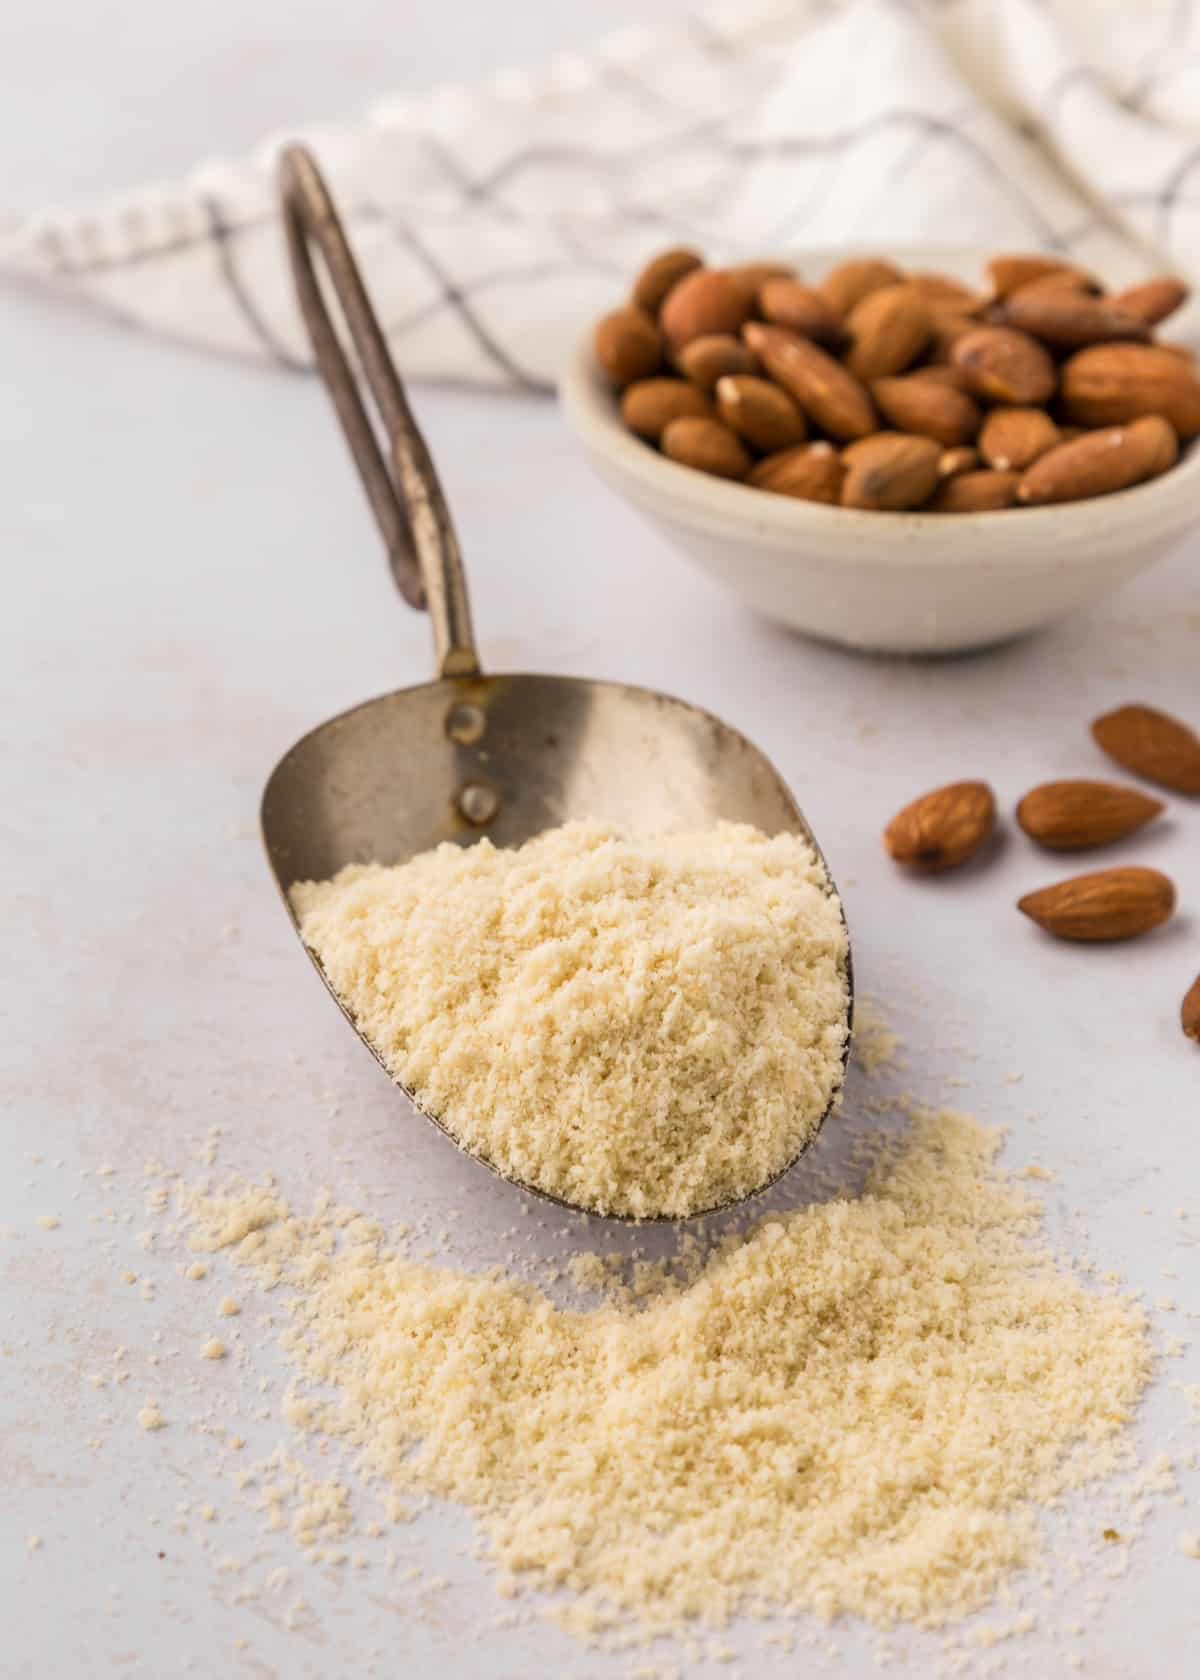
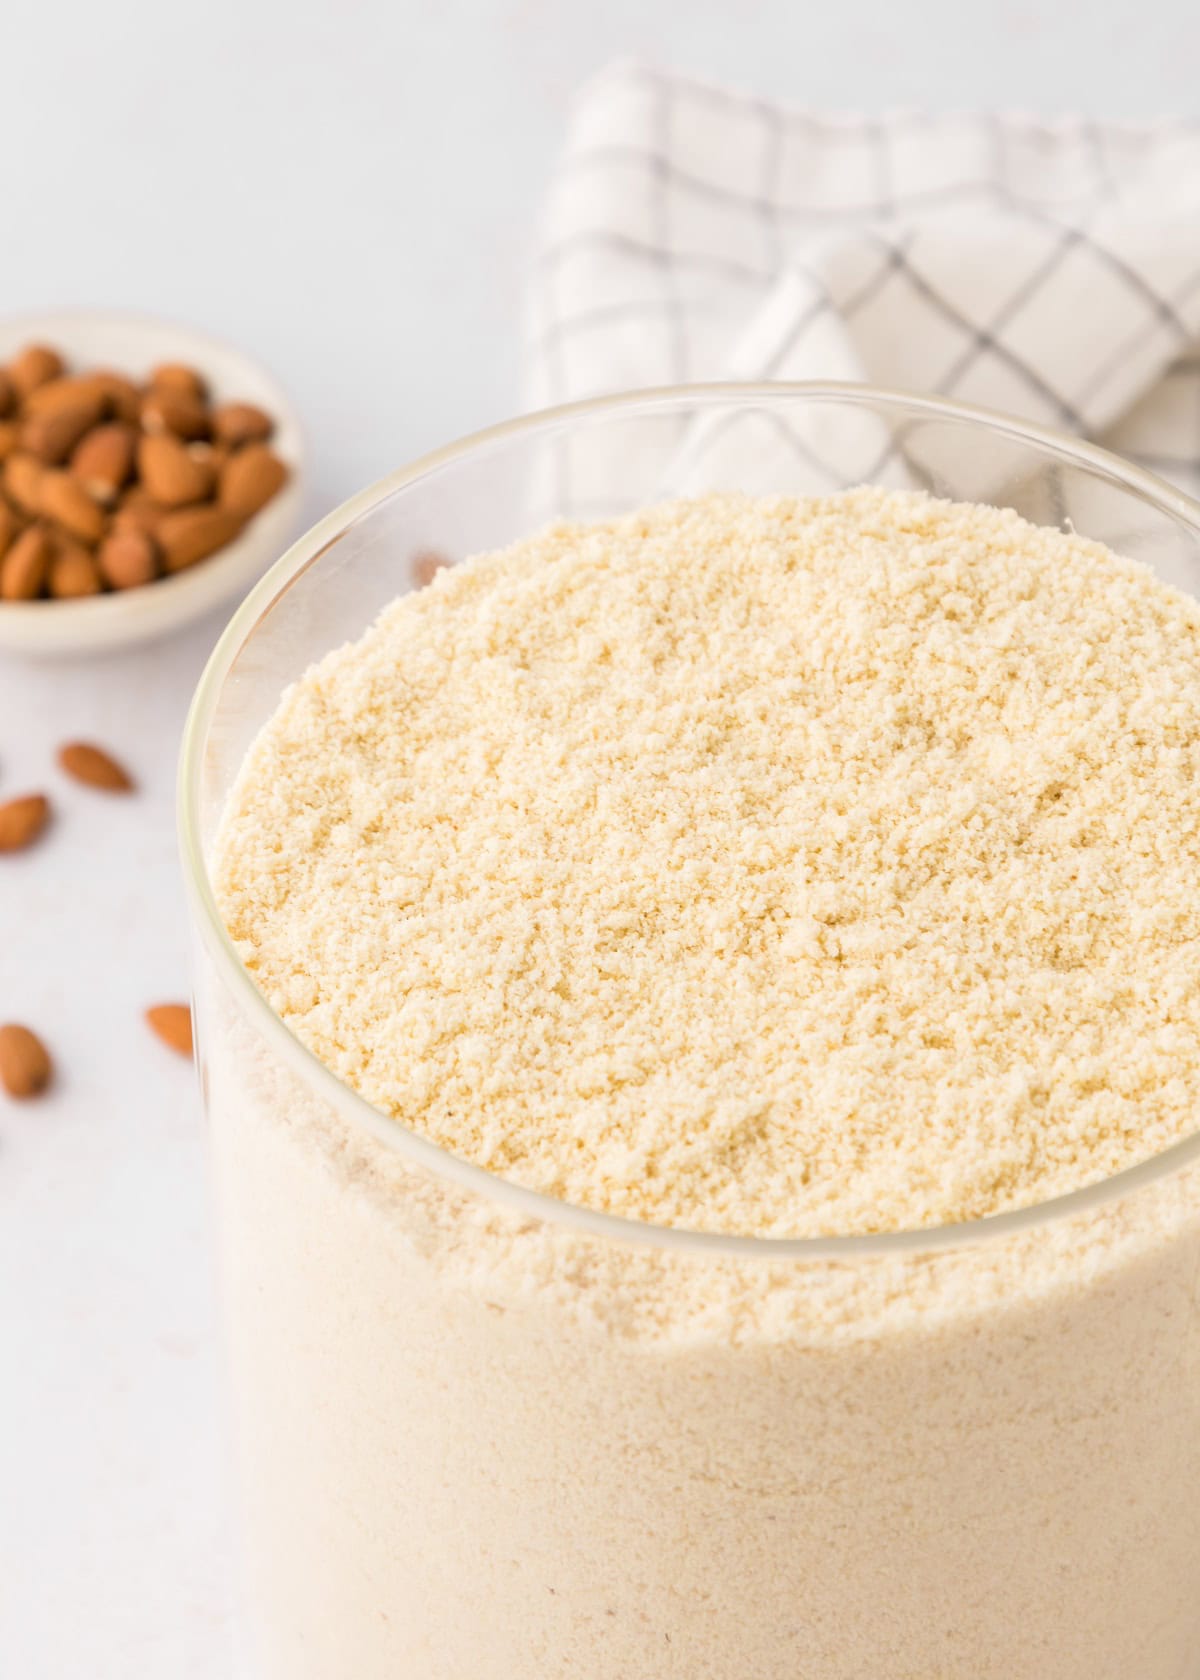
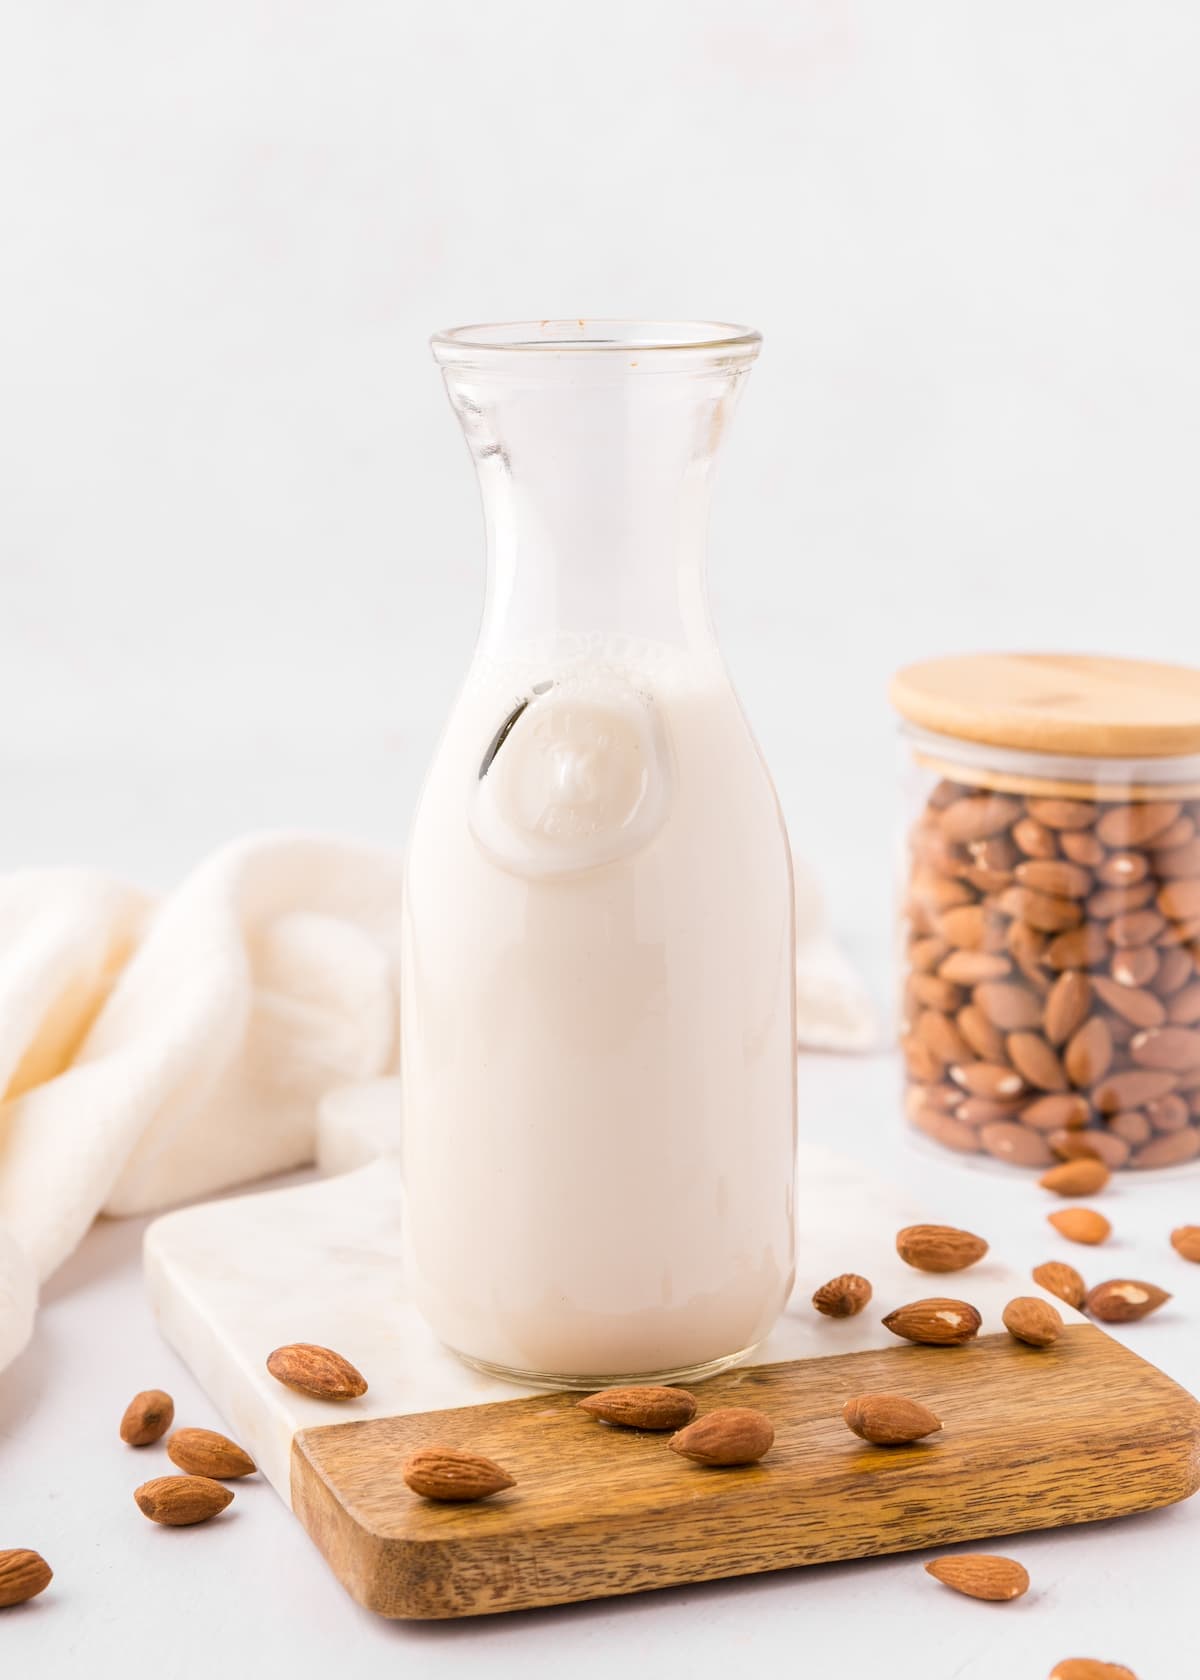
Homemade almond meal is a simple, cost-effective alternative to store-bought versions, made by finely grinding raw almonds in a food processor or blender. This method gives you fresh almond meal with better flavor and texture control.
A Quick Look at the Recipe
✅ Recipe Name: Homemade Almond Meal
🕒 Ready In: ~5 minutes
👪 Serves: About 4 cups
🍽 Calories: ~160 per ¼ cup (estimated)
🥣 Main Ingredients: Raw almonds
📖 Dietary Info: Gluten-free; dairy-free; vegan
👌 Difficulty: Easy - pulse and store
SUMMARIZE & SAVE THIS CONTENT ON
By pulsing the almonds in short bursts, you can achieve a coarse, flour-like consistency without turning them into almond butter. Making it at home also allows you to adjust the grind depending on whether you're baking, breading, or thickening recipes.
If you enjoy making baking staples from scratch, you may also like our Healthy Banana Oat Muffins, Gluten-Free Raspberry Bars, or Edible Cookie Dough. These recipes focus on simple ingredients and practical techniques for everyday cooking.
Jump to:
Why You'll Love this Homemade Almond Meal:
Fresh & Flavorful: Making almond meal at home gives you a fresher taste than store-bought versions.
Budget-Friendly: Buying raw almonds and grinding them yourself is often more cost-effective.
Custom Texture: You control how fine or coarse the almond meal is based on your needs.
Quick & Simple: Ready in just minutes using a food processor or blender.
Naturally Gluten-Free & Vegan: A great option for gluten-free and plant-based baking.
Key Ingredients:
- raw almonds. Whole, unblanched raw almonds grind into a fresh, slightly coarse almond meal with the best texture and flavor.
Scroll to the recipe card at the bottom of this page for exact quantities.
Easy Substitutions & Variations:
- Blanched Almonds: Use blanched almonds for a lighter-colored almond meal with a finer texture.
- Extra Fine Grind: Pulse a little longer for almond flour, stopping often to avoid turning it into almond butter.
- Smaller Batch: Halve the recipe and grind in smaller batches if your processor is small.
- Toasted Flavor: Lightly toast the almonds first, then cool completely before grinding for a deeper, nuttier flavor.
- Freezer Storage: Store almond meal in the freezer to extend freshness if you don't use it often.
How to Make Almond Meal:
- To ensure an even grind, work in small batches (about 1 cup at a time). Place one batch of almonds in your food processor or high-speed blender.
- Pulse the almonds on a low setting. Stop frequently to check the texture. Your goal is a coarse, grainy almond meal-similar in consistency to cornmeal.
- Avoid running the processor continuously. Over-processing can release the oils, leading to a paste-like consistency (almond butter).
- Collect the finer almond meal and re-process any larger bits if needed.
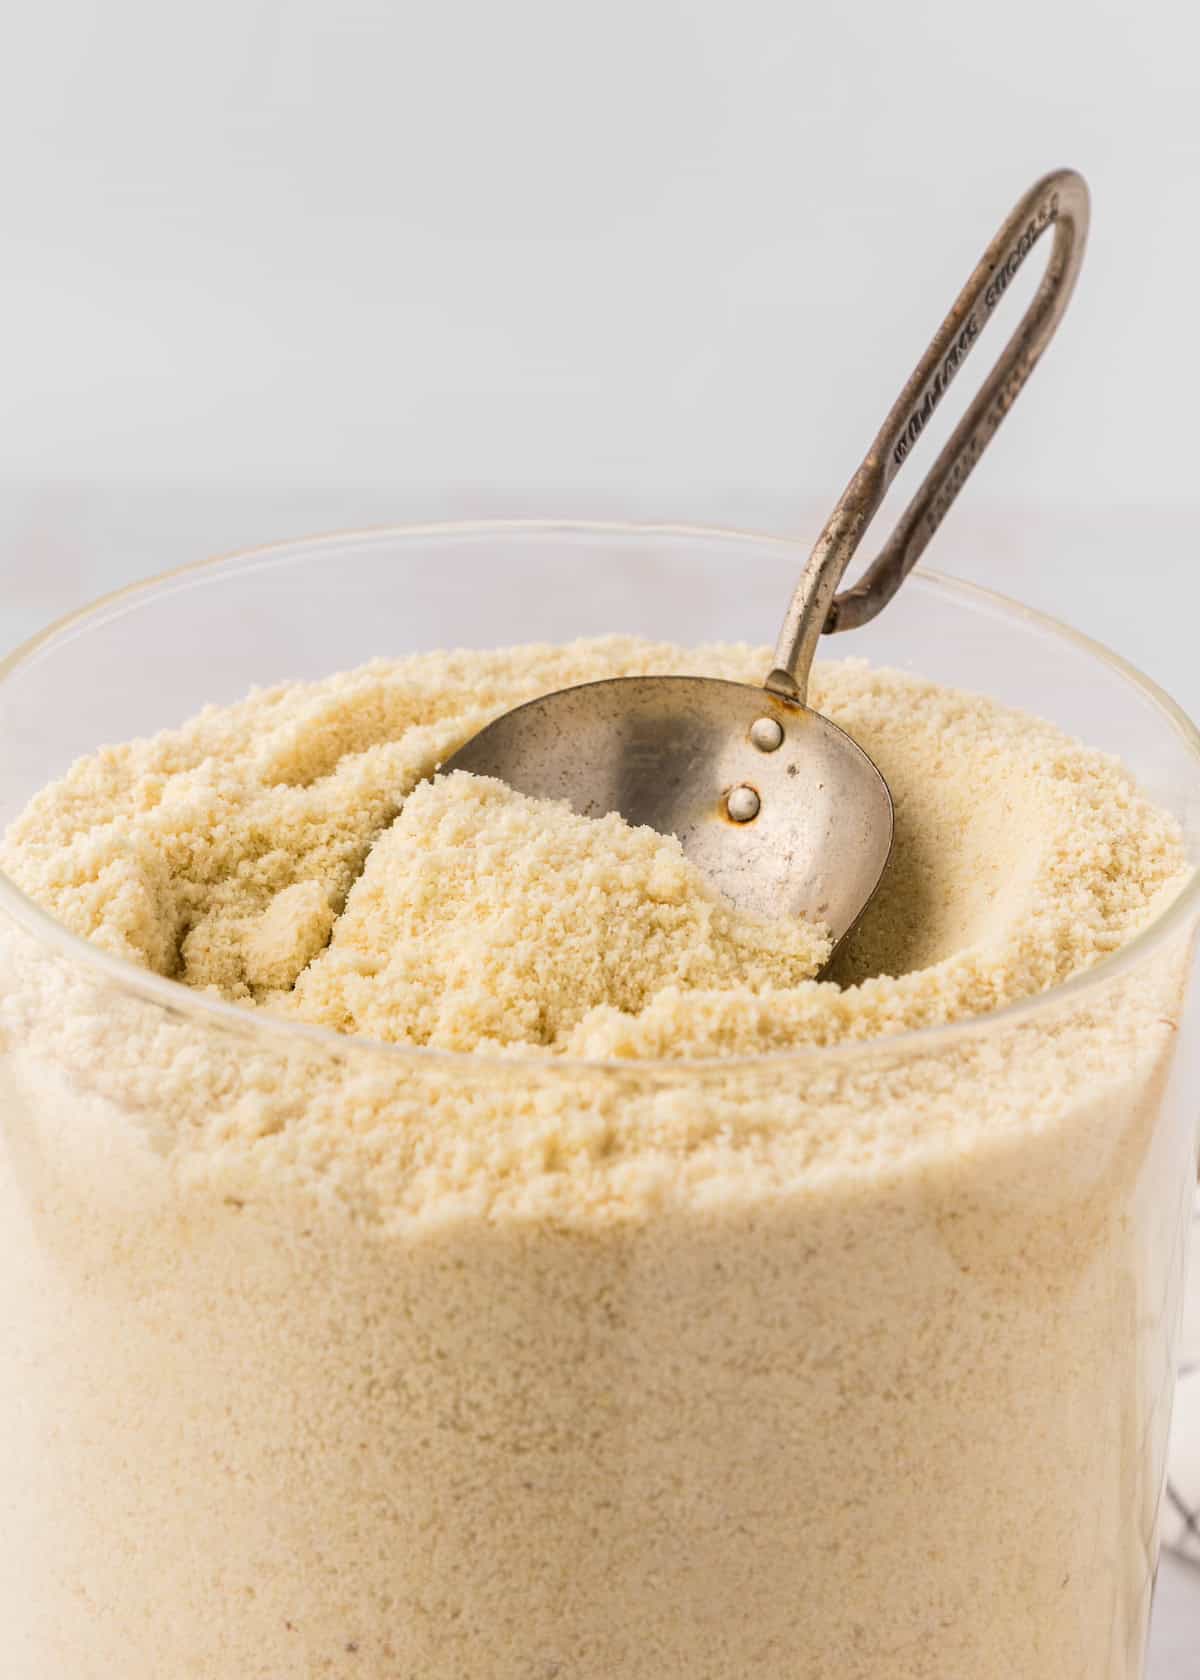
- Once all batches are processed, combine the almond meal and transfer it to an airtight container.
- Store in a cool, dry place or in the refrigerator to maintain freshness and prevent the oils from going rancid.
Recipe Notes & Tips:
- Pulse, Don't Blend: Short pulses prevent the almonds from releasing oils and turning into almond butter.
- Work in Batches: Grinding too many almonds at once leads to uneven texture. About 1 cup at a time works best.
- Stop and Scrape: Pause frequently to scrape down the sides so all almonds grind evenly.
- Watch the Texture Closely: Almond meal should look coarse and grainy, similar to cornmeal.
- Store Properly: Because almonds contain natural oils, keep almond meal in an airtight container in the refrigerator or freezer to prevent rancidity.
Save this Recipe
How to Store:
Airtight Container: Transfer the almond meal to an airtight container to protect it from moisture and air. Store it in a cool, dry spot like a pantry.
Refrigeration: For longer storage, especially in warm or humid climates, refrigerate the container. This can help extend its shelf life to about 2-3 months.
Freezing Option: For even longer storage, you can freeze the almond meal. Just be sure to let it come to room temperature before using it in recipes.
Homemade Almond Meal FAQs:
Almond meal is made from whole almonds with the skins left on and has a coarser texture. Almond flour is usually made from blanched almonds and is ground much finer, resulting in a lighter color and softer texture.
Yes, almond meal can be made in a high-speed blender, but it's important to pulse in short bursts and stop often. Over-blending can cause the almonds to release oil and turn into almond butter.
Absolutely! Almond meal is a popular gluten-free alternative in recipes for cakes, cookies, pancakes, and breads.


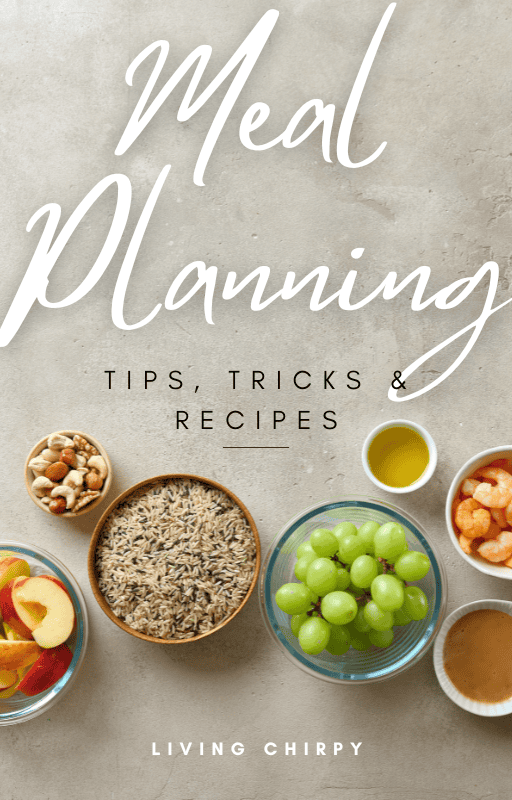
Grab your free copy
Get a FREE Healthy Meal Planning Ebook
Tips, Tricks, and Recipes for Stress Free Meal Planning
Homemade Almond Meal
Ingredients
- 16 ounces raw almonds
Instructions
- To ensure an even grind, work in small batches (about 1 cup at a time). Place one batch of almonds in your food processor or high-speed blender.
- Pulse the almonds on a low setting. Stop frequently to check the texture. Your goal is a coarse, grainy almond meal-similar in consistency to cornmeal.
- Avoid running the processor continuously. Over-processing can release the oils, leading to a paste-like consistency (almond butter).
- Collect the finer almond meal and re-process any larger bits if needed.
- Once all batches are processed, combine the almond meal and transfer it to an airtight container.
- Store in a cool, dry place or in the refrigerator to maintain freshness and prevent the oils from going rancid.
Nutrition
Notes
- Pulse, Don't Blend: Short pulses prevent the almonds from releasing oils and turning into almond butter.
- Work in Batches: Grinding too many almonds at once leads to uneven texture. About 1 cup at a time works best.
- Stop and Scrape: Pause frequently to scrape down the sides so all almonds grind evenly.
- Watch the Texture Closely: Almond meal should look coarse and grainy, similar to cornmeal.
- Store Properly: Because almonds contain natural oils, keep almond meal in an airtight container in the refrigerator or freezer to prevent rancidity.


Andy says
It worked well with the baked goods I’ve tried. So glad I’m not throwing all that pulp away anymore haha