
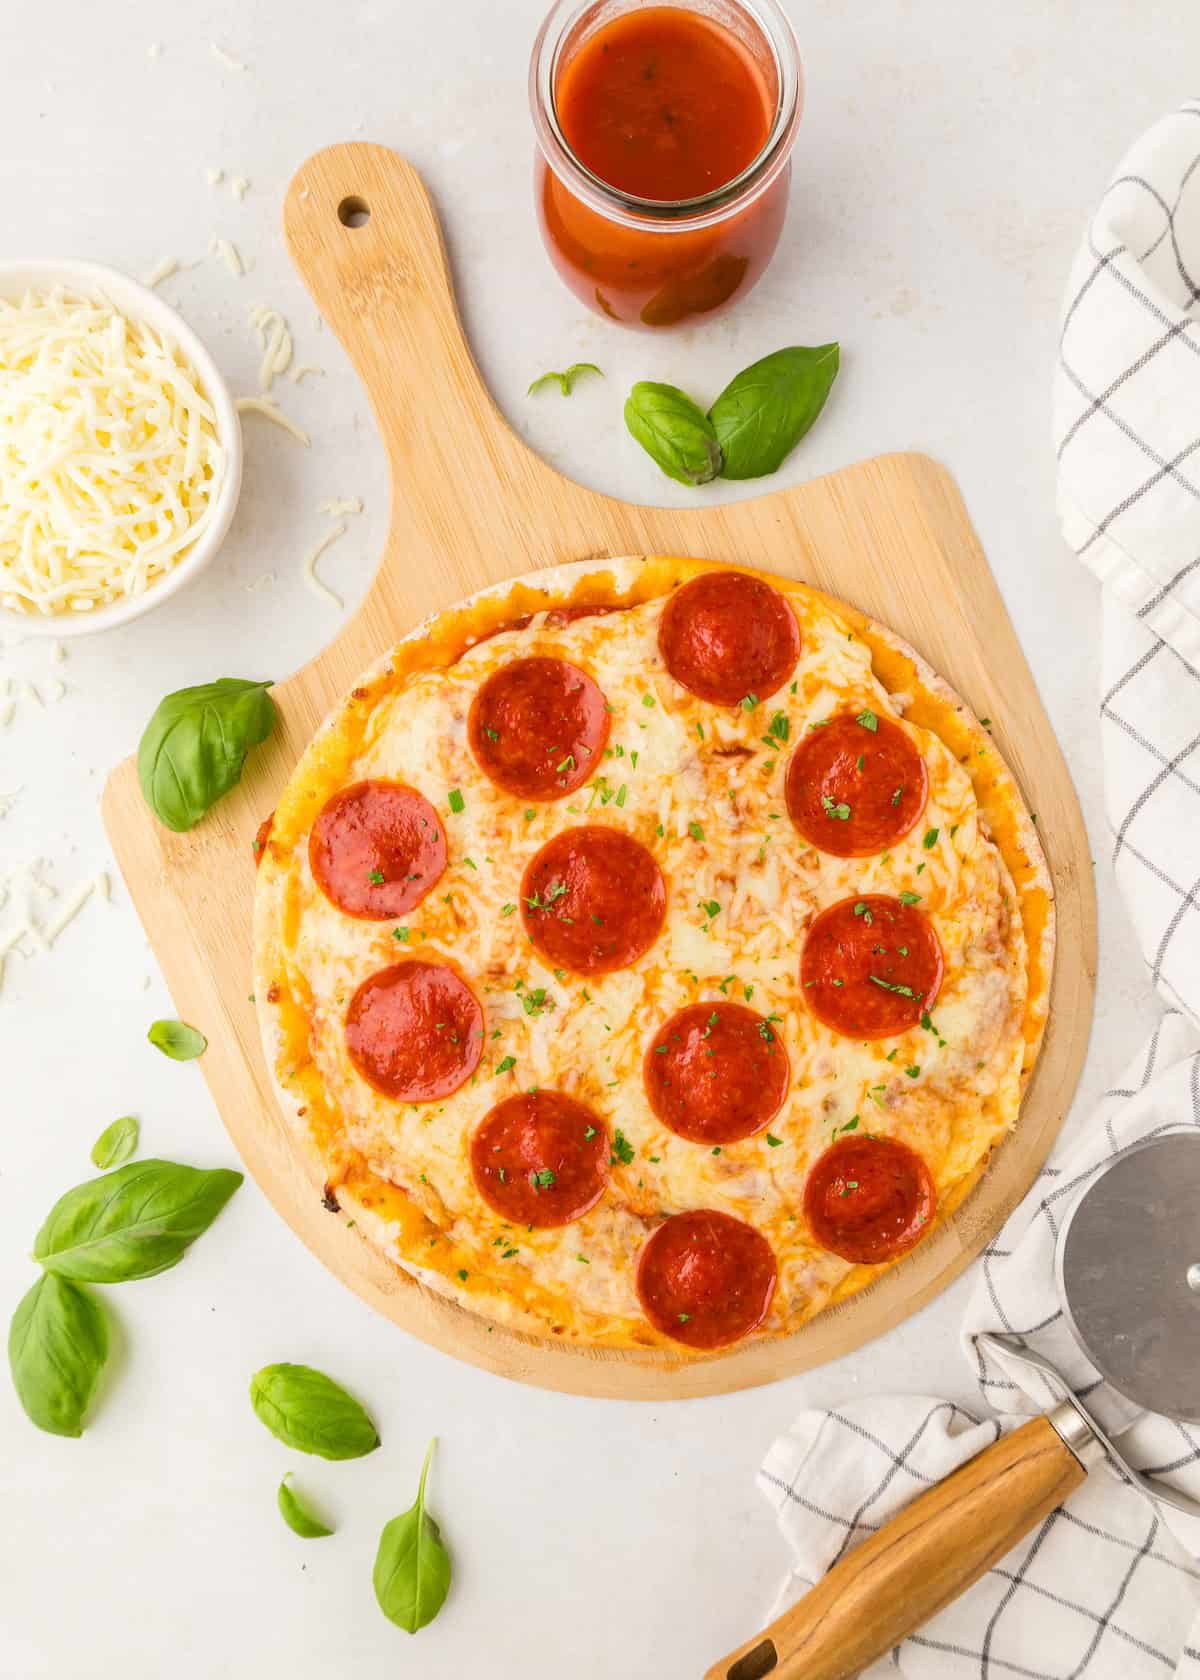
This cauliflower pizza crust is a simple, homemade alternative to traditional pizza crust, made with riced cauliflower, egg, Parmesan, and herbs. Baked until golden and firm, it creates a sturdy base that holds toppings without falling apart.

A Quick Look at the Recipe
✅ Recipe Name: Cauliflower Pizza Crust
🕒 Ready In: ~40 minutes
👪 Serves: 4 servings
🍽 Calories: ~110 per slice (crust only, estimated)
🥦 Main Ingredients: Cauliflower, egg, Parmesan cheese, garlic, oregano
📖 Dietary Info: Gluten-free; low carb
👌 Difficulty: Easy - simple prep with a few key technique tips
SUMMARIZE & SAVE THIS CONTENT ON
Perfect for homemade pizza nights, this crust comes together with a short ingredient list and straightforward steps. The key is removing as much moisture as possible from the cauliflower, which helps the crust bake up crisp around the edges while staying tender in the center.
If you enjoy making lighter pizza-style meals at home, you may also like our Zucchini Pizza Boats, Pizza Soup, or Pizza Casserole that are great for family meals and customizable toppings.
Jump to:
- A Quick Look at the Recipe
- Why You'll Love this Cauliflower Pizza Crust:
- Key Ingredients:
- Easy Substitutions & Variations:
- How to Make Cauliflower Pizza Crust:
- Recipe Notes & Tips:
- How to Store:
- Cauliflower Pizza Crust FAQs:
- More Easy Dinner Recipes You'll Love
- Get a FREE Healthy Meal Planning Ebook
- Cauliflower Pizza Crust
Why You'll Love this Cauliflower Pizza Crust:
Firm, sliceable texture: Cooking the riced cauliflower on the stovetop removes excess moisture, helping the crust bake up sturdy instead of soggy.
Simple ingredients: Made with just cauliflower, egg, Parmesan, and seasonings - no specialty flours or complicated binders.
Customizable: Works with a variety of sauces and toppings, from classic pepperoni to veggie-loaded combinations.
Great for homemade pizza nights: A reliable base that holds together and satisfies without traditional dough.
Key Ingredients:
- cauliflower. The foundation of the crust. Ricing and thoroughly cooking the cauliflower removes excess moisture, which is essential for a firm, sliceable crust.
- egg. Acts as a binder to hold the crust together during baking.
- parmesan cheese. Adds saltiness and structure; helps crisp the crust.
- garlic. Freshly minced garlic infuses the crust with bold flavor.
- seasonings. Basic seasoning to enhance flavor and give a classic Italian taste.
Scroll to the recipe card at the bottom of this page for exact quantities.
Easy Substitutions & Variations:
- Dairy-free: Skip the parmesan and add 1-2 tablespoons of nutritional yeast for a cheesy, savory flavor. You may need an extra tablespoon of egg or a spoonful of almond flour to help the crust bind.
- Egg-free: Use a flax egg (1 tablespoon ground flaxseed mixed with 2½ tablespoons water, rested 5 minutes). Note that the crust will be slightly softer.
- Extra crispy crust: Brush the crust lightly with olive oil before the first bake and bake it an extra 3-5 minutes until the edges are golden.
- Herb variations: Swap oregano for Italian seasoning, dried basil, or a pinch of garlic powder for a slightly different flavor profile.
- Thicker crust: Press the mixture into a slightly smaller circle for a sturdier, more bread-like base that holds heavier toppings better.
How to Make Cauliflower Pizza Crust:
- Preheat the oven to 425°F and line a baking sheet or pizza pan with parchment paper.
- Add the cauliflower florets to a food processor and pulse until they resemble fine rice. Transfer the riced cauliflower to a large skillet and cook over medium heat for 6-8 minutes, stirring frequently, until softened and any excess moisture has cooked off. Remove from heat and let cool slightly.
- Transfer the cooked cauliflower to a clean kitchen towel and squeeze out as much liquid as possible. This step is key for a firm crust.
- In a mixing bowl, combine the drained cauliflower, egg, salt, oregano, Parmesan cheese, and minced garlic. Stir until fully combined.
- Press the mixture onto the prepared baking sheet in a thin, even circle about ¼-inch thick. Bake for 20-22 minutes, or until the crust is golden and set.
- Remove from the oven and spread marinara sauce over the crust. Sprinkle with mozzarella and arrange pepperoni on top.
- Return to the oven for 7-10 minutes, or until the cheese is melted and bubbly. Let cool slightly before slicing and serving.
Recipe Notes & Tips:
- Remove as much moisture as possible: This is the most important step for a firm cauliflower pizza crust. After cooking the cauliflower, let it cool slightly, then squeeze it very well using a clean kitchen towel or cheesecloth.
- Use parchment paper: Cauliflower crust sticks easily. Parchment ensures easy removal and clean slicing.
- Press evenly: Aim for an even thickness across the crust, especially in the center, so it bakes through without becoming soft.
- Don't overload the toppings: Too much sauce or cheese can weigh the crust down and make it soggy. Keep toppings light for best results.
- Let it rest before slicing: Allow the pizza to cool for 3-5 minutes after the final bake so the crust sets and slices cleanly.
- Best served fresh: Cauliflower pizza crust is at its firmest right out of the oven and softens as it sits.

Save this Recipe
How to Store:
Refrigerator: Store leftover slices in an airtight container for up to 3 days. Place parchment between slices to prevent sticking.
Freezer: Freeze baked crusts (without toppings) for up to 1 month. Let cool completely, then wrap tightly in plastic and foil. Add toppings and bake directly from frozen.
To reheat: Reheat slices in a 375ºF oven for 5-7 minutes or in a skillet over low heat until warmed through and crisped.
Cauliflower Pizza Crust FAQs:
A soggy center usually means the cauliflower wasn't drained enough or the crust was pressed too thick. For best results, squeeze the cauliflower very well, spread the mixture into a thin, even layer, and avoid heavy toppings that release moisture.
Yes, you can make cauliflower pizza crust ahead by baking the crust fully, letting it cool, and storing it in the refrigerator for up to 2 days. When ready to use, add toppings and bake again until heated through and the cheese is melted.
Cauliflower pizza crust can be crispy, but only if most of the moisture is removed from the cooked cauliflower before baking. Thoroughly squeezing out excess liquid and baking the crust until golden and firm are the keys to achieving a sturdy, lightly crisp cauliflower pizza crust.


Grab your free copy
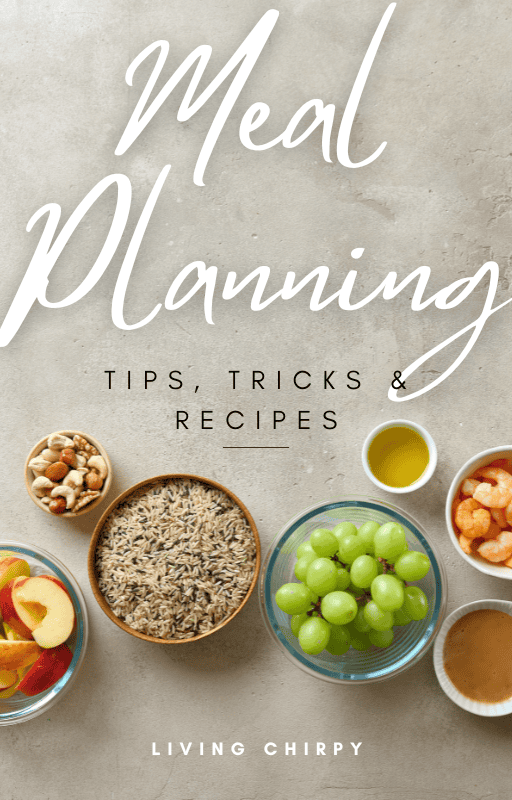
Get a FREE Healthy Meal Planning Ebook
Tips, Tricks, and Recipes for Stress Free Meal Planning
Cauliflower Pizza Crust
Ingredients
- ½ cup marinara sauce
- 1 cup mozzarella cheese
- 12 pepperoni slices
Instructions
- Preheat the oven to 425°F and line a baking sheet or pizza pan with parchment paper.
- Add the cauliflower florets to a food processor and pulse until they resemble fine rice. Transfer the riced cauliflower to a large skillet and cook over medium heat for 6-8 minutes, stirring frequently, until softened and any excess moisture has cooked off. Remove from heat and let cool slightly.
- Transfer the cooked cauliflower to a clean kitchen towel and squeeze out as much liquid as possible. This step is key for a firm crust.
- In a mixing bowl, combine the drained cauliflower, egg, salt, oregano, Parmesan cheese, and minced garlic. Stir until fully combined.
- Press the mixture onto the prepared baking sheet in a thin, even circle about ¼-inch thick. Bake for 20-22 minutes, or until the crust is golden and set.
- Remove from the oven and spread marinara sauce over the crust. Sprinkle with mozzarella and arrange pepperoni on top.
- Return to the oven for 7-10 minutes, or until the cheese is melted and bubbly. Let cool slightly before slicing and serving.
Nutrition
Notes
- Remove as much moisture as possible: This is the most important step for a firm cauliflower pizza crust. After cooking the cauliflower, let it cool slightly, then squeeze it very well using a clean kitchen towel or cheesecloth.
- Use parchment paper: Cauliflower crust sticks easily. Parchment ensures easy removal and clean slicing.
- Press evenly: Aim for an even thickness across the crust, especially in the center, so it bakes through without becoming soft.
- Don't overload the toppings: Too much sauce or cheese can weigh the crust down and make it soggy. Keep toppings light for best results.
- Let it rest before slicing: Allow the pizza to cool for 3-5 minutes after the final bake so the crust sets and slices cleanly.
- Best served fresh: Cauliflower pizza crust is at its firmest right out of the oven and softens as it sits.


Ark says
Parchment paper doesn't burn
Diva says
Is the nutrition info for one slice? How many slices? 16 g carbs?
Dana says
Definitely the best cauliflower pizza crust i’ve tasted yet. Didn’t fall apart!
Yvonne says
The best cauliflower pizza base I’ve tasted. Saved this one. Even my husband approved! Thank you!
Michelle kalmbach says
Why is there so much sodium?
Lynne Wilson Lesher says
Well I'm trying my first pizza. I was at a friends house and she made this cauliflower pizza. I did notice she did use parchment paper and still had a mess with it sticking. So I am going out on a limb and just spraying my pans and baking on the pans. I hope they are good as hers were. this can be a little expensive, but ok if everyone loves them.
Katorah Garrett says
How did it turn out using a sprayed baking pan?
Kristina chavez says
This was very good. The whole family enjoyed it. Only thing is that it stuck to the paper. How can I prevent this from happening again? Thank you
Tess says
The crust was stuck on the wax paper. ???? What did I do wrong?
Lori says
I think Shay meant parchment paper. Wax paper really isn't made for baking.
Helen says
Just a note to say thank you for the yummy Pepperoni Cauliflower Pizza recipe! Always wanted to incorporate more veggies into our daily meals without being boring. Only problem is I forgot to put base into oven first. I must have thought I was making ordinary pizza but it was still tasty only needed to crispen.
Shay says
Oh no! Yes, it definitely need the first bake to crispen it haha! Glad you still liked it though, Helen 🙂