
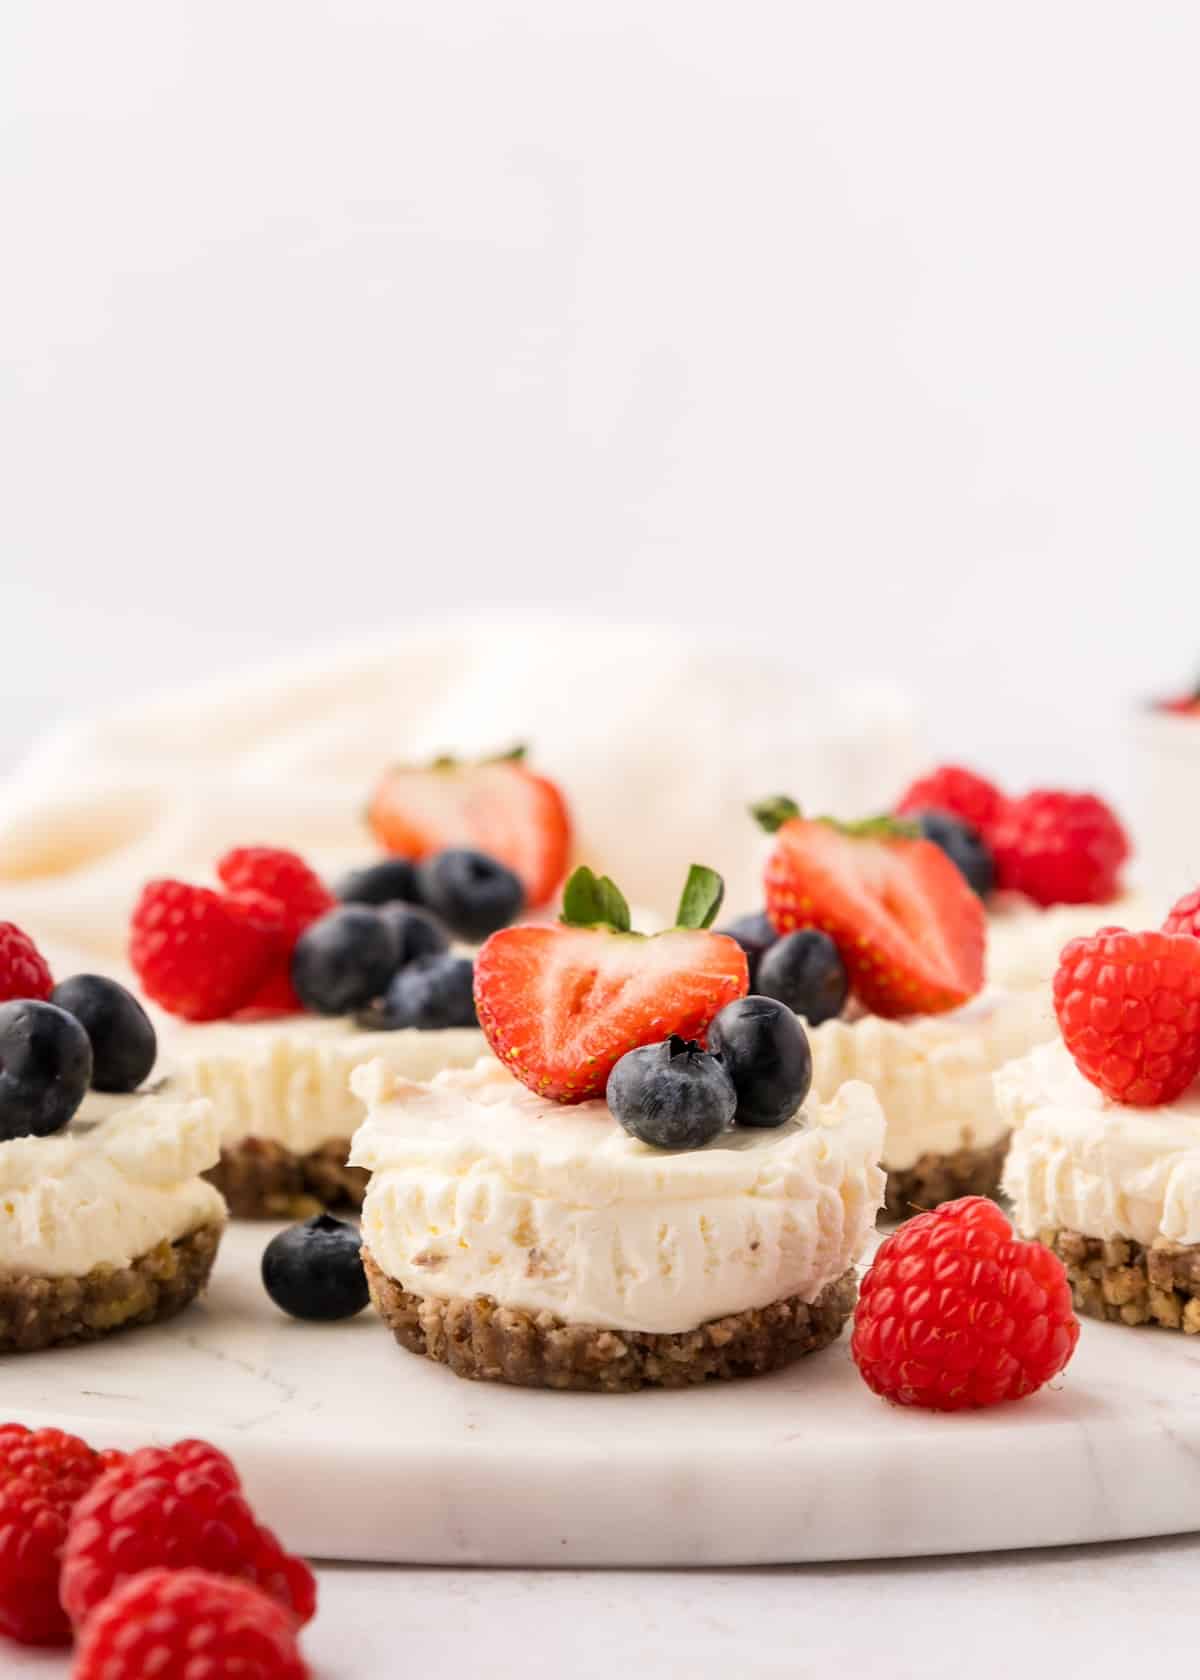
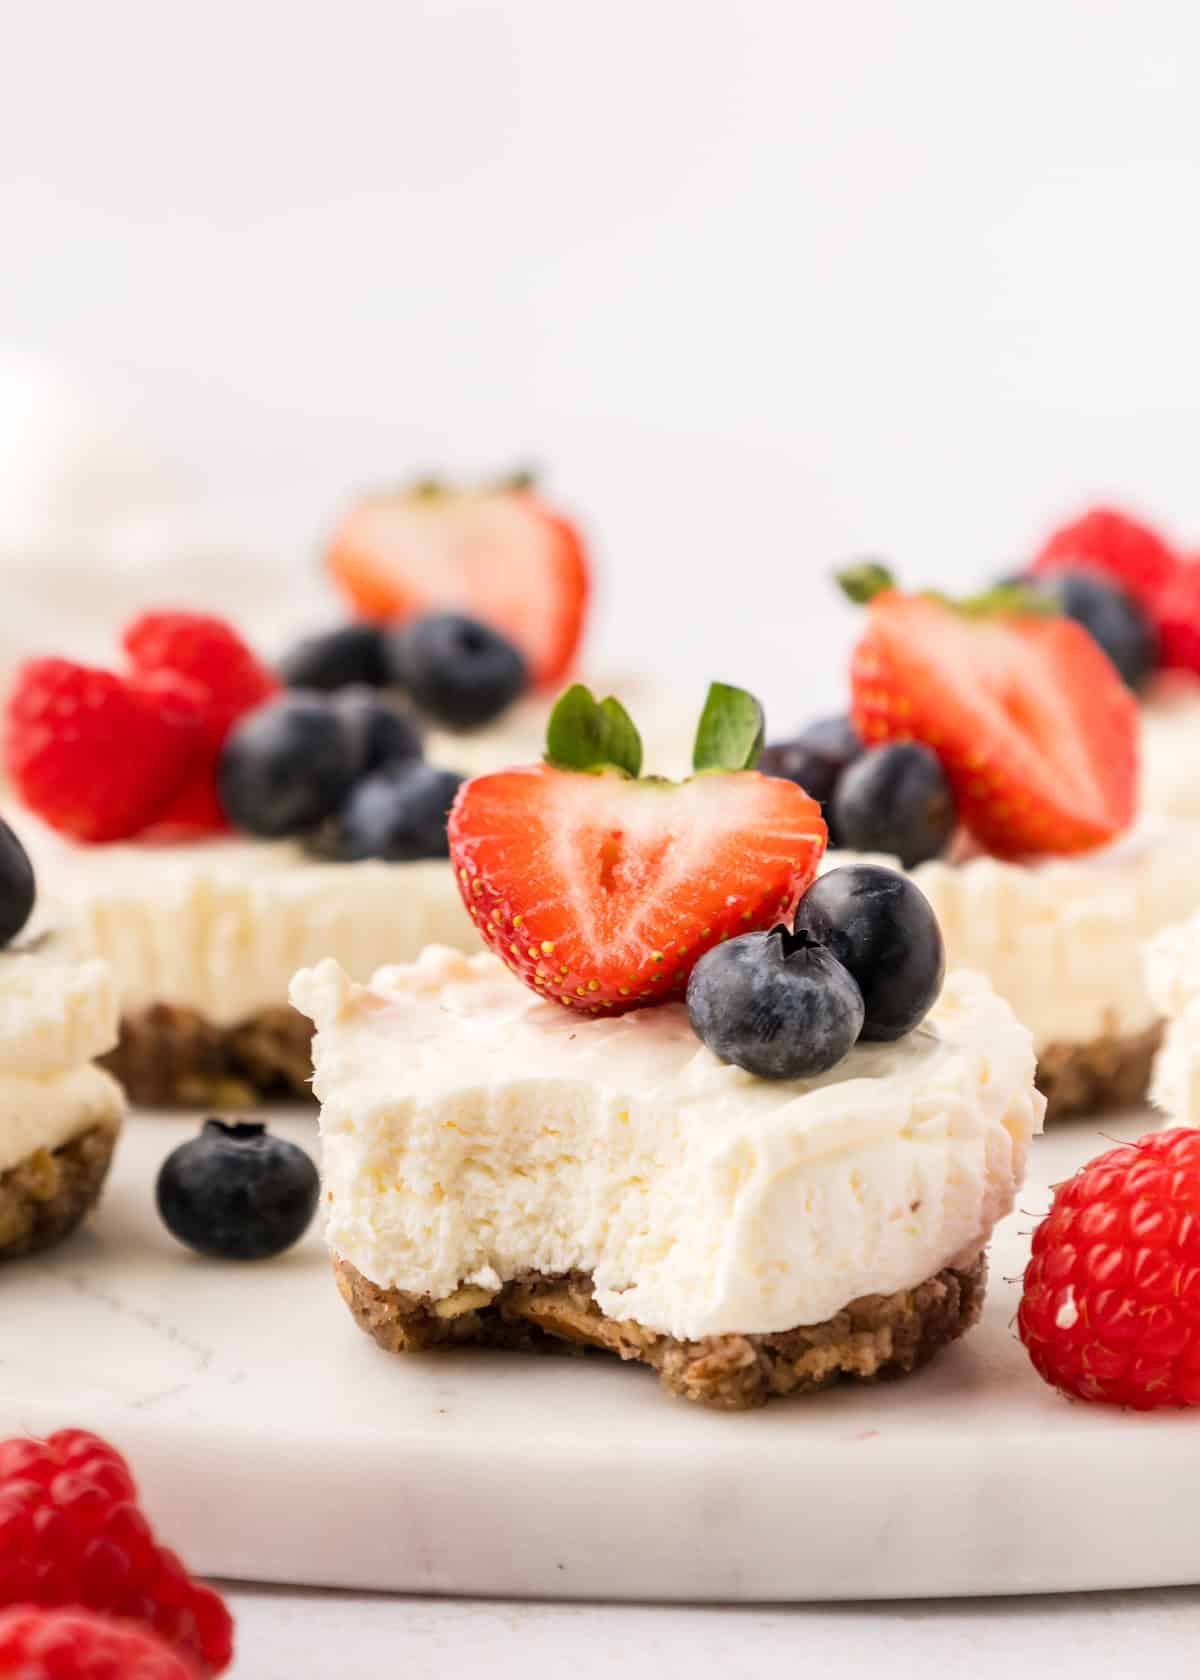
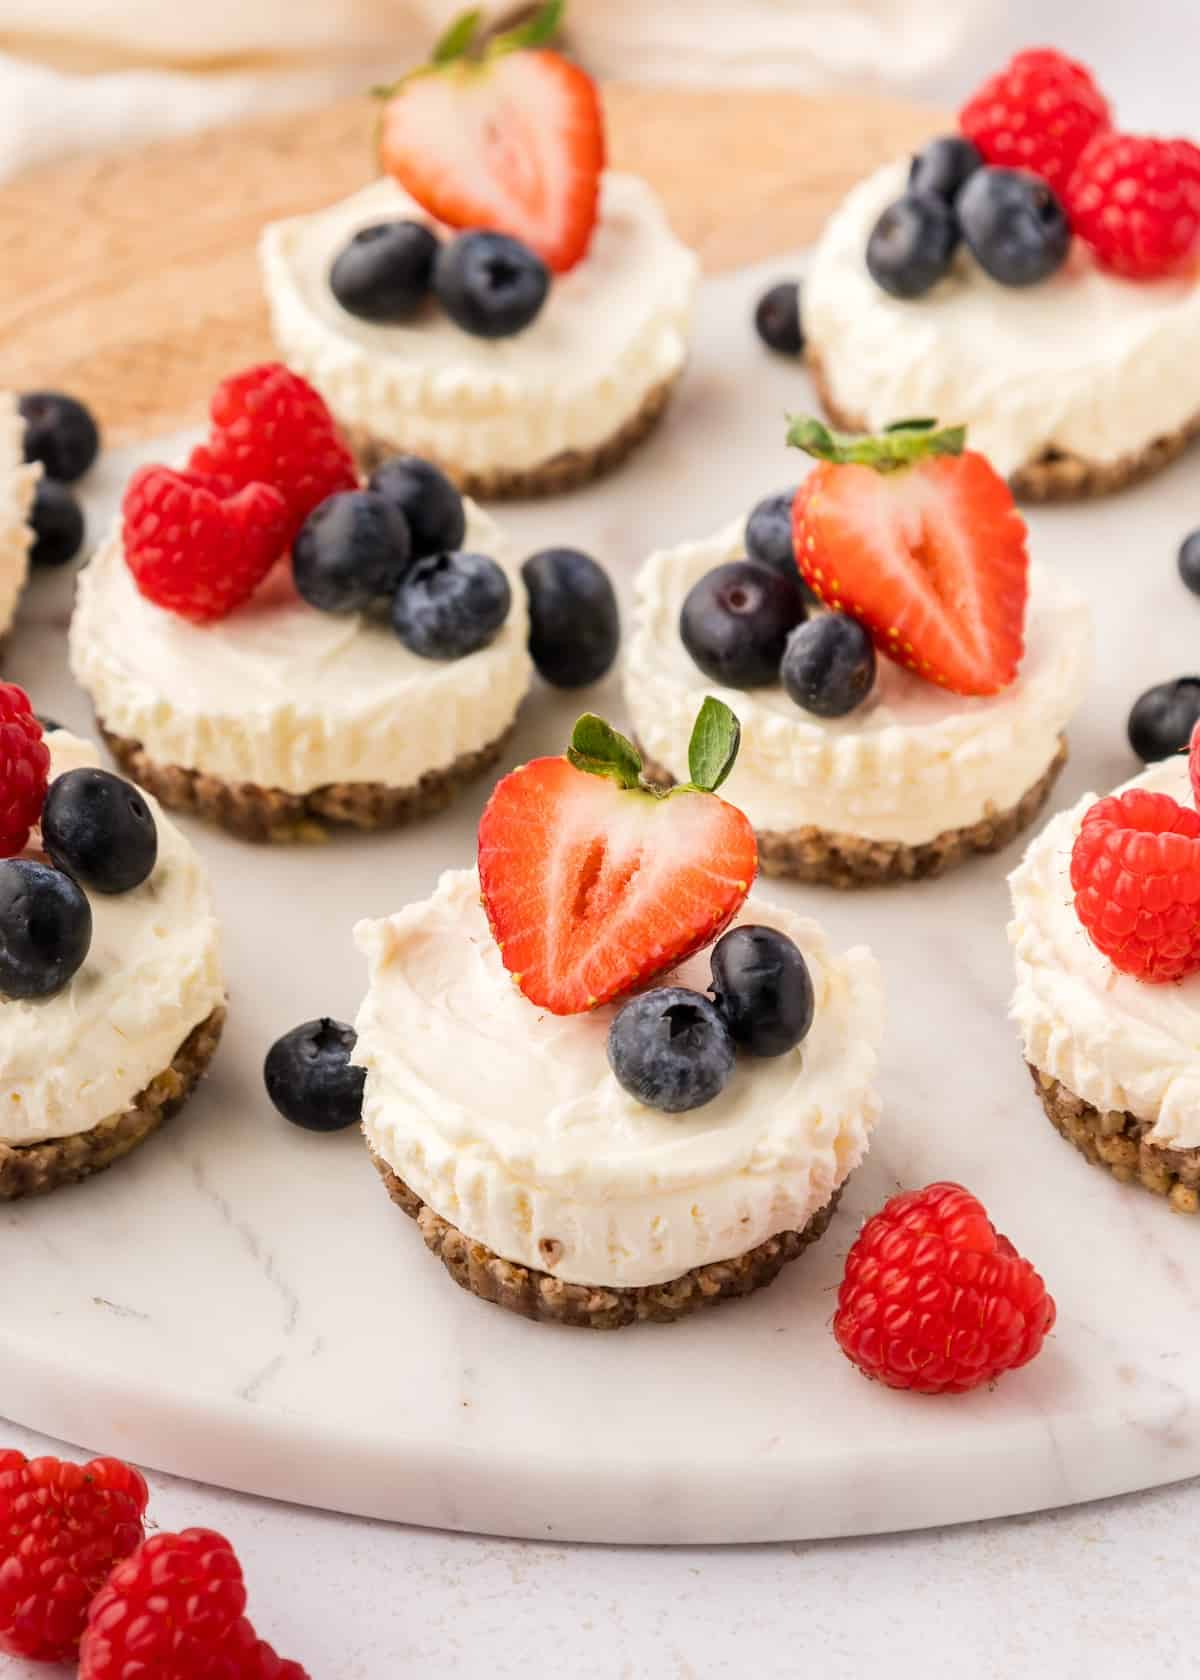
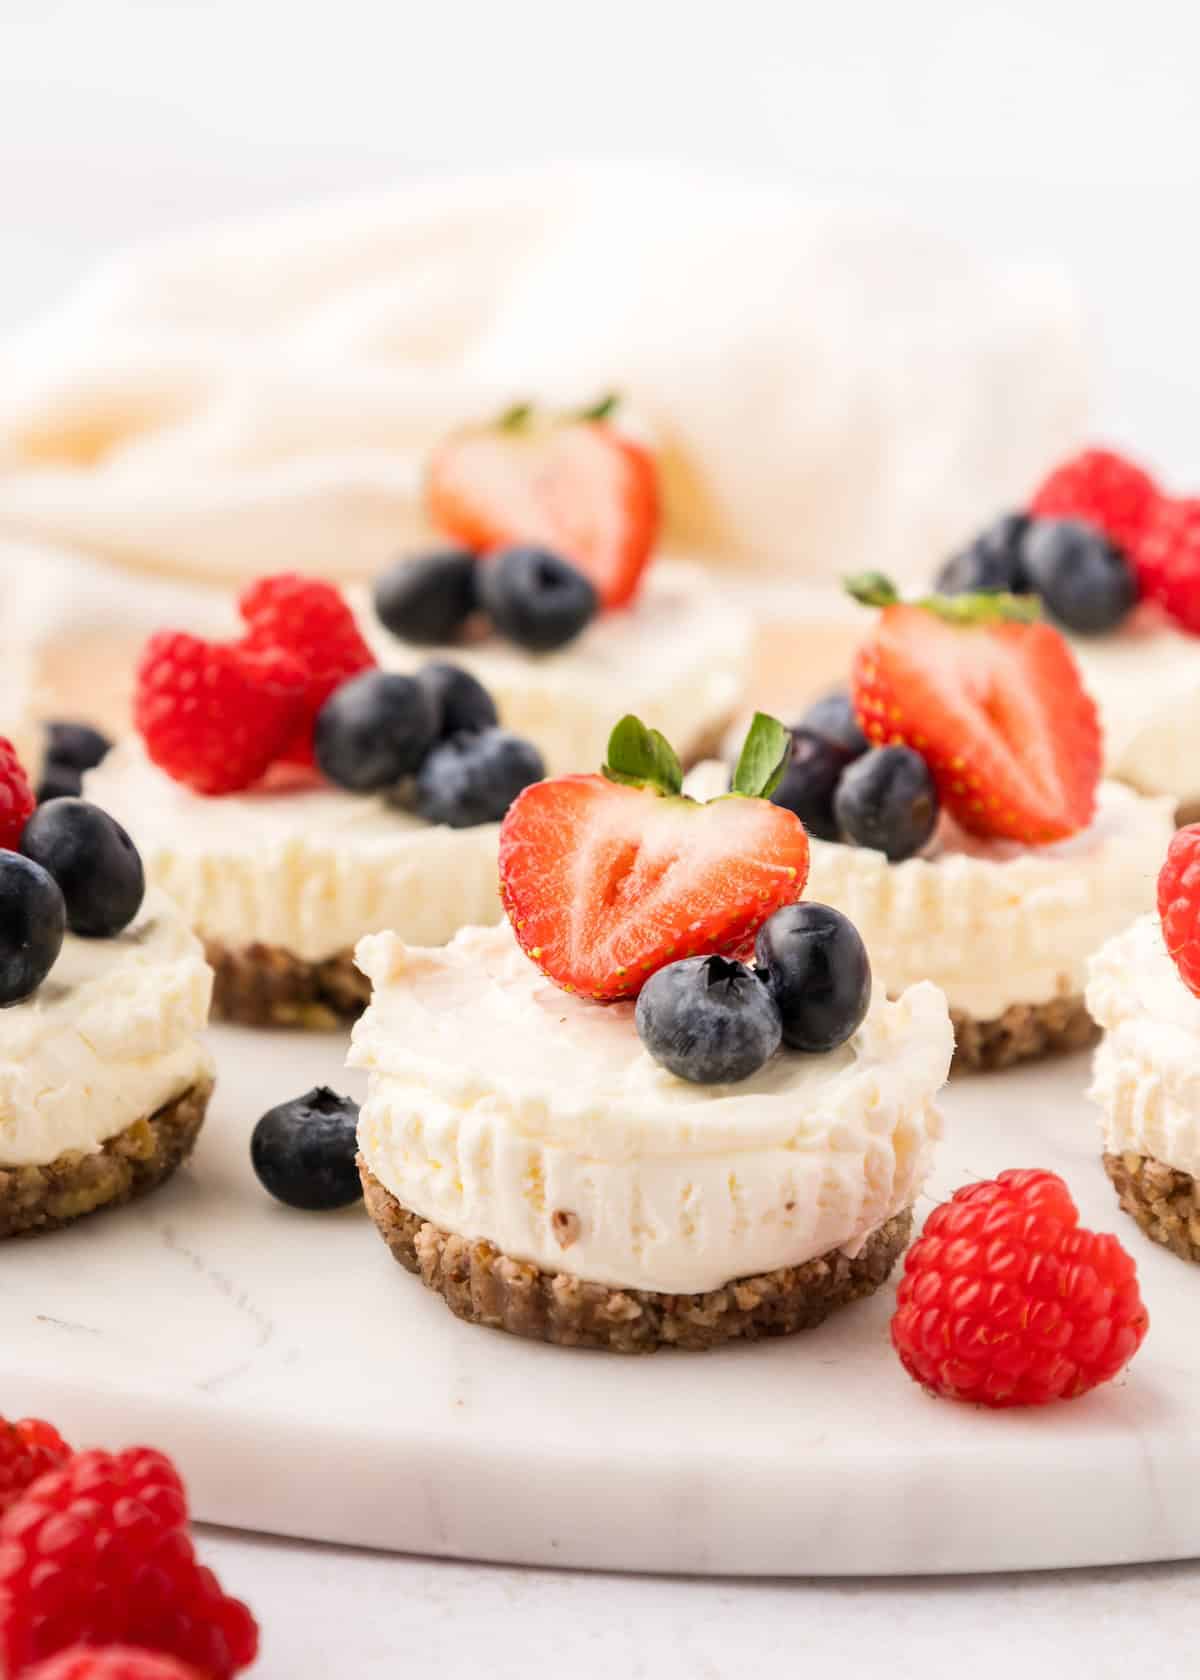
These No Bake Mini Cheesecakes are an easy, make-ahead dessert made with a simple gluten-free crust and a smooth lemon-honey cheesecake filling. They're naturally sweetened, require no oven time, and set perfectly in the refrigerator.
A Quick Look at the Recipe
✅ Recipe Name: No Bake Mini Cheesecakes
🕒 Ready In: ~2 hours (mostly chilling time)
👪 Serves: 8 mini cheesecakes
🍽 Calories: ~260 calories per mini cheesecake (estimated)
🥣 Main Ingredients: Pecans, cream cheese, honey, lemon juice, lemon zest
📖 Dietary Info: Gluten-free; no-bake; naturally sweetened
👌 Difficulty: Easy - simple food processor method, no oven required
SUMMARIZE & SAVE THIS CONTENT ON
Unlike baked mini cheesecakes, this no-bake version skips eggs and water baths while still delivering a creamy, sliceable texture. Using pecans for the crust adds richness and structure without the need for graham crackers or gluten-free cookies.
These mini cheesecakes are ideal for entertaining, holidays, or anytime you want a fuss-free dessert that can be prepped in advance. For more No-Bake Dessert Recipes, try our Dark Chocolate Bark, Strawberry Frozen Yogurt, or Cookie Dough Bars.
Jump to:
- A Quick Look at the Recipe
- Why You'll Love these No Bake Mini Cheesecakes:
- Key Ingredients:
- Easy Substitutions & Variations:
- How To Make No Bake Mini Cheesecakes:
- Recipe Notes & Tips:
- How to Store:
- No Bake Mini Cheesecakes FAQs:
- More Dessert Recipes You'll Love
- Get a FREE Healthy Meal Planning Ebook
- No Bake Mini Cheesecakes
Why You'll Love these No Bake Mini Cheesecakes:
No baking required: These mini cheesecakes set in the fridge, making them perfect when you don't want to turn on the oven.
Naturally gluten-free: The pecan crust replaces traditional graham crackers without sacrificing structure or flavor.
Smooth and creamy texture: Cream cheese blended with honey and lemon creates a rich, balanced filling.
Great for make-ahead desserts: They can be prepared in advance and stored until ready to serve.
Perfect individual portions: Mini size makes them easy to serve for gatherings, holidays, or special occasions.
Key Ingredients:
- pecans. Used for the crust instead of graham crackers. Offers a naturally sweet, buttery flavor and a soft crunch.
- honey. Acts as the natural sweetener for both the crust and filling. Maple syrup can be substituted if preferred.
- cream cheese. Use full-fat for the creamiest texture. Be sure it's softened to room temperature for smooth blending.
- lemon juice. Adds brightness and balances the richness of the cream cheese. Bottled juice isn't recommended.
Scroll to the recipe card at the bottom of this page for exact quantities.
Easy Substitutions & Variations:
- Use a different nut for the crust: Walnuts or almonds can be used in place of pecans for a similar texture and flavor.
- Make them dairy-free: Use a dairy-free cream cheese alternative with a similar consistency.
- Swap the citrus: Lime juice and zest can replace lemon for a slightly different flavor profile.
- Adjust sweetness: Increase or decrease the honey slightly based on how sweet you prefer the cheesecake.
- Add toppings: Fresh berries, Blueberry Compote, or a drizzle of honey make simple finishing touches.
How To Make No Bake Mini Cheesecakes:
- Add the pecans, melted butter, and 1 tablespoon of honey to a food processor. Pulse until the mixture becomes sticky and crumbly, blending smooth or leaving slightly chunky based on preference.
- Line a muffin tin with liners or use a silicone mold. Divide the pecan mixture evenly between the cups and press firmly into the bottoms using your fingers or the back of a spoon to form the crust.
- Without cleaning the food processor, add the softened cream cheese, lemon juice, lemon zest, and remaining 2 tablespoons of honey. Blend until completely smooth and creamy.
- Spoon or pipe the cheesecake filling over the prepared crusts, smoothing the tops evenly.
- Refrigerate for at least 2 hours, or until the cheesecakes are fully set. Serve chilled, topped with fresh berries if desired.
Save this Recipe
Recipe Notes & Tips:
- Press the crust firmly: Compacting the pecan mixture well helps create a sturdy base that holds together once chilled.
- Soften the cream cheese fully: Room-temperature cream cheese blends more smoothly and prevents lumps in the filling.
- Use the food processor efficiently: Blending the filling in the same processor after the crust saves time and cleanup.
- Chill long enough: Allow at least 2 hours of refrigeration so the mini cheesecakes fully set before serving.
- Use liners or silicone molds: This makes removing the cheesecakes clean and easy without sticking.
How to Store:
Refrigerator: Store in an airtight container in the fridge for up to 4 days. Keep them chilled until ready to serve.
Freezer: Freeze for up to 1 month in a single layer. Once frozen solid, transfer to a freezer-safe bag or container. Thaw in the fridge for several hours or overnight before serving.
No Bake Mini Cheesecakes FAQs:
They need at least 2 hours in the refrigerator to fully set, though chilling longer will make them firmer.
Cheesecakes may not set if the cream cheese was too warm or if they weren't chilled long enough. Make sure to refrigerate until firm before serving.
It helps for smoother blending, but you can use a high-powered blender or chop/mash by hand for a more rustic texture.
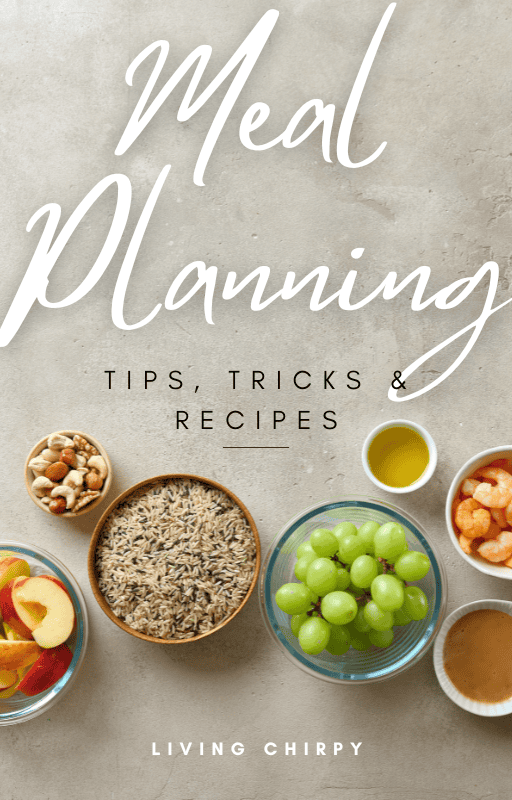
Grab your free copy
Get a FREE Healthy Meal Planning Ebook
Tips, Tricks, and Recipes for Stress Free Meal Planning
No Bake Mini Cheesecakes
Ingredients
Instructions
- Add the pecans, melted butter, and 1 tablespoon of honey to a food processor. Pulse until the mixture becomes sticky and crumbly, blending smooth or leaving slightly chunky based on preference.
- Line a muffin tin with liners or use a silicone mold. Divide the pecan mixture evenly between the cups and press firmly into the bottoms using your fingers or the back of a spoon to form the crust.
- Without cleaning the food processor, add the softened cream cheese, lemon juice, lemon zest, and remaining 2 tablespoons of honey. Blend until completely smooth and creamy.
- Spoon or pipe the cheesecake filling over the prepared crusts, smoothing the tops evenly.
- Refrigerate for at least 2 hours, or until the cheesecakes are fully set. Serve chilled, topped with fresh berries if desired.
Nutrition
Notes
- Press the crust firmly: Compacting the pecan mixture well helps create a sturdy base that holds together once chilled.
- Soften the cream cheese fully: Room-temperature cream cheese blends more smoothly and prevents lumps in the filling.
- Use the food processor efficiently: Blending the filling in the same processor after the crust saves time and cleanup.
- Chill long enough: Allow at least 2 hours of refrigeration so the mini cheesecakes fully set before serving.
- Use liners or silicone molds: This makes removing the cheesecakes clean and easy without sticking.
Yvonne says
Aahhh these are so yummy and so easy to make - next time I’m doing a double batch because these were gone too soon haha